

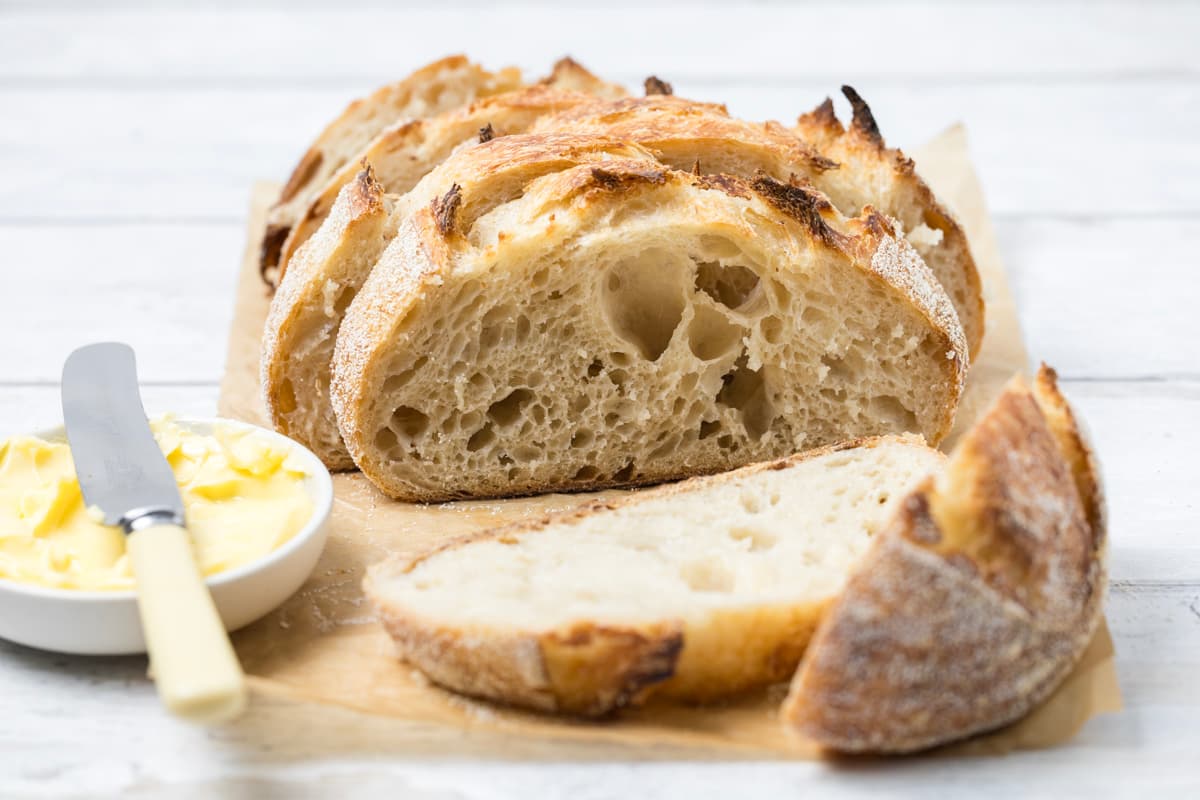
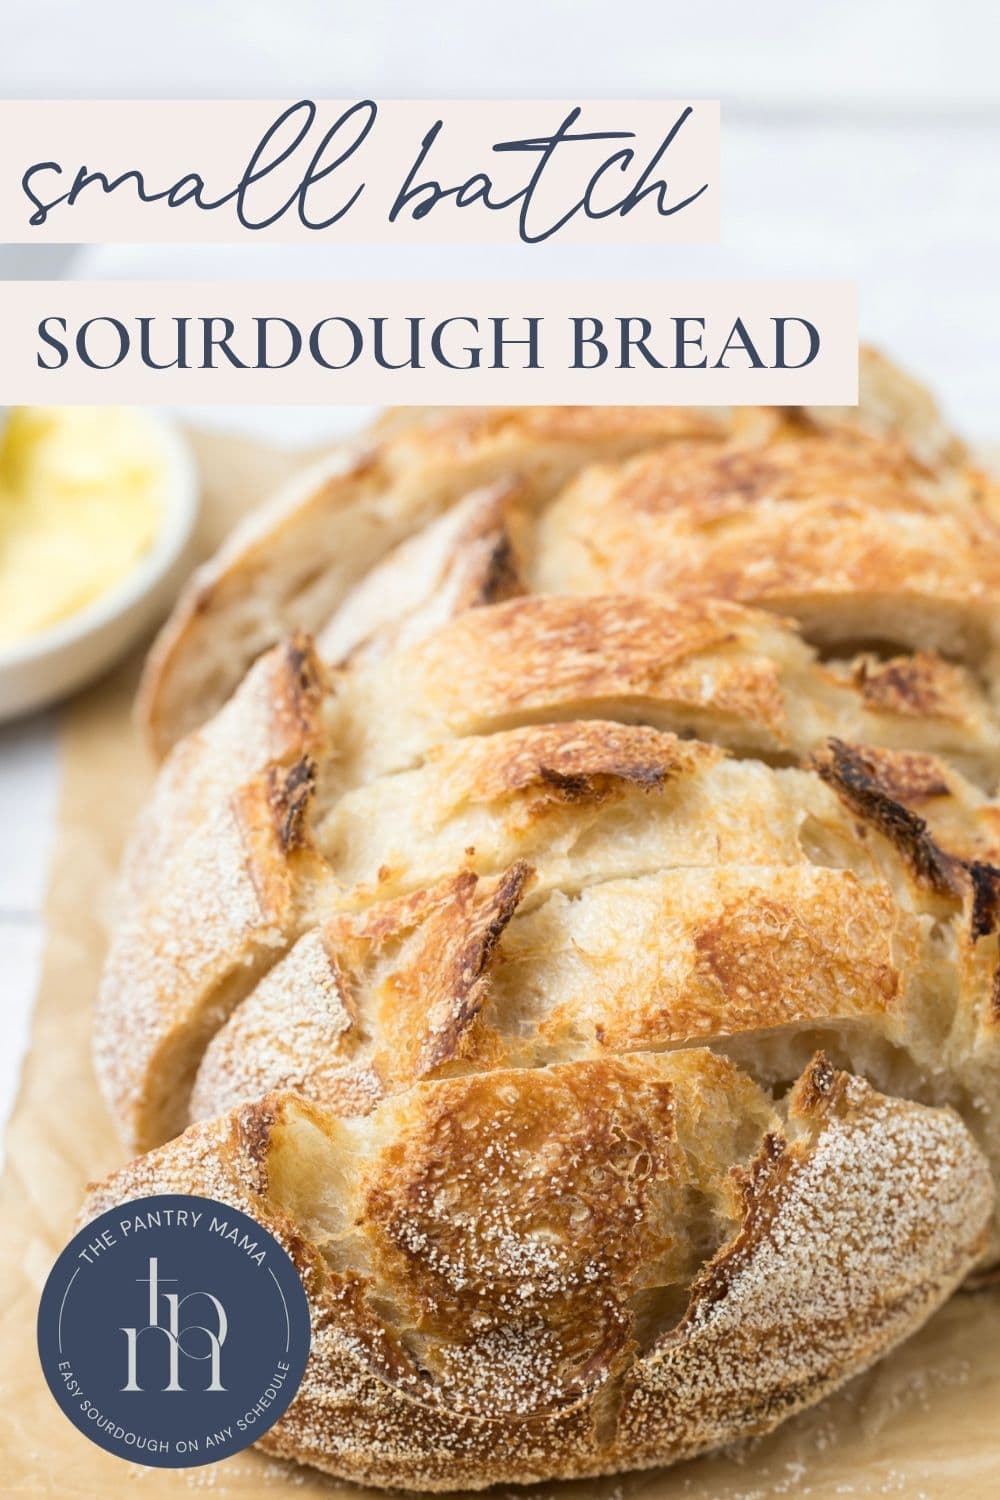
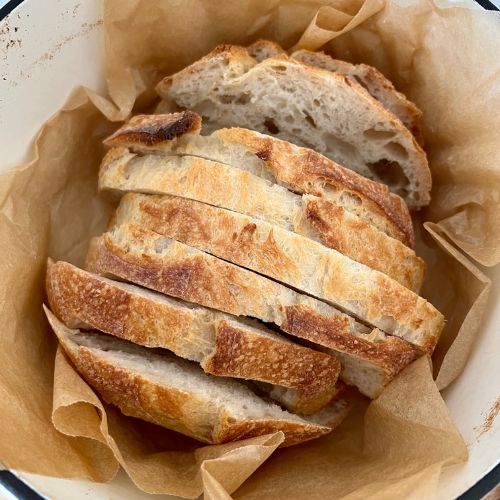
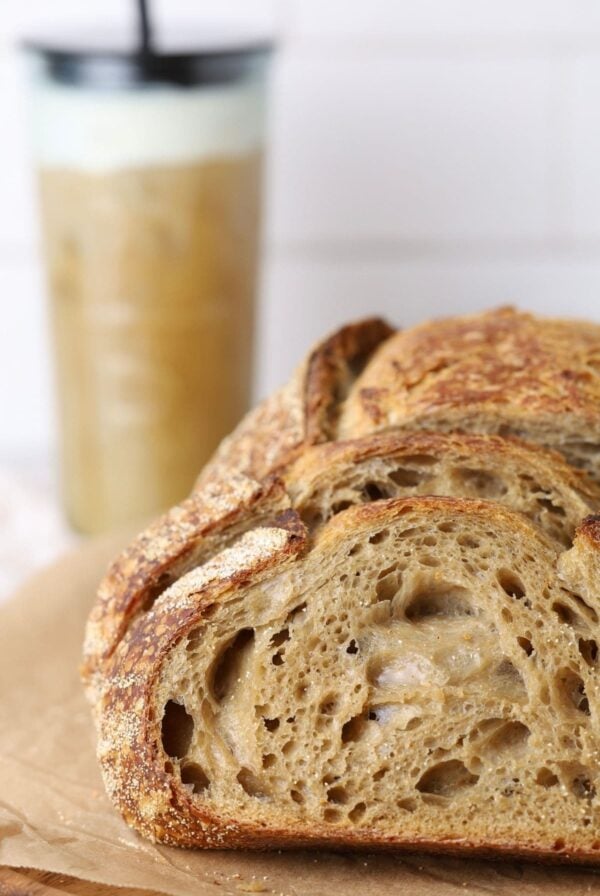
This small batch sourdough bread is perfect if you’re looking for a smaller loaf of sourdough that uses less flour, is easier to handle and is suitable for smaller households. This small batch sourdough recipe is less wasteful than baking a larger loaf and provides an opportunity for practicing techniques on a smaller loaf that uses less flour. Despite it’s smaller size, it has a great sour flavor, light, open crumb and a crispy crust – just like your favorite loaf!
This post contains affiliate links. Please see our disclosure policy.
Why Make A Smaller Loaf of Sourdough Bread?
If you’ve made larger loaves before, you’ll know each loaf takes around 500 g of flour. This can be a lot of flour to waste if it doesn’t turn out or even if it doesn’t all get eaten. There are lots of reasons you might prefer making small sourdough loaves with 250 g flour:
- Less Waste – Not using (wasting) so much flour on one loaf,
- Smaller Households – Making just enough for 1 or 2 people to eat in a day or two with no waste,
- Gift Size – This smaller size is the perfect loaf for sharing, especially when you pair it with some cultured butter or a jar of small batch strawberry jam.
- Testing Different Flours – Making a smaller sourdough loaf is great when you want to see how new types of flour perform.
- Smaller Equipment – Making a loaf that fits in a smaller Dutch Oven or banneton that you already own.
If you’re a smaller household, you might also enjoy making these other sourdough bread recipes – sourdough bread bowls, mini sourdough loaves, a small batch of no wait sourdough waffles or even reducing the size of your starter to this smaller sourdough starter.
Ingredients
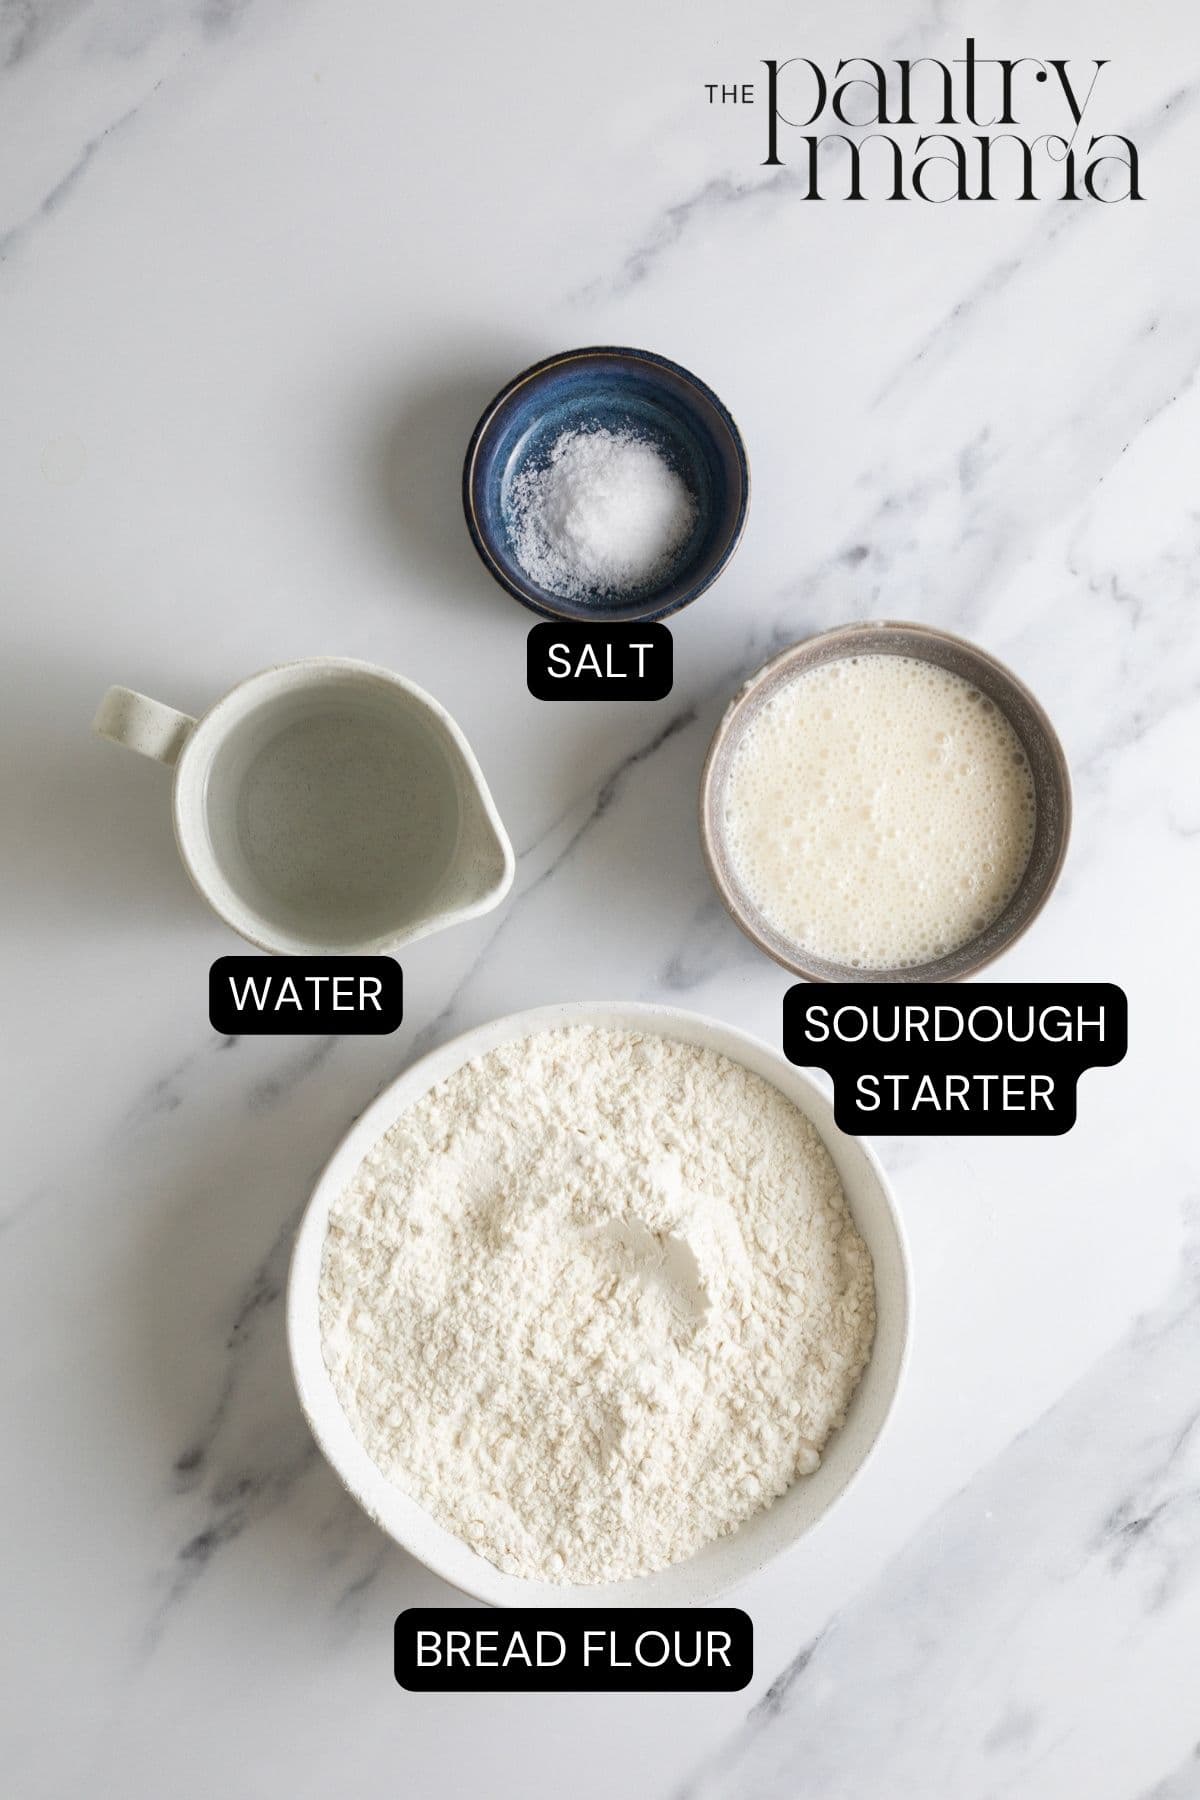
- Bread Flour – I recommend using high protein bread flour for this small loaf sourdough rather than all purpose flour. You can add some whole wheat flour if you wish and I’ve put instructions for this further down the post.
- Water
- Sourdough Starter – Just like making a larger sourdough loaf, you’ll need a mature sourdough starter that’s been fed recently for this small batch sourdough bread recipe. Remember the amount of starter you use should relate to the temperature in your kitchen.
- Salt
How To Make Small Batch Sourdough Bread
Making this small loaf of sourdough bread follows the same process as my simple sourdough loaf, just on a smaller scale.
Make sure your active starter has been fed in the last few hours and your starter is at peak when you mix your dough. Keeping your sourdough starter warm really helps with this.
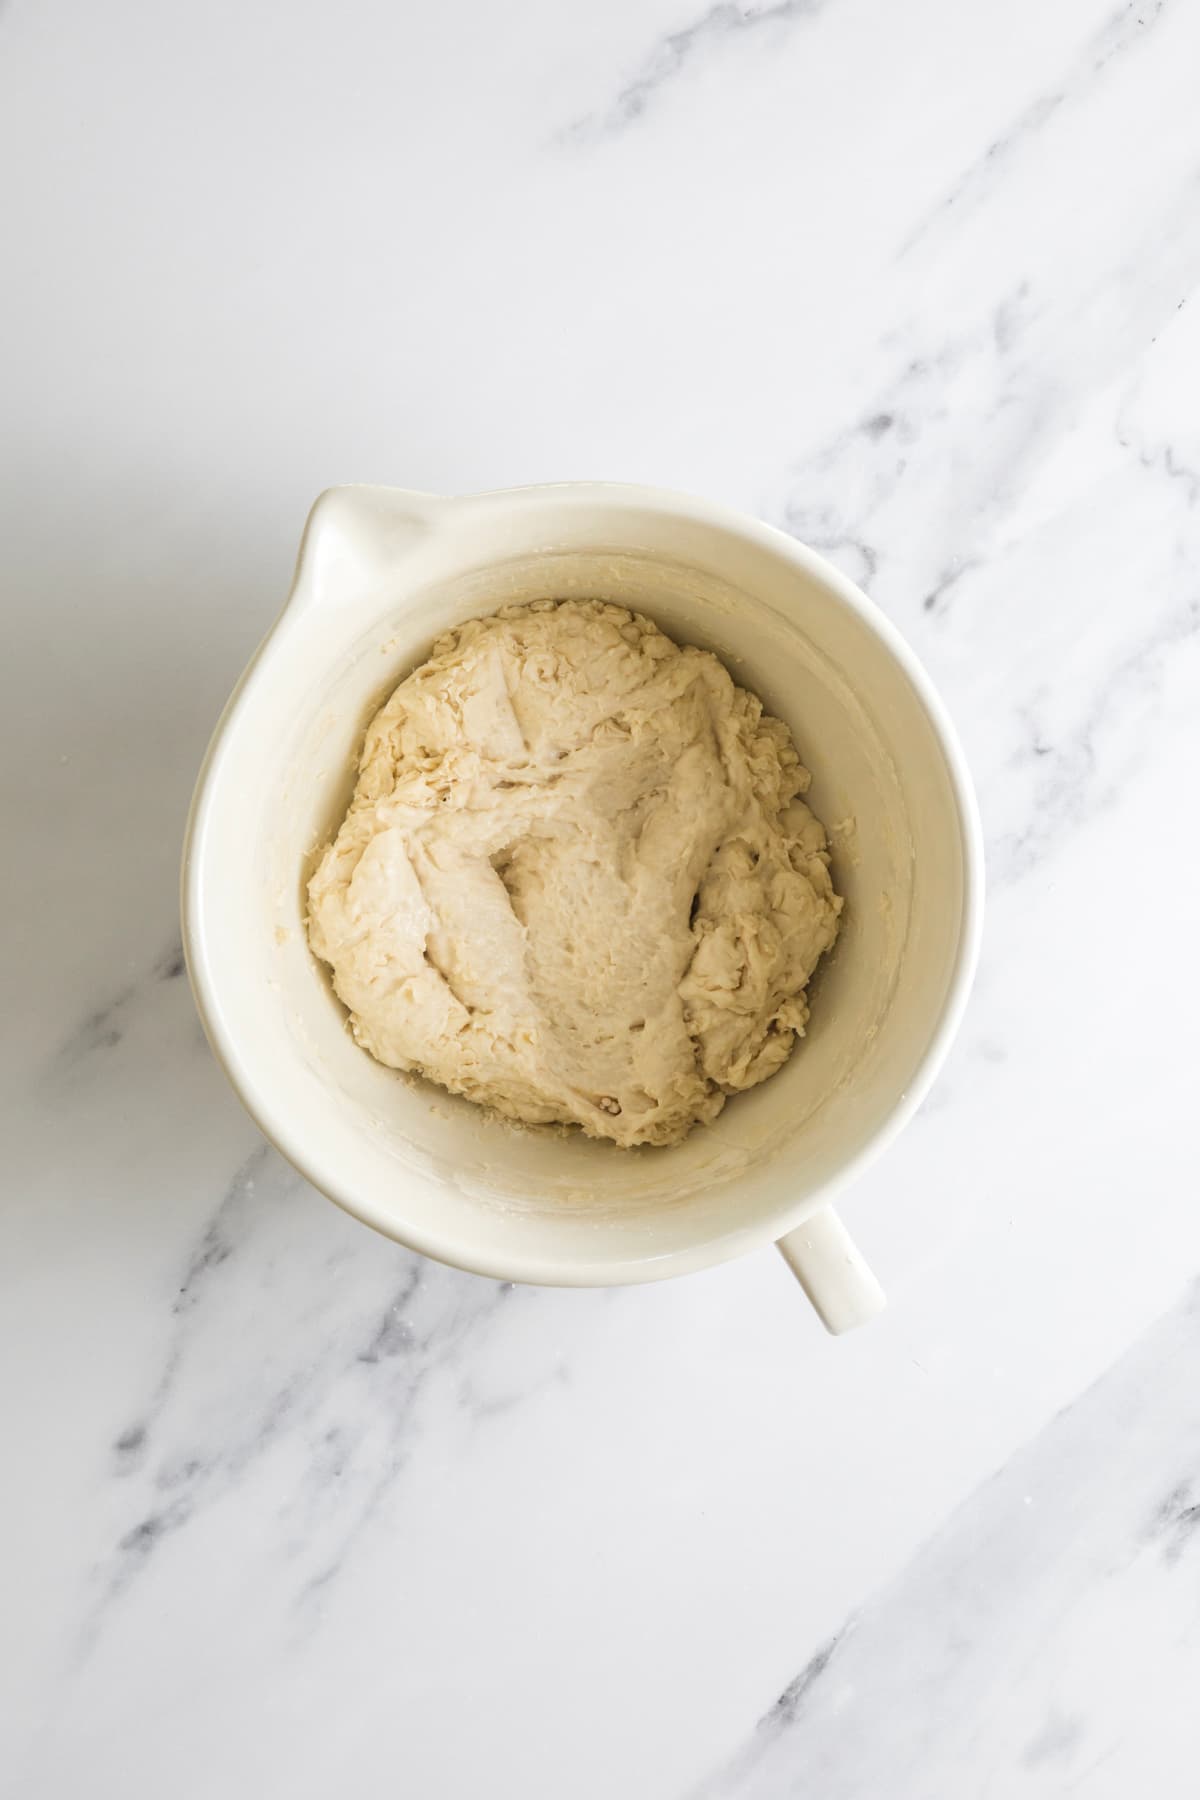
Weigh out your wet ingredients (active sourdough starter and water) into a medium sized bowl, mixing the water and starter together briefly. Then add your dry ingredients (bread flour and salt) and mix the whole lot together until a dry, shaggy dough forms.
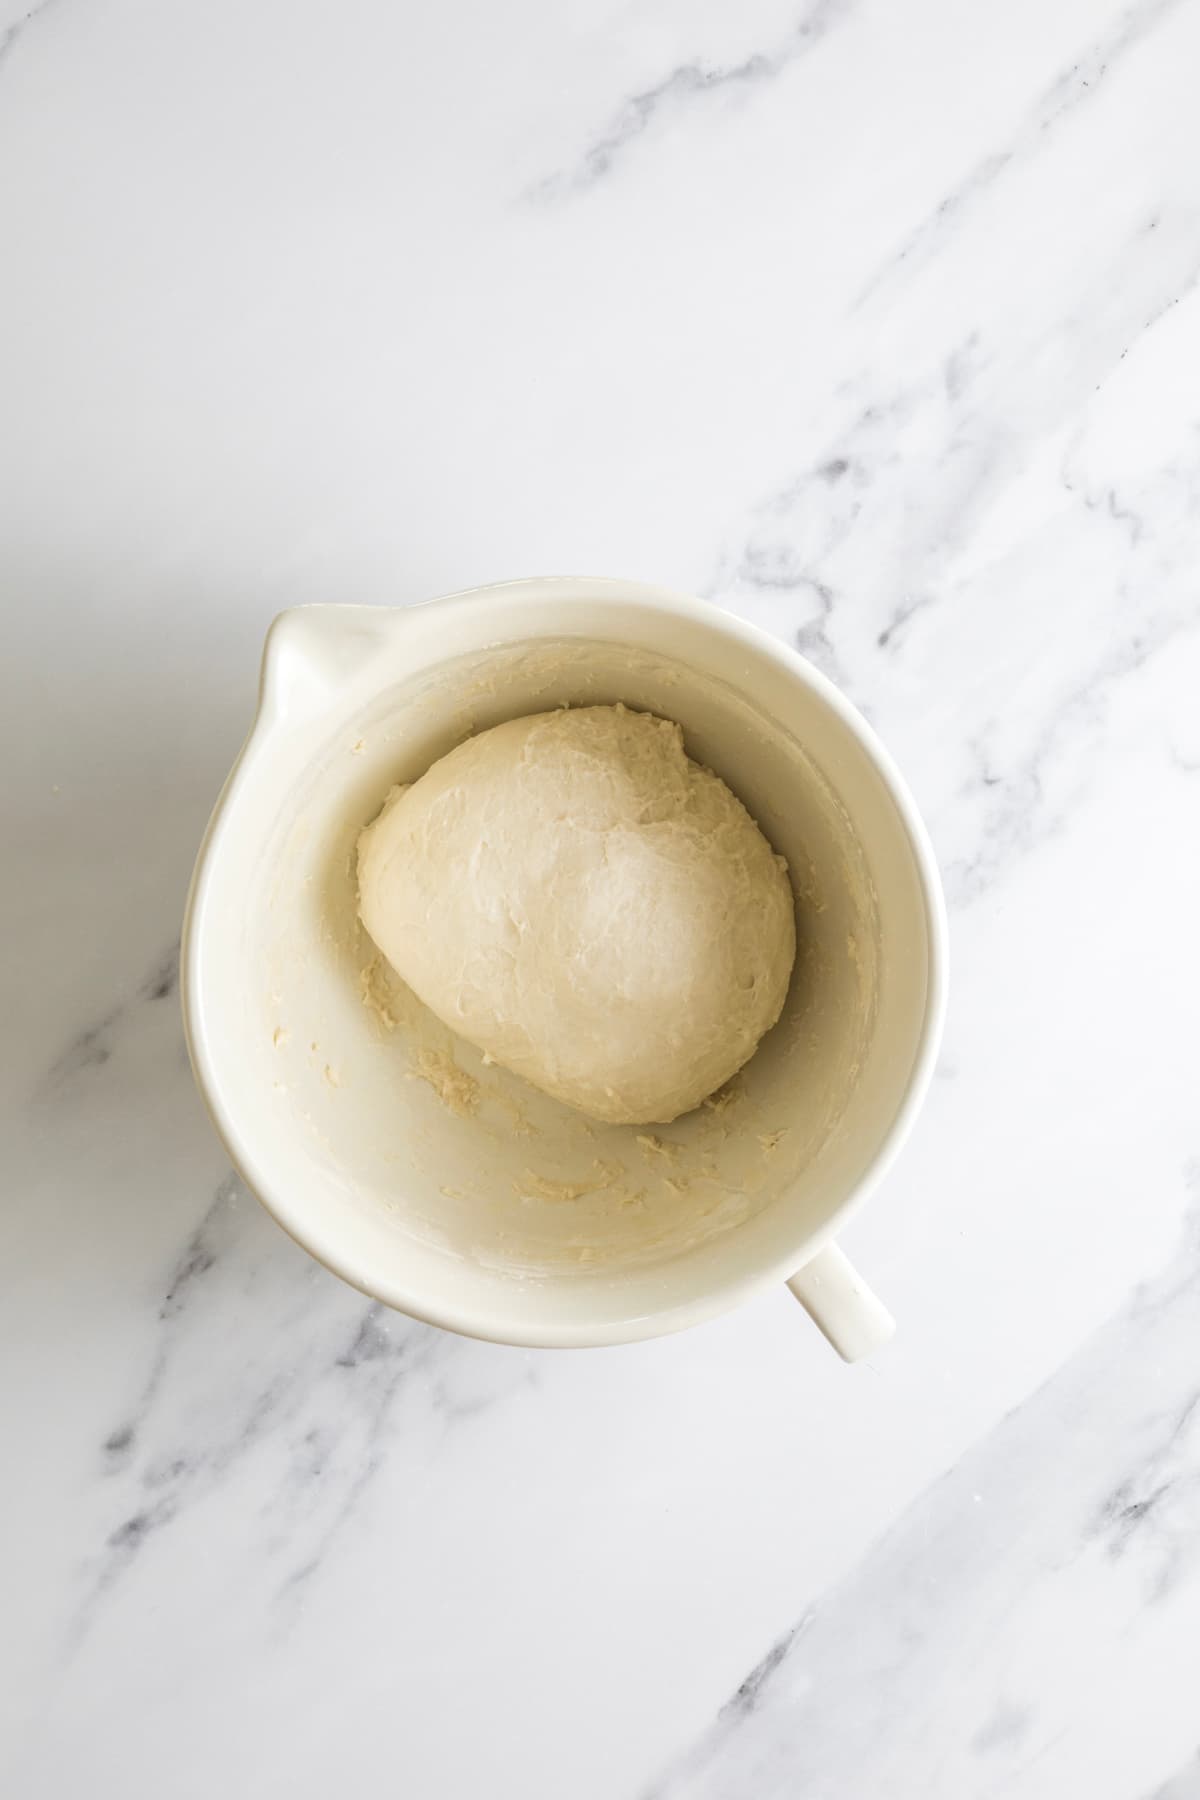
Cover your bowl and let it sit for around 1 hour. After the dough has been through fermentolyse you need to bring it together into a ball. Work your way around the bowl, grabbing the dough from the outside, stretching it up and over itself, into the centre, until a smooth ball is formed. You shouldn’t need more than about 20-25 stretches to form the ball. Once the dough has formed into a smooth ball, pop the damp tea towel back on and let it rest for 30 minutes.
Over the next few hours you need to create some structure for your dough by “stretching and folding”. Aim to do around 4-6 sets of stretches and folds.
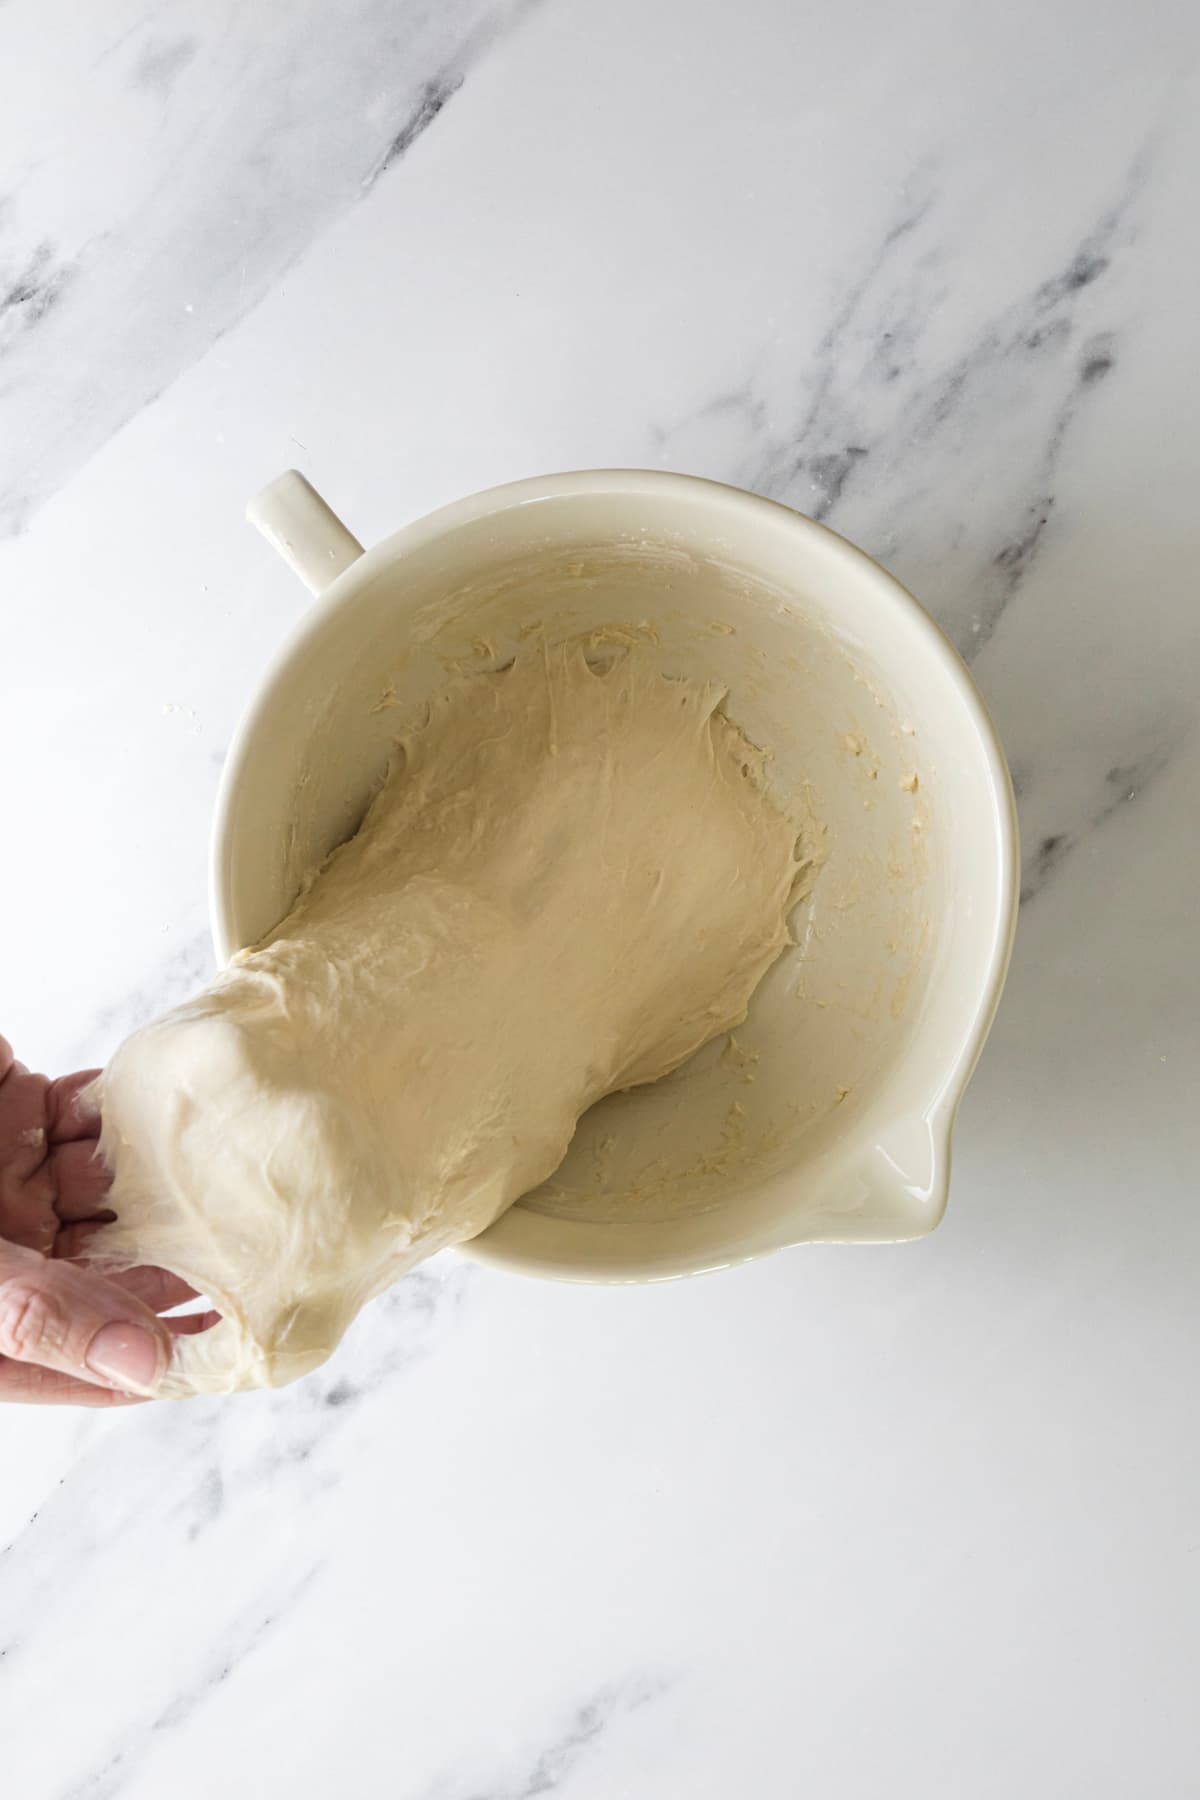
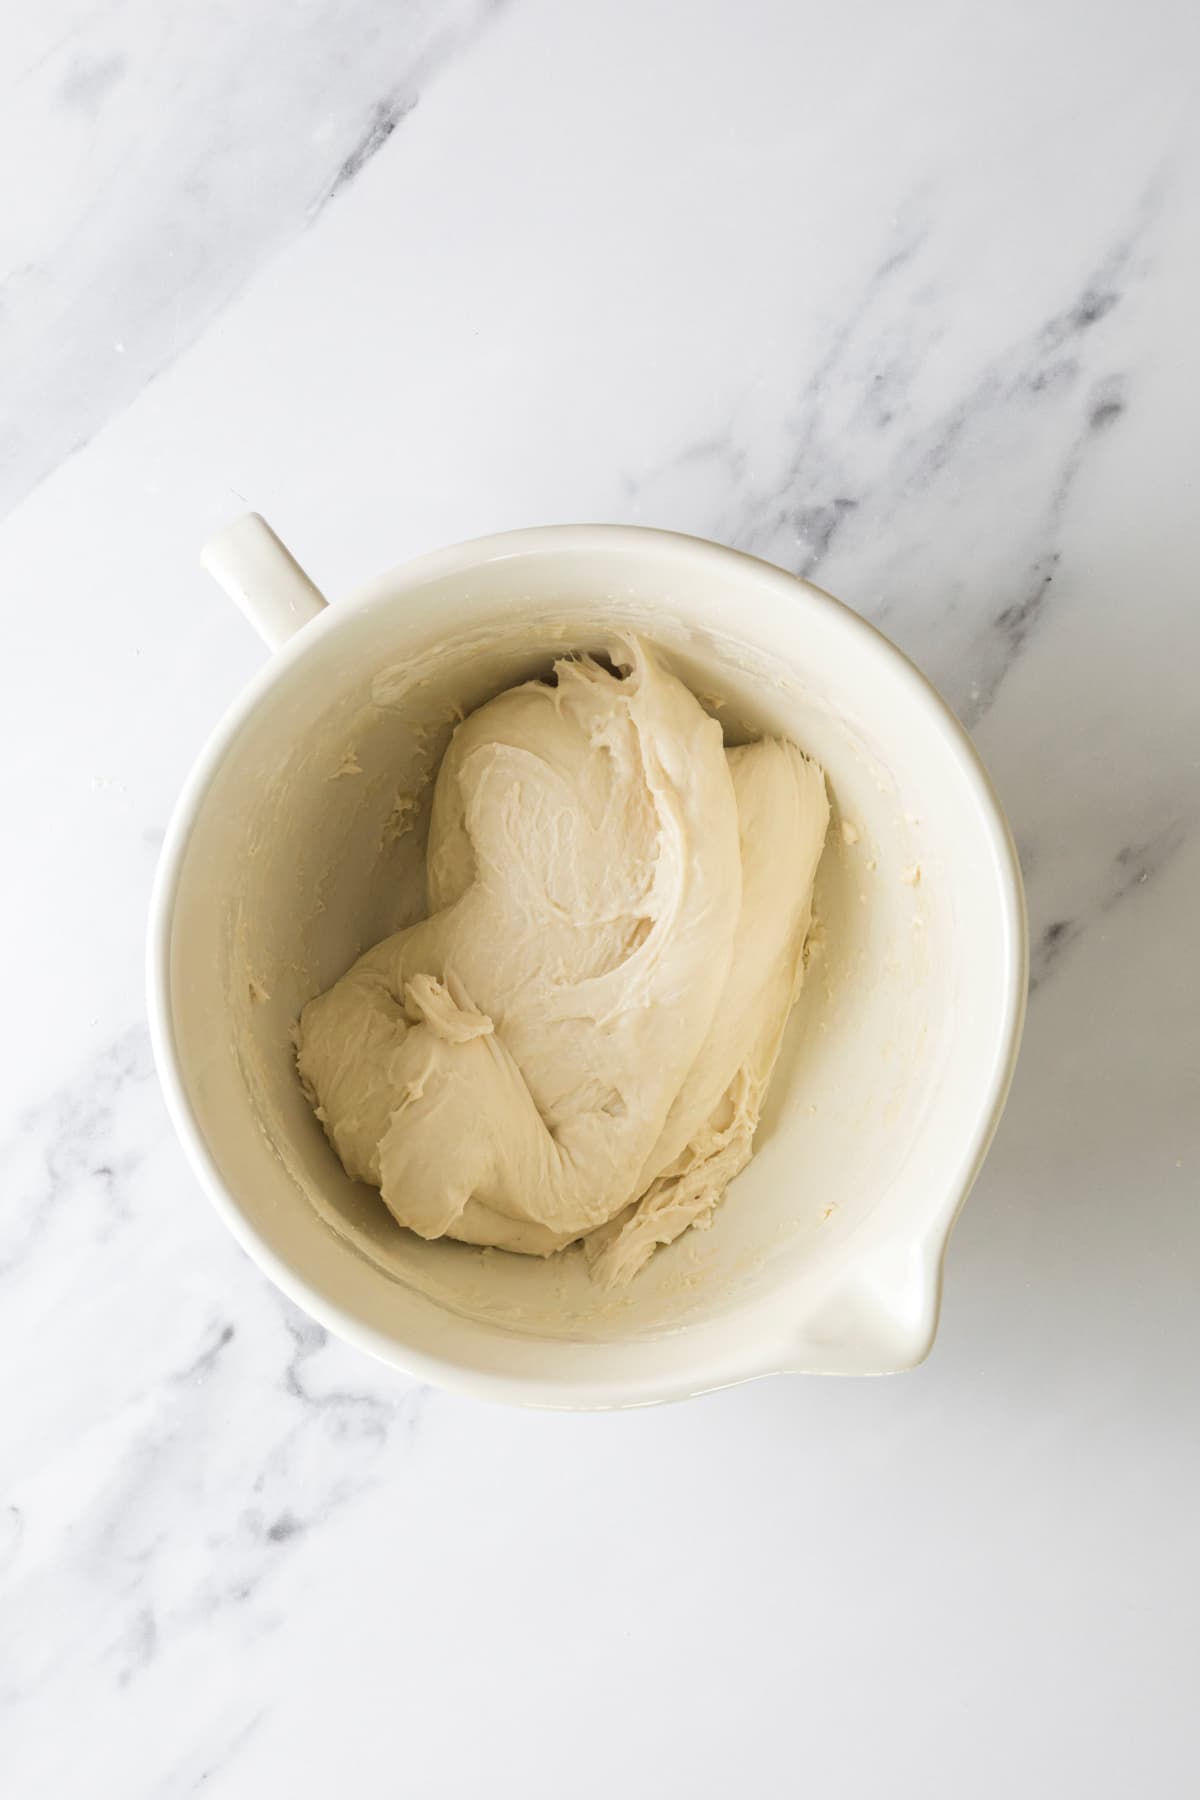
Once the gluten in your dough is developed, cover the dough with a plastic cover and allow the dough to double at room temperature. This is known as bulk fermentation.
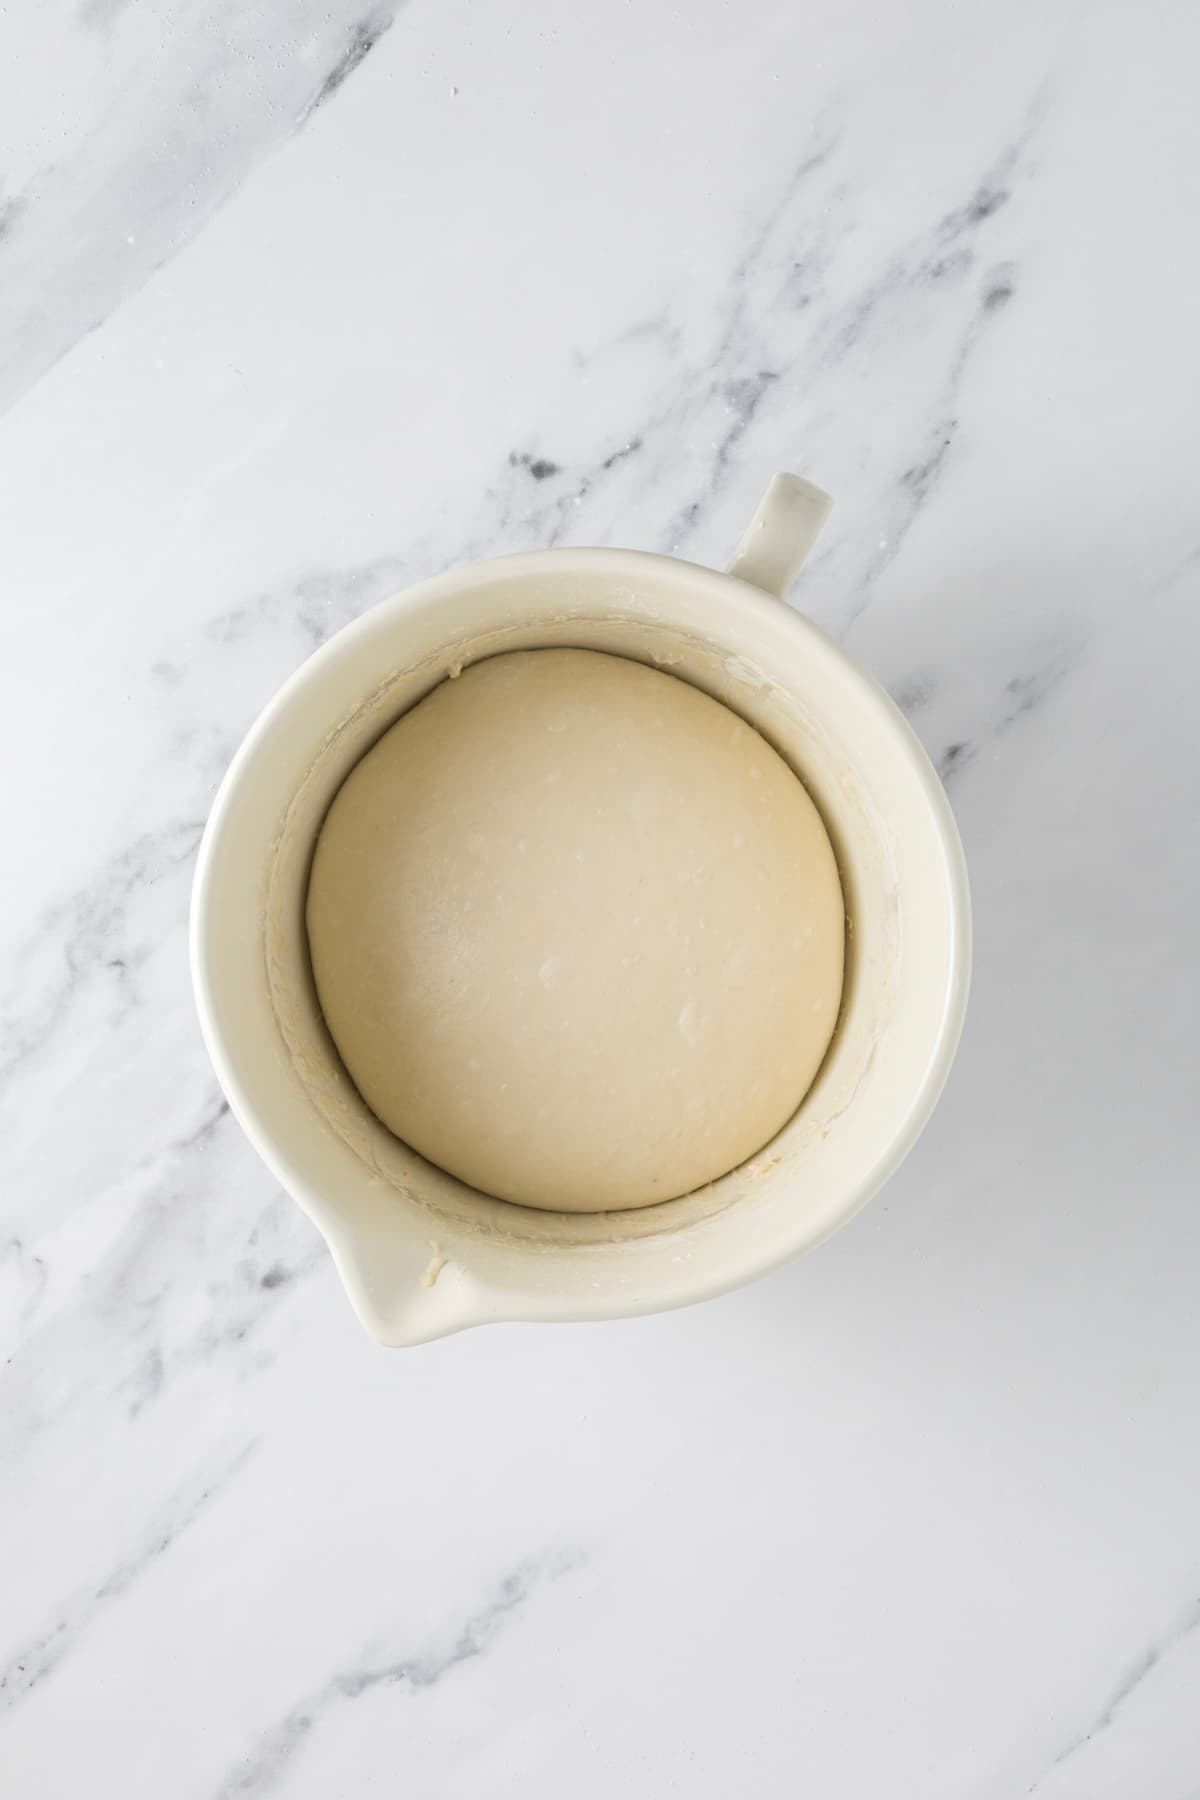
Kate’s Pro Tip
Fermentation Tip
Keep an eye on the ambient temperature in your kitchen. Remember the sourdough fermentation process happens faster at warmer temperatures and more slowly at colder temperatures.
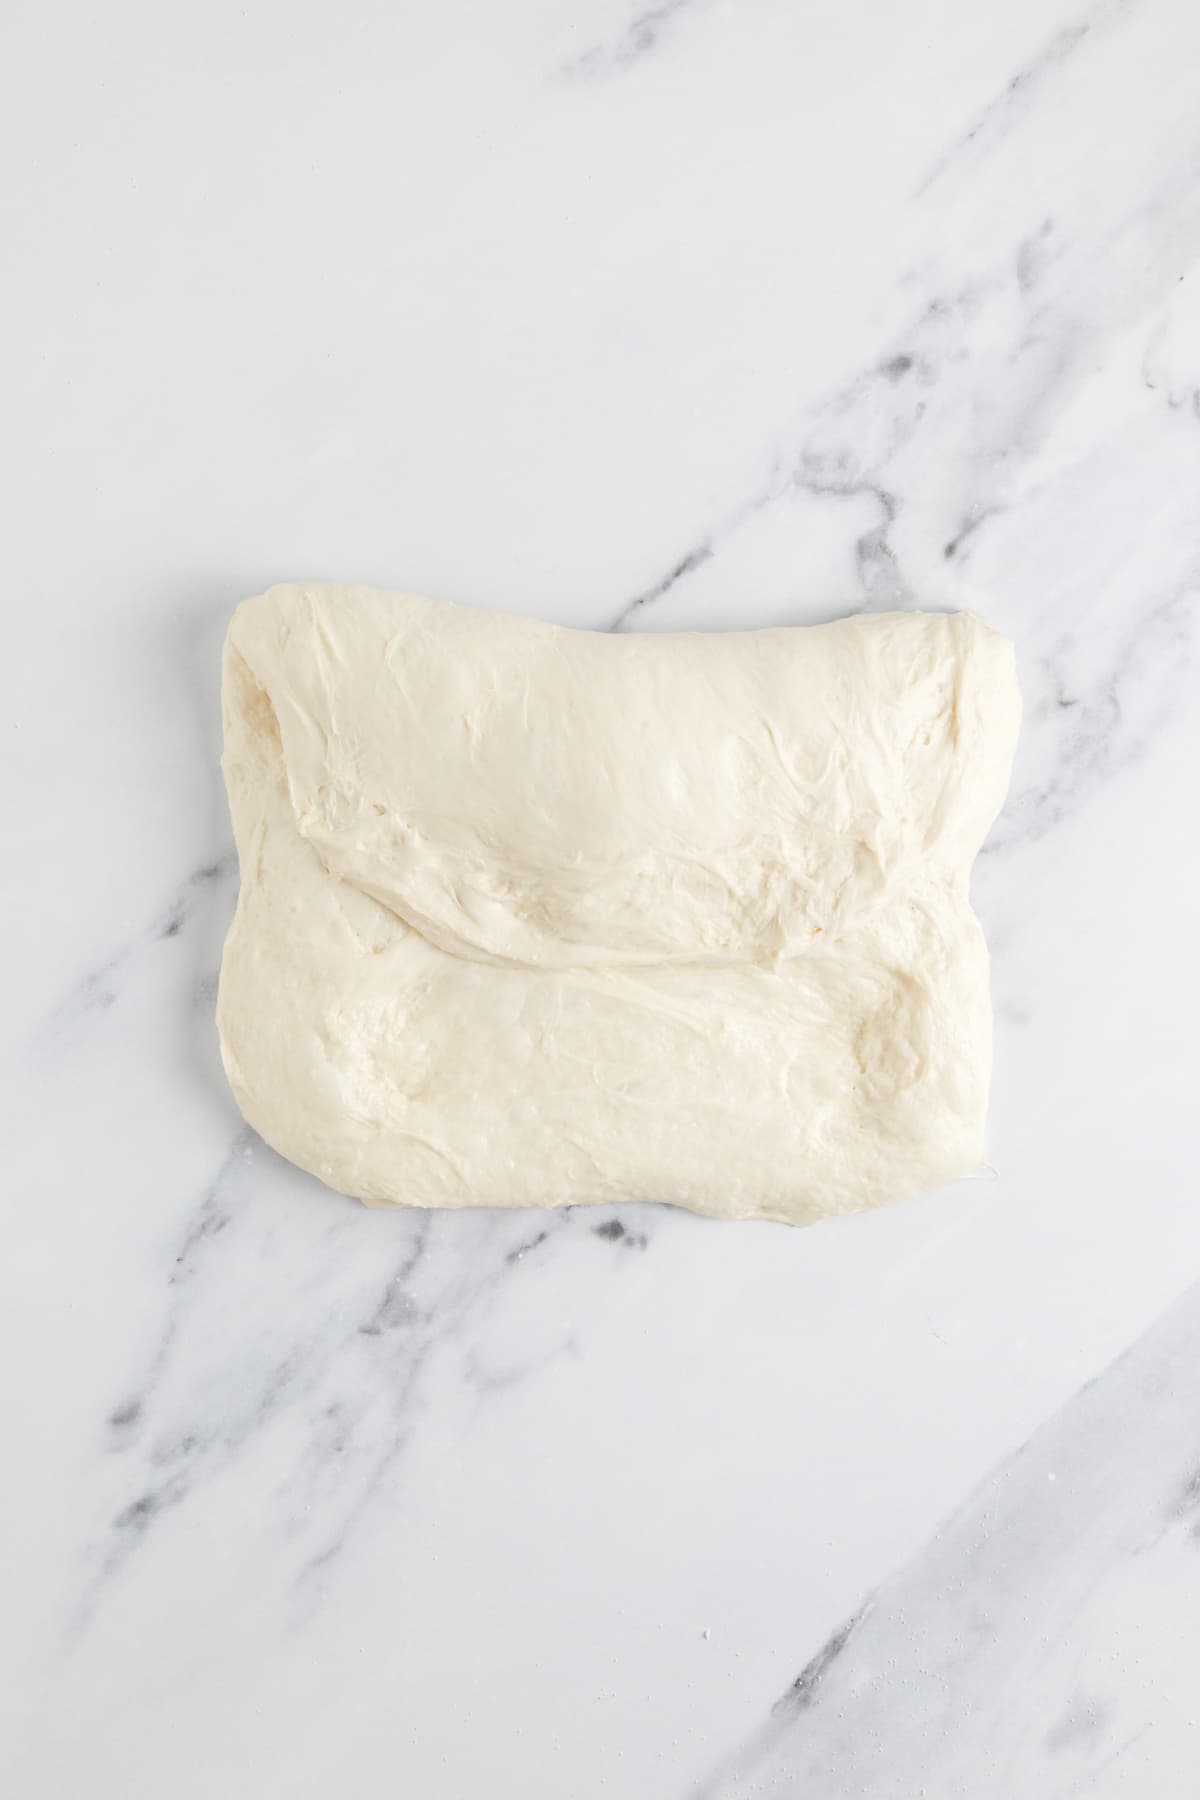
Now it’s time to shape your small batch sourdough loaf into either a boule or batard. Use a dough scraper to gently ease the dough out of the bowl (your hands work just fine if you don’t have one). You want it to land upside down on your counter so that the smooth top of the dough is on the countertop and the sticky underside is facing up. This will make it easier to shape.
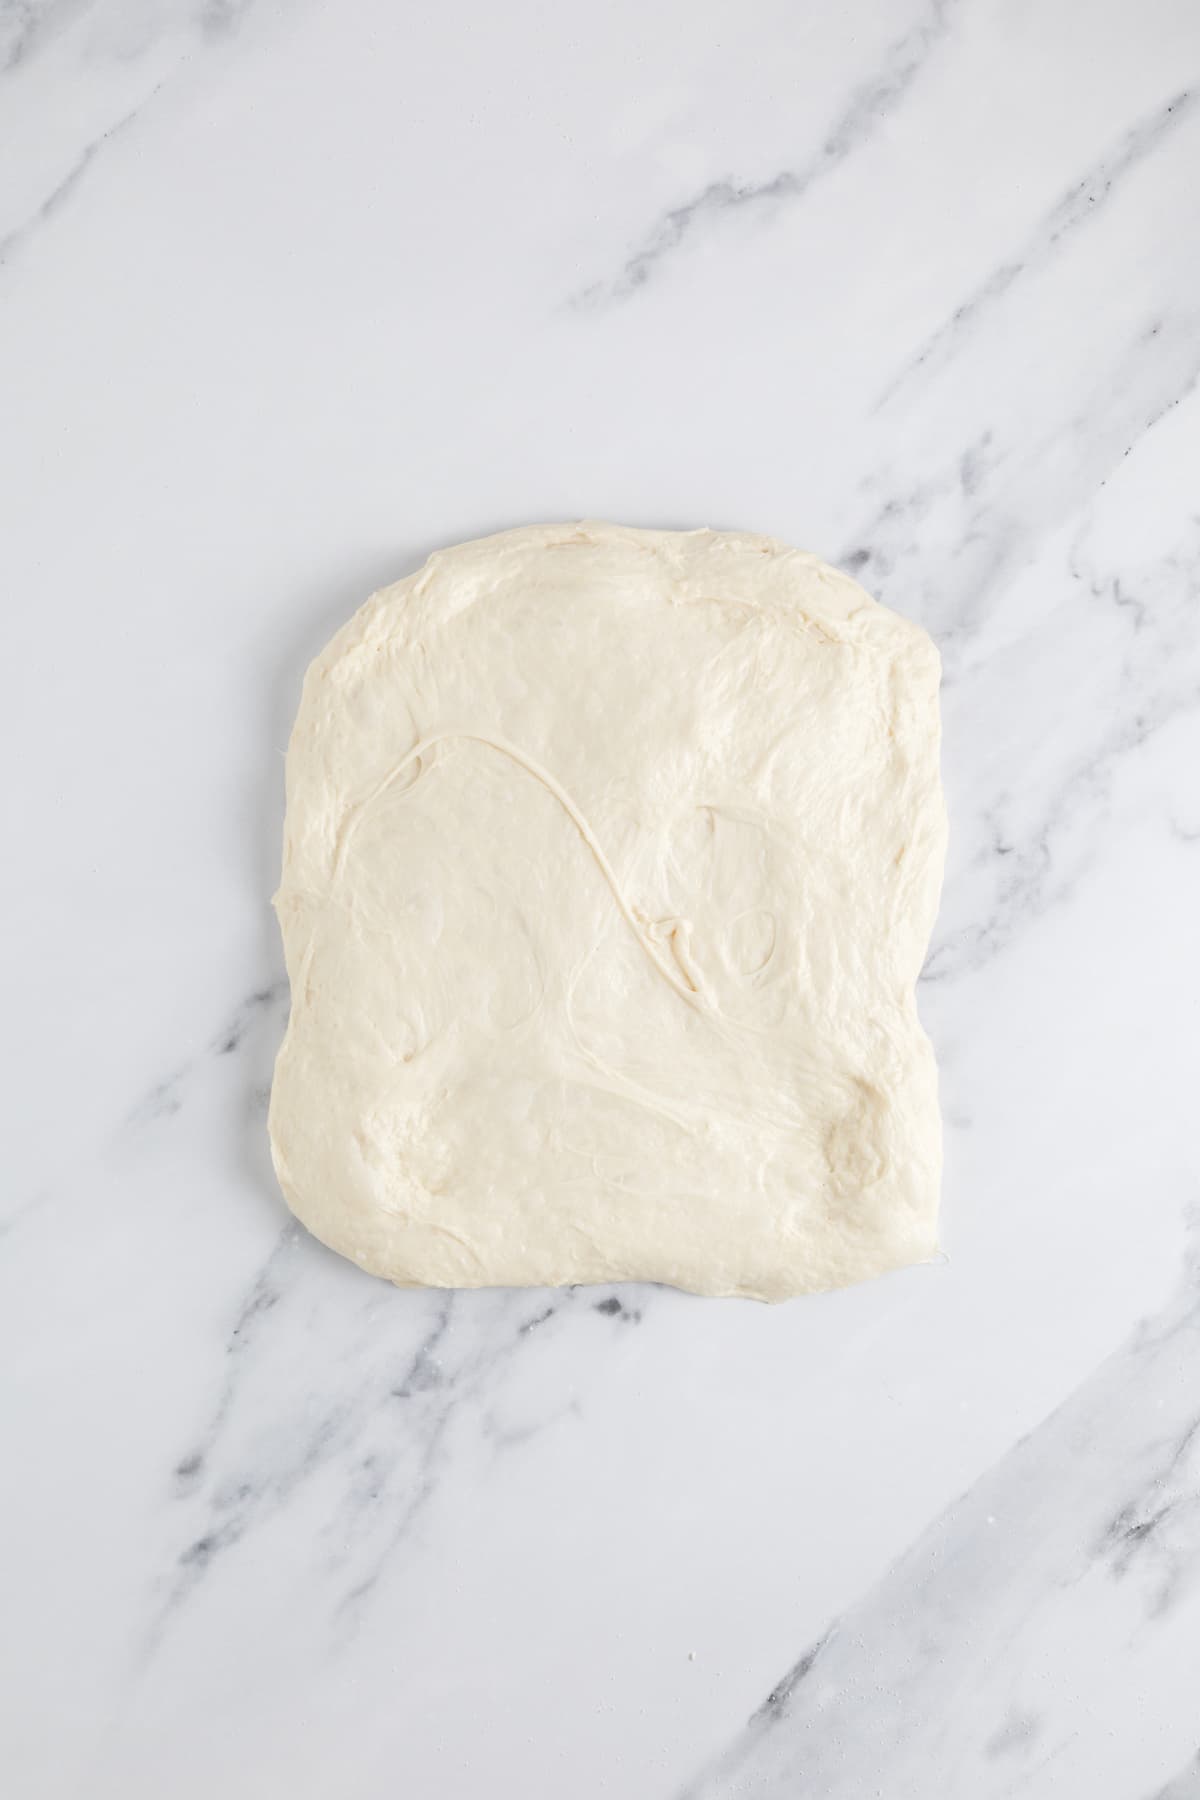
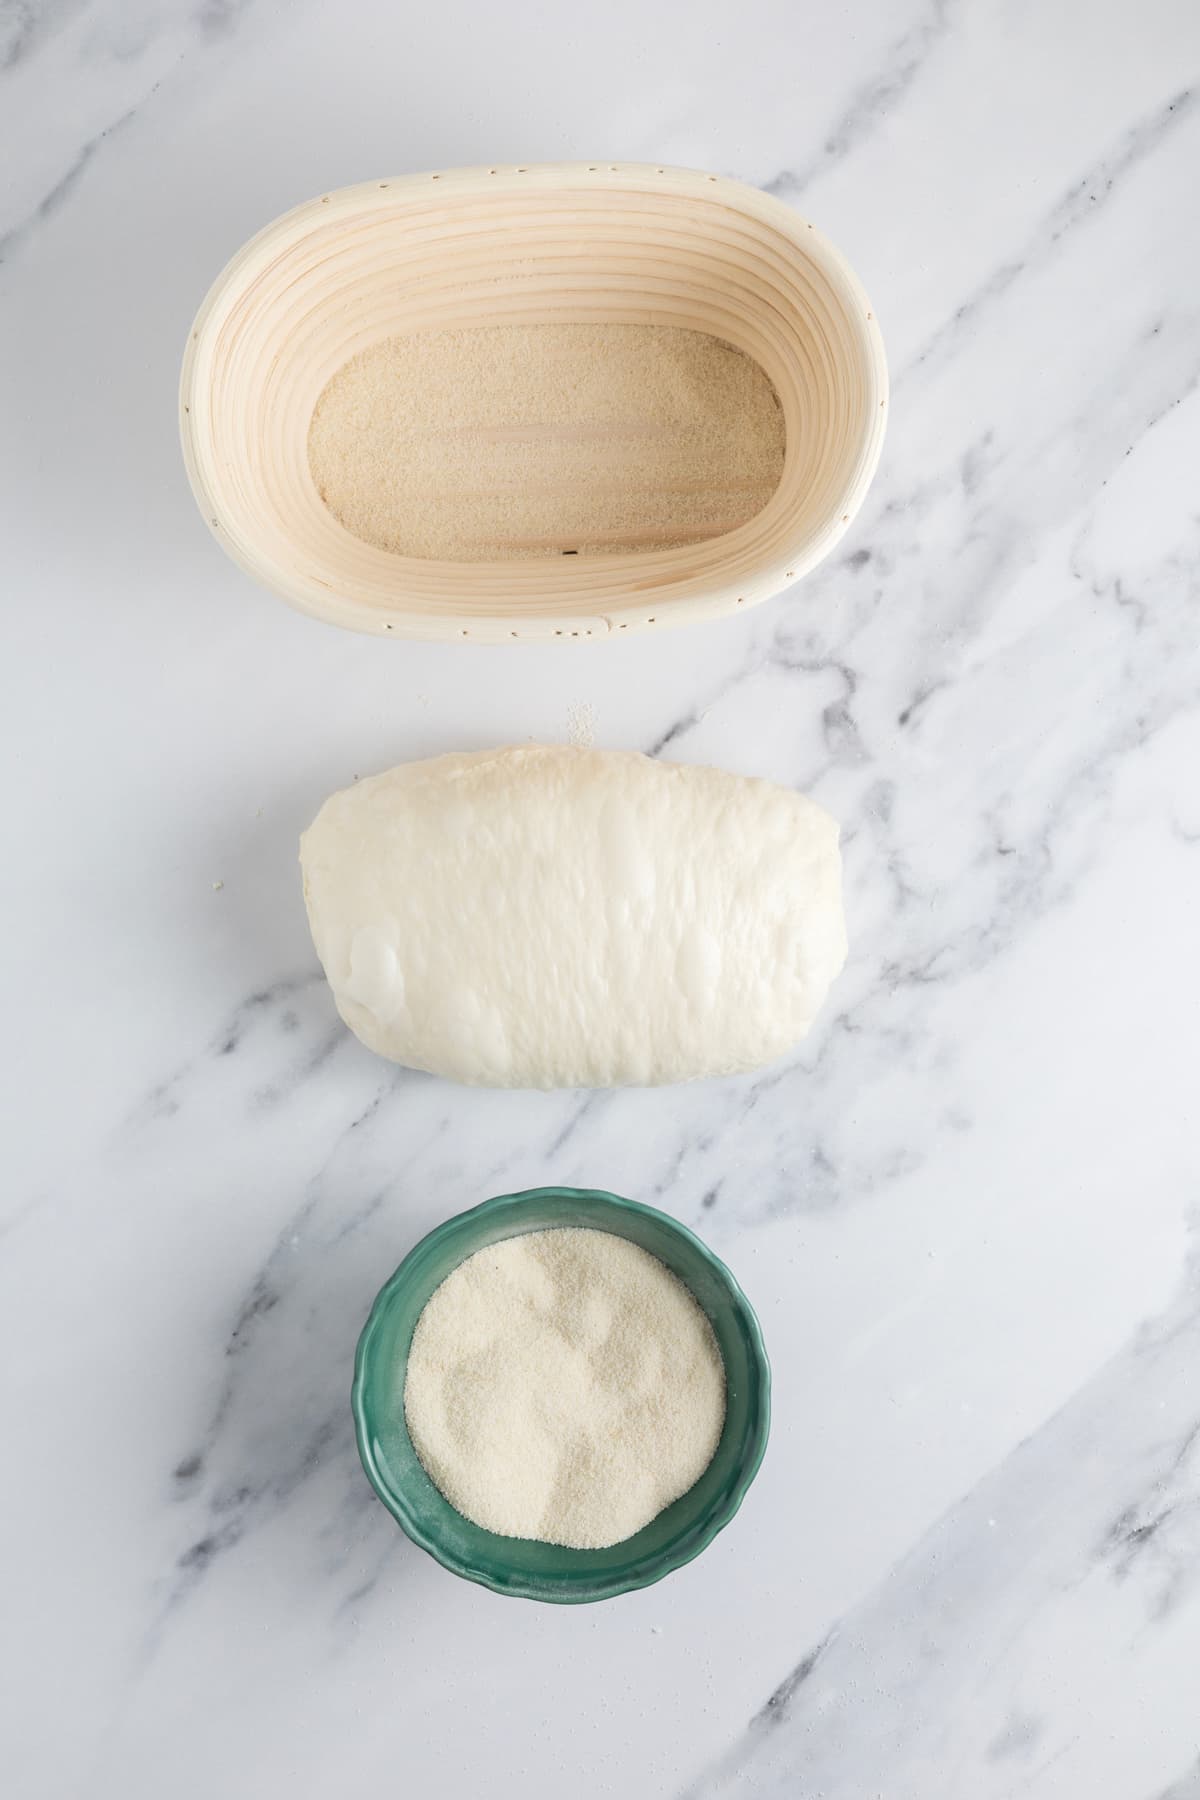
You will need a proofing basket or container to put your dough into. If you do not have a banneton, then a bowl or basket lined with a floured tea towel is perfectly fine. Make sure your bowl isn’t too big though, you want your dough to retain some shape. You can find more notes on what to use as a banneton here.
Once the dough is shaped into a tight ball, place it into your proofing basket or container smooth side down, so your seam is on the top. Just try to handle the dough as little as possible and be really gentle as you really want to preserve all the gases and air bubbles that have formed during your bulk ferment.
Now the dough is in its “shaping container” cover it loosely with a plastic bag and place into the refrigerator.
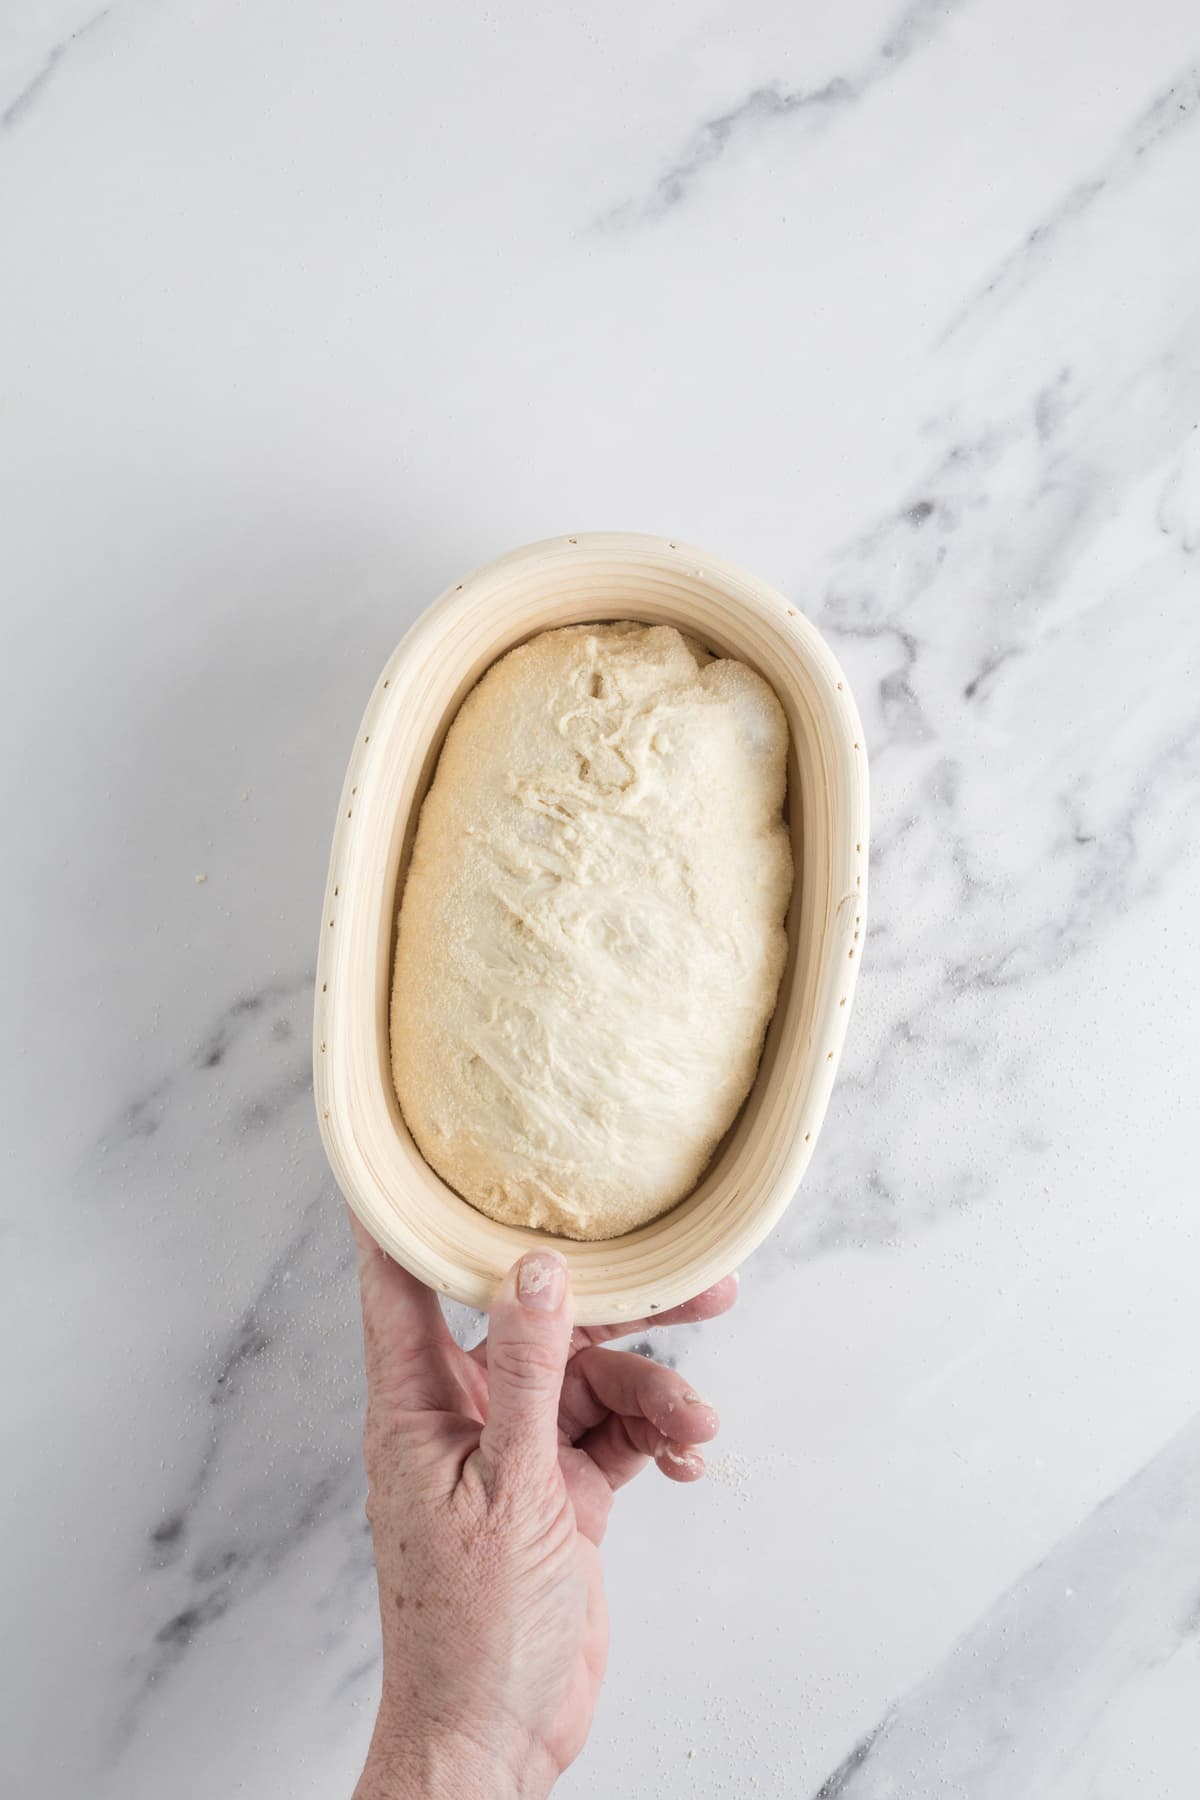
Try to leave it in the fridge for a minimum 5 hours up to a maximum of around 36 hours. The longer you leave it, the more robust sourdough flavor and beautiful blisters on your crust. It will also ensure your dough forms a skin which makes it easier to score.
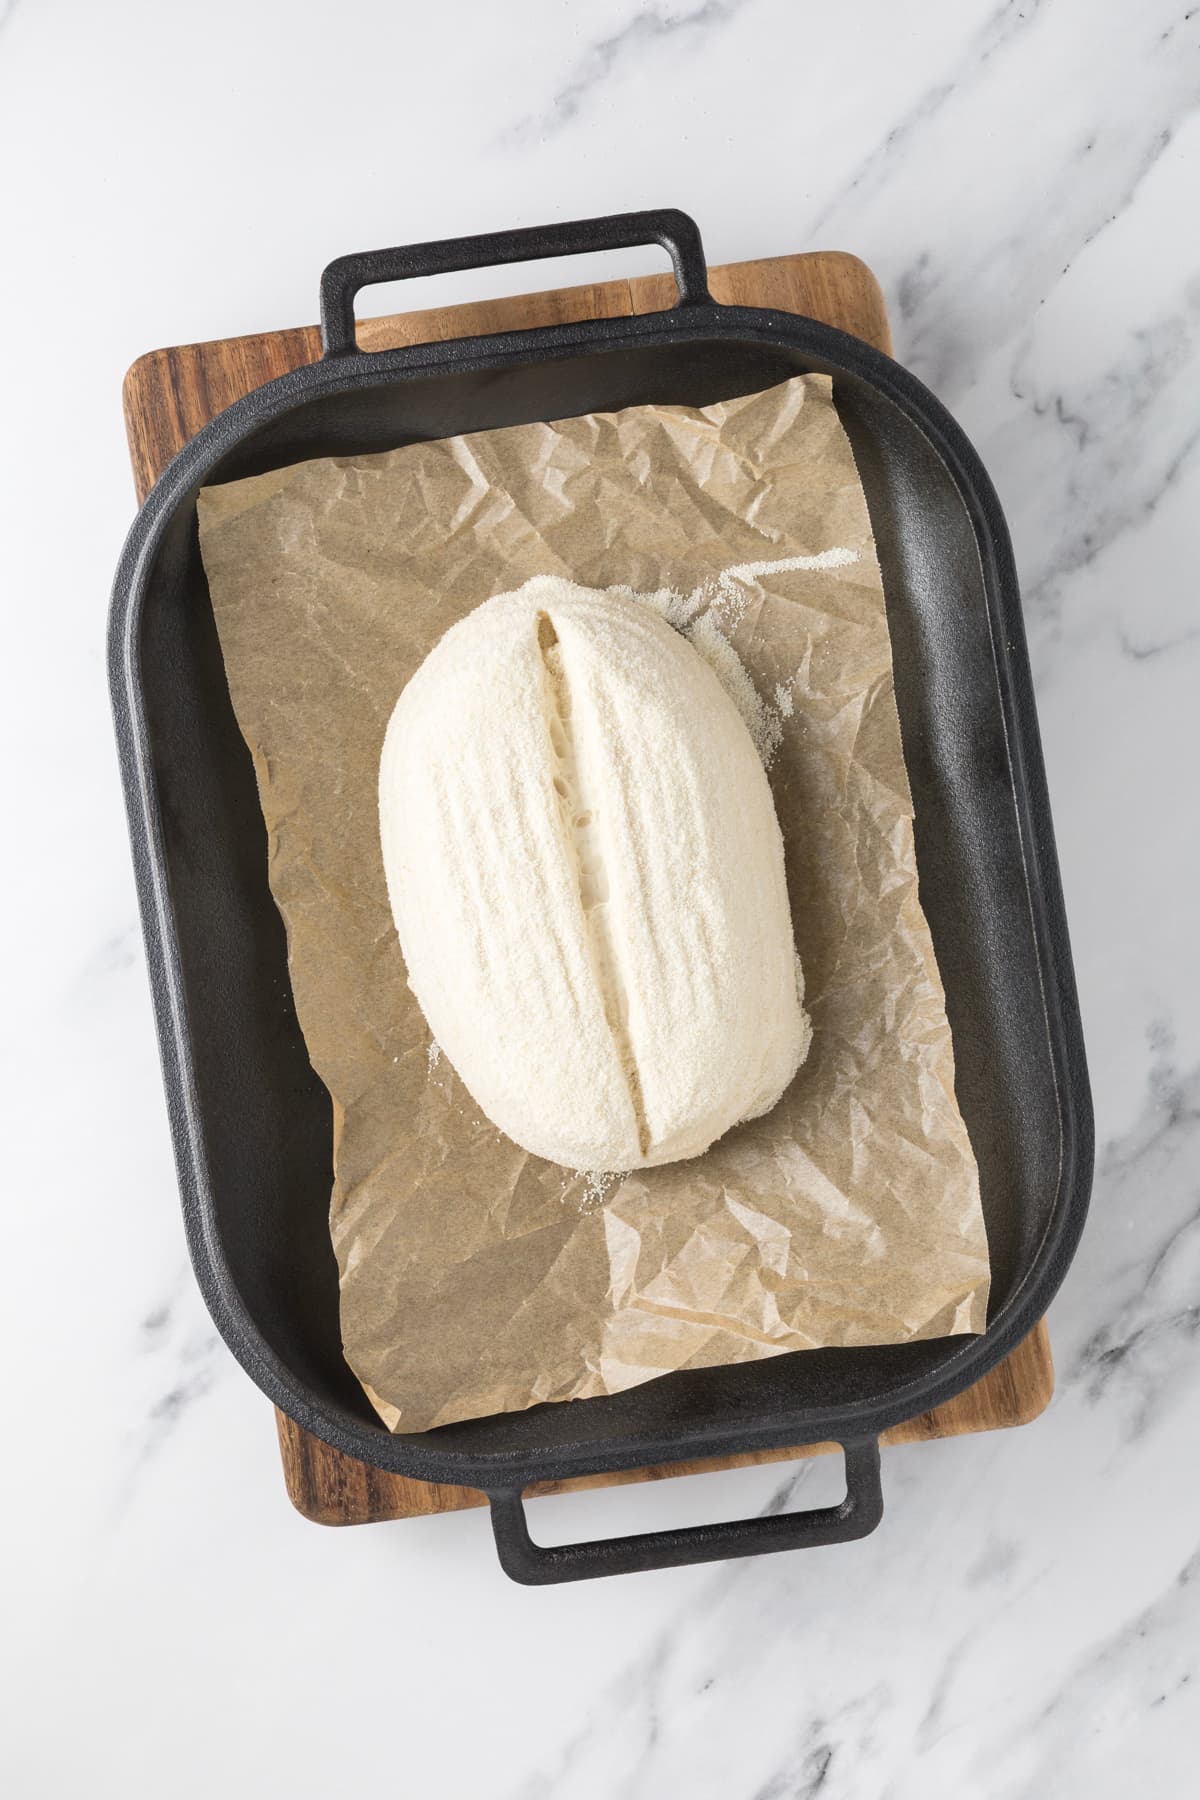
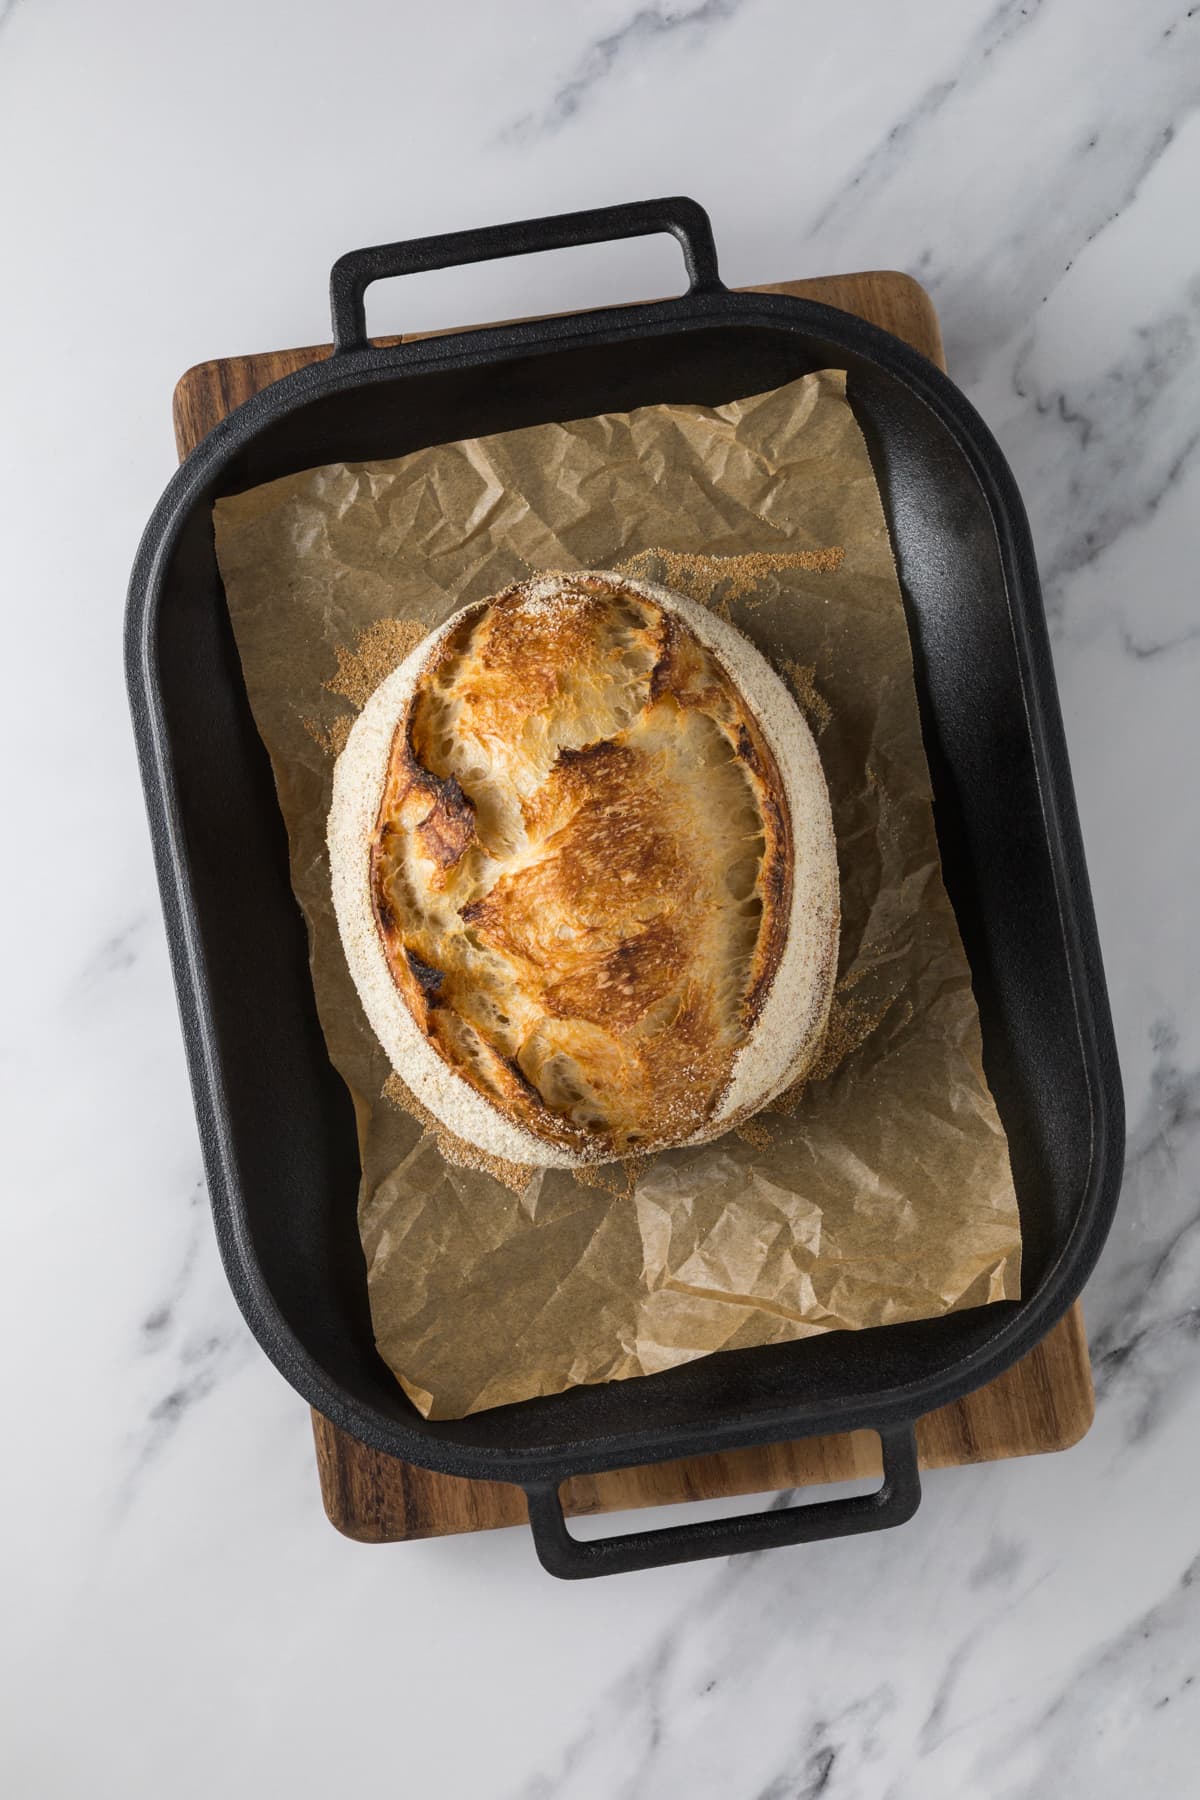
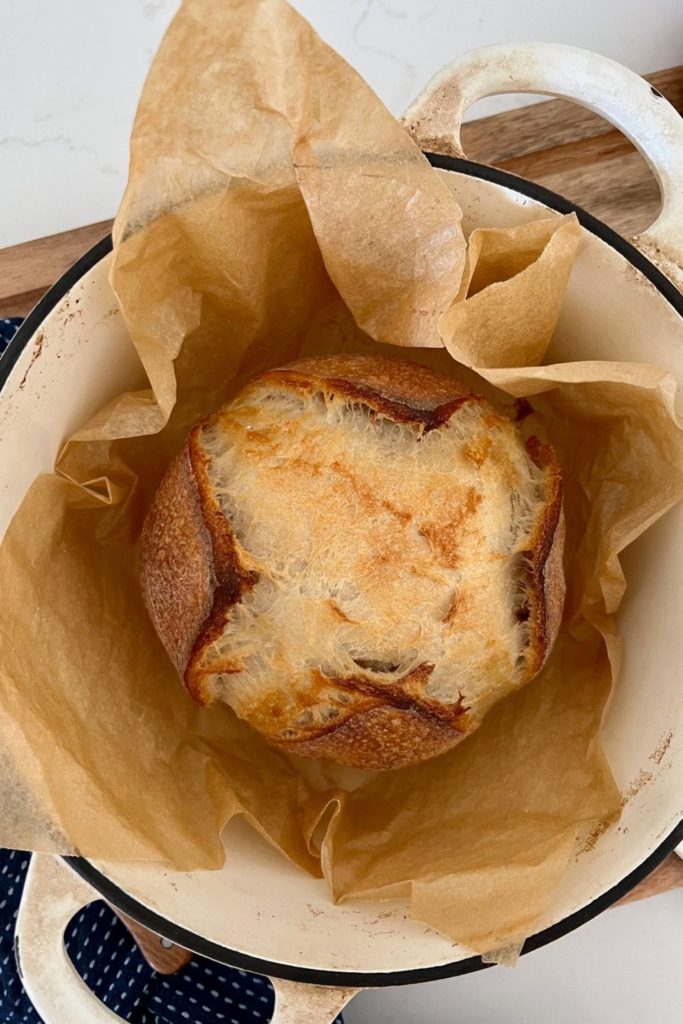
Once you’re ready to bake your sourdough, you’ll need to preheat your oven. When your oven is at temperature, take your sourdough out of the fridge. Gently place it onto a piece of parchment paper. Score your bread with a razor blade or lame and carefully transfer it into your preheated pot and then into your hot oven. Bake for 30 minutes with the lid on and then 10-15 minutes with the lid off.
Kate’s Pro Tip
What Dutch Oven To Use?
Bake your smaller loaves in a hot Dutch Oven for the best results. I’ve used a 3.1L or 3.2Q Dutch Oven. This size loaf is also perfect to bake in a toaster oven.
Baker’s Timeline
It’s best to map out a sourdough baking timeline before you start so that you’re not having to stay up late doing stretch and folds (unless you’re a night owl of course). This is a sourdough schedule that works well for me when making a small batch sourdough loaf.
| TIME | PROCESS |
|---|---|
| 9 am | Pre-mix and fermentolyse for around an hour, forming up the dough and leaving to rest for another 30 minutes before stretch and folds. |
| 11 am | 1st stretch and fold |
| 11.30 am | 2nd stretch and fold. |
| 12 pm | 3rd stretch and fold. |
| 12.30 pm | 4th stretch and fold. |
| 1 pm | Bulk fermentation at room temperature. |
| 6 pm | Shape dough into a batard, place into banneton and then into fridge for cold fermentation. |
| 9 am | Wake and bake! The next morning, you can get up, make a coffee and bake your small batch sourdough loaf! |
Best Bannetons for Small Batch Sourdough Loaf
When using only 250 g of flour, the resulting loaf will be too small to use a “regular” sized banneton. Instead of buying new bannetons for making smaller sized sourdough loaves, I find it easier to use what I have on hand. Often you can use a soup or cereal bowl quite well, but I have found the best thing to use are ricotta cheese baskets from 500 g packages of ricotta cheese.
They are the perfect size for holding these small batch sourdough loaves. I dust the dough with rice flour before flipping it into the banneton and have no issues with the dough sticking. However if you’re worried you can use a rice floured cloth inside the basket. You can find more alternatives for proofing baskets here.

Frequently Asked Questions
Yes you can easily halve a sourdough bread recipe using baker’s percentages or baker’s math, so long as the recipe is written in grams.
A sourdough loaf made with 250g of flour is the perfect size for a sourdough bread bowl. You can use the small batch sourdough bread recipe above to make them. Just multiply the recipe by however many bread bowls your need.
You don’t necessarily need to adjust the cooking time when you halve a sourdough recipe. Generally the same cooking time will apply, whether you’re using 500g of flour or 250g of flour. You’ll just need to keep an eye on the lid off time to ensure the loaf doesn’t brown too quickly.
If you prefer using whole grain flours, you can substitute up to half of the bread flour with whole wheat flour or rye flour. Just remember that whole wheat flour, as well as rye flour can decrease the oven spring you get, as well as give you a more dense crumb. Using Vital Wheat Gluten can help with this issue.
I recommend keeping a sourdough starter that’s around 50g (which you feed with 50g of flour and 50g of water), however if this is too much for your baking needs or you just want to use less flour, then you can keep a smaller sourdough starter. As long as you stick to the 1:1:1 ratio, you can maintain a small sourdough starter of around 25g or even less if you’d prefer. Keeping smaller quantities of starter creates less sourdough discard too.
A smaller amount of starter can be a good option if you’re trying to pare back your sourdough routine, use less flour or you simply don’t bake that often. The great thing about cultivating wild yeast is that you can increase the size of your starter whenever you need to. The smallest amount of sourdough starter you can keep is around 5 to 10g.
Small Batch Sourdough Bread
Equipment
- Basic Kitchen Scale (grab them for as little as $10 here)
Ingredients
- 250 g Bread Flour
- 175 g Water
- 50 g Sourdough Starter, (Fed and Bubbly)
- 5 g Salt, (increase or decrease according to your taste)
Instructions
- Fermentolyse – Premixing The DoughWeigh out your sourdough starter and water into a mixing bowl. Mix the water and starter together briefly. Then add your flour and salt and mix whole lot together to form a shaggy dough. Cover your bowl with a damp tea towel and let it sit for around 1 hour. It's ok if it's a little bit longer, it's not going to matter too much.
- Forming Up The DoughAfter the dough has been through autolyse you need to bring it together into a ball. Work your way around the bowl, grabbing the dough from the outside, stretching it up and over itself, into the centre, until a smooth ball is formed. You shouldn't need more than about 20-25 stretches to form the ball.Once the dough has formed into a smooth ball, pop the damp tea towel back on and let it rest for 30 minutes.
- Stretch & Fold – Creating StructureOver the next few hours you need to create some structure for your dough by "stretching and folding". Aim to do around 4-6 sets of stretches and folds. For each set, stretch the dough up and over itself 4 times. Leave around 15 minutes in between each set. Again you do not have to be exact with time, but you need to do at least 4 sets over 2 hours.
- Bulk FermentOnce you've finished your stretch and folds, cover the dough with a plastic cover (a recycled plastic bag is perfect) and allow the dough to double at room temperature.
- Shaping The DoughOnce your dough has finished its first ferment, it's time to shape it into either a boule or a batard. You'll need to flour your counter top with rice flour for this (we use rice flour because it has no gluten). Try to be quite sparing with the rice flour, you only need a very light dusting.Use a dough scraper to gently ease the dough out of the bowl (your hands work just fine if you don't have one). You want it to land upside down on your counter so that the smooth top of the dough is on the countertop and the sticky underside is facing up. This will make it easier to shape.You want to pull the edges of the dough into the centre and then flip it over so that the sticky side is now underneath. Using the stickiness, gently pull the dough into a tight ball.You will need a proofing basket or container to put your dough into. If you do not have a banneton, then a bowl or basket lined with a floured tea towel is perfectly fine. Make sure your bowl isn't too big though, you want your dough to retain some shape. You can find more notes on what to use as a banneton here.Whatever you're using needs to be liberally floured with your rice flour. If you're using a cloth or tea towel, rub the flour into it to ensure it becomes non stick (see notes here for details on this).
- Placing Into A Proofing ContainerOnce the dough is shaped into a tight ball, place it into your proofing basket or container smooth side down, so your seam is on the top.
- Cold FermentNow the dough is in its "shaping container" cover it loosely with a plastic bag and place into the fridge. Try to leave it in the fridge for a minimum 5 hours up to a maximum of around 36 hours. The longer you leave it the better your bread will be! A longer cold ferment creates beautiful blisters on your crust and a deeper sourdough flavour. It will also ensure your dough forms a skin which makes it easier to score.
BAKE YOUR SMALL BATCH SOURDOUGH LOAF
- Once you're ready to bake your sourdough, you'll need to preheat your oven to 230ºC/450ºF. Leave your dough in the fridge until the very last minute – placing a cold dough into a hot oven will give you a great "spring".When your oven is at temperature, take your sourdough out of the fridge. Gently place it onto a piece of parchment paper or silicone sling if using. Gently score your bread with a clean razor blade or knife. At minimum a large cross is sufficient, but you can get as artistic as you like. You can find my full guide on how to score sourdough bread here.Carefully take your dutch oven out of the oven. Place the sourdough into the pot using the silicone sling or parchment paper as a handle. Put the lid on and place into the hot oven. BAKE TIME:30 Minutes with the lid on at 230ºC/450ºF plus10-15 Minutes with the lid off at 210ºC/410ºF
- Finishing The BakeWhen you remove your dough from the oven, carefully remove it from the oven as soon as possible and place on a wire rack to cool.
Nutrition
Nutrition information is automatically calculated, so should only be used as an approximation.
Like this? Rate and comment below!









This is my favorite recipe and I’ve been making it every few weeks. The hydration level is perfect, the recipe is fairly easy, and your instructions are clear – thank you. I’m looking forward to trying your other recipes!