This post contains affiliate links. Please see our disclosure policy.

You absolutely can use a stand mixer to make sourdough bread. Using a stand mixer changes the mixing process, not the fermentation, shaping, or baking steps. The best part? You still get all the benefits of long fermentation and natural leavening, your mixer just helps get you there with fewer steps.
Making sourdough in a stand mixer is a total game changer for busy bakers. You get all the flavour, texture, and joy of homemade sourdough, just with far less effort. Whether you’re juggling family life, baking multiple loaves a week, or simply love a streamlined routine, your stand mixer can help you create beautiful bread with ease.
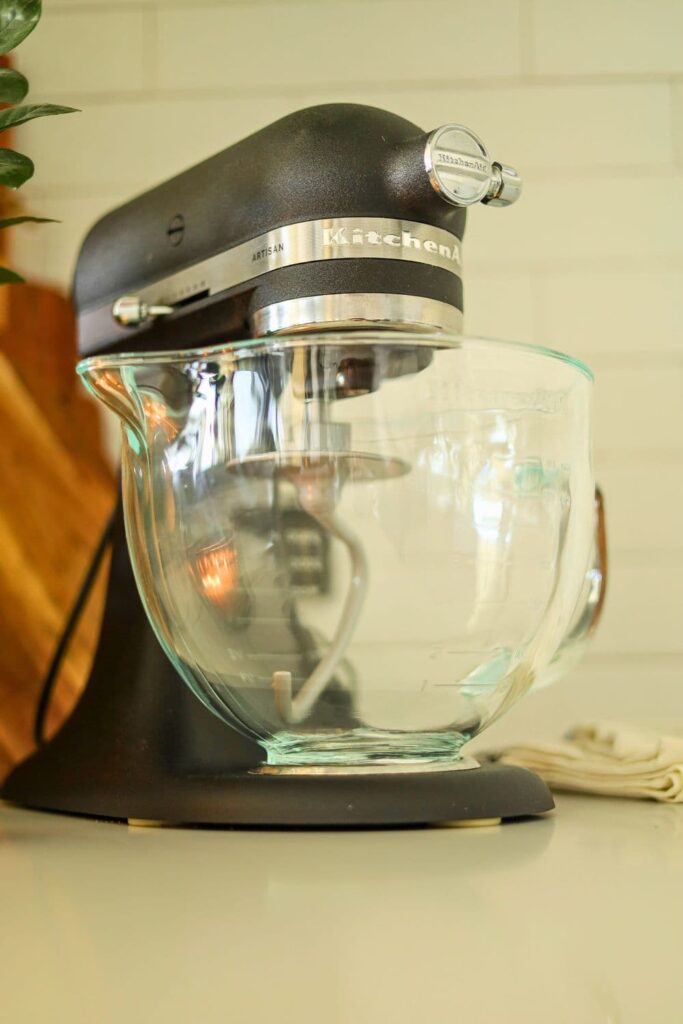
I have created this stand mixer sourdough bread recipe using a KitchenAid Stand Mixer with a dough hook attachment. It will work in any tilt head stand mixer. You can also read about my sourdough method for Thermomix (TM5 and TM6).
Below, I’ll walk you through exactly how to use a stand mixer to make sourdough bread, when it works best, and a few tips to ensure your dough still develops that classic open, airy crumb and chewy texture we all love!
Why Use Stand Mixer for Sourdough Bread?
If you’ve ever wished sourdough could fit more easily into your busy day, using a stand mixer might just become your new favourite baking shortcut. While sourdough is often made by hand, a stand mixer can take over the heavy lifting (literally!), making the process smoother, quicker, and much kinder on your wrists. Whether you’re a parent trying to bake between school runs or a sourdough lover who wants more consistency in their dough, this method is incredibly reliable.
- enables people with arthritis or other medical issues to make sourdough bread without having to use their hands as much.
- Hands-free kneading means you can multitask while gluten develops.
- Machines handle higher hydration sourdough more easily
- Faster sourdough process
- Outstanding gluten development in a shorter time using a stand mixer – this results in outstanding oven spring when baked.
- Also great for sandwich loaves and butter rich doughs
There aren’t too many reasons not to use a stand mixer for sourdough bread, but if I had to pick some, they would be:
- Need to be careful not to burn out the motor on some brands and models of stand mixers. Read manufacturer’s instructions for kneading dough to ensure you don’t overwork the motor.
- Dough can get too hot causing fermentation to happen too fast (this can happen particularly if making a butter rich dough like sourdough brioche)
- You can over knead the sourdough more easily in a machine.
- Cleaning the hook can be a pain with particularly sticky dough.
- When using a smaller stand mixer like the KitchenAid, you are restricted to one loaf per batch, however you can use a larger machine like an Ankarsrum Assistent or Ooni Halo Spiral Pro Mixer to create larger batches of dough and make multiple loaves of sourdough at once.
Let’s Make Sourdough in a Stand Mixer!
Using a stand mixer for sourdough bread puts all the gluten formation at the beginning of the process and eliminates stretching and folding. When using a stand mixer, your basic sourdough process would look like this (based on my beginner sourdough recipe with 100 grams of active sourdough starter).
Ingredients
- Sourdough Starter
- Water
- Bread Flour
- Salt
Basic Process
- Pre Mix (very short fermentolyse – adding starter, water, flour and salt)
- Knead (4 to 6 minutes)
- Bulk Fermentation – dough rise to double at room temperature
- Shaping and into Banneton or basket
- Cold Fermentation in Refrigerator
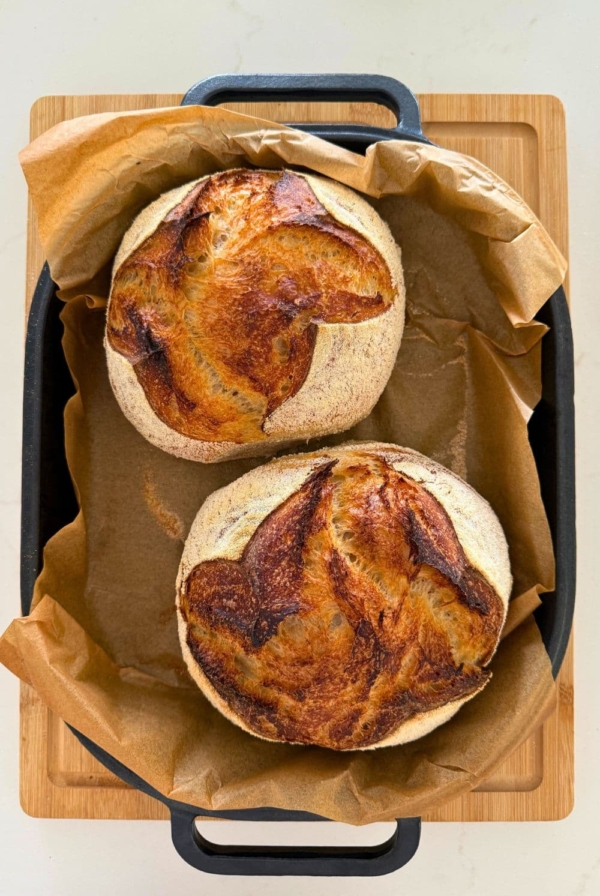
- Bake in a Dutch Oven
- Cooling
I’ve written the full process into the recipe card at the bottom of this post. Of course you’ll still need all the usual equipment for making sourdough bread like a dough scraper, banneton and razor blade or bread lame.
Remember, using a stand mixer changes the mixing process, not the fermentation, shaping, or baking steps. I find that making sourdough in a stand mixer is very handy if you are time poor. I can knead a loaf of sourdough while simultaneously cooking dinner for my family. It’s then easy to let it bulk ferment overnight. But my actual hands on time in the process is minimal – which is perfect if you’re a busy person!
Do I Still Need To Stretch & Fold?
Using a machine to make sourdough bread will eliminate the need to stretch and fold the dough. The stand mixer will knead the dough and develop the gluten structure for you at the beginning of the process rather than performing stretches and folds to strengthen the dough over several hours.
This is really handy when you are making recipes like sourdough hot cross buns or sourdough brioche donuts. But when making traditional sourdough bread, you do not need to perform any stretch and folds or coil folds once you’ve mixed the dough in a stand mixer. The stand mixer will create a nice, strong gluten structure for you. All you need to do once it’s mixed is allow the dough to bulk ferment.
Of course, you can stretch the dough into a neater ball before bulk fermentation if you want to, but you don’t have to.
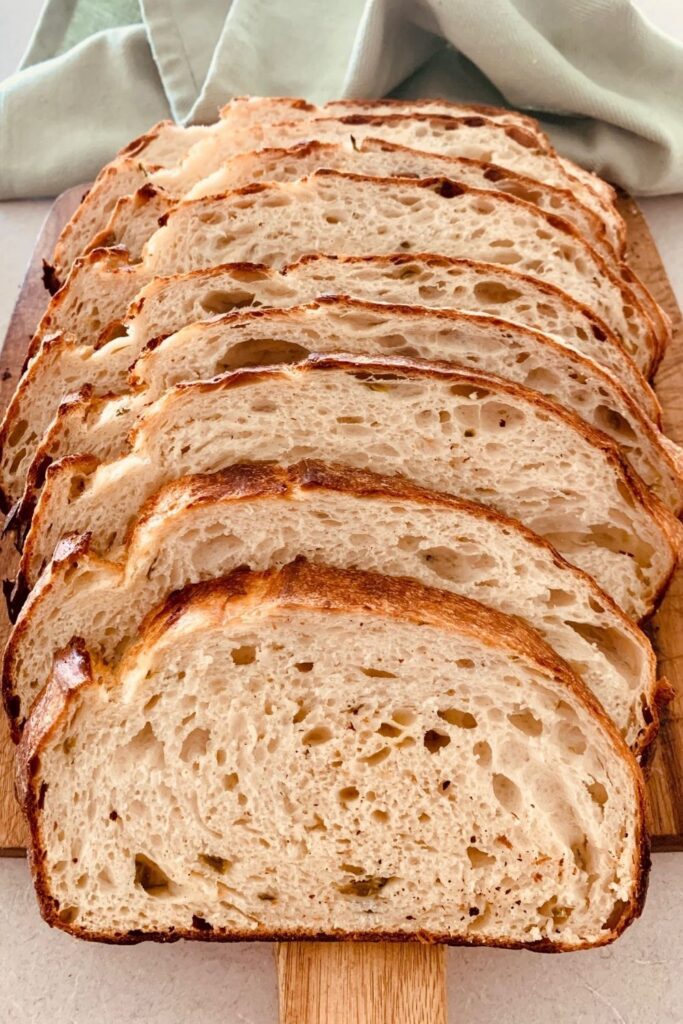
Adding Flavors
If you are using a stand mixer to make sourdough bread – you may also want to make flavor additions to the dough. For example you might like to make a fruit loaf or a jalapeño cheddar loaf.
Add the flavors towards the end of the kneading so that they are well incorporated but don’t get too thrown around by the dough hook. Alternatively, you can add your flavors in after the kneading process is complete. Allow the gluten to relax in the dough and then add them by laminating the dough.
Kate’s Recipe Tips
- Make sure that the bowl is locked in place before you use the dough hook. It can move around and damage the machine if it’s not locked in place correctly (ask me how I know this).
- Don’t overload the bowl as the dough can climb the hook and damage the stand mixer. It’s best to stick to no more than 700 grams of flour when using a stand mixer.
- The dough hook should be used at speed 2, no higher as it will put too much stress on the motor (source – KitchenAid Product Guide). High speeds will also tear the gluten, rather than gently develop it.
- Knead dough in 2 minute increments – and no more than 4 – 6 minutes total mixing time.
- Never leave your stand mixer unattended. While I often multitask in the kitchen, I never leave the room, I’m always watching and listening to my mixer just in case.
Other Sourdough Recipes To Make in Stand Mixer
While it’s possible to make traditional sourdough in a stand mixer, there are also other sourdough recipes which work really well in a stand mixer.
Here are my favorite sourdough recipes to make in a stand mixer:
- Sourdough Brioche Loaf
- Sourdough Dinner Rolls
- Fluffy Sourdough Cinnamon Rolls
- Easy Sourdough Discard Sandwich Loaf
- Stand Mixer Sourdough Pizza Dough
Frequently Asked Questions
Yes it’s perfectly fine to mix sourdough in a stainless steel Kitchen Aid bowl. It is non reactive and will not affect your bread. It’s actually a myth that you cannot make sourdough with stainless steel utensils.
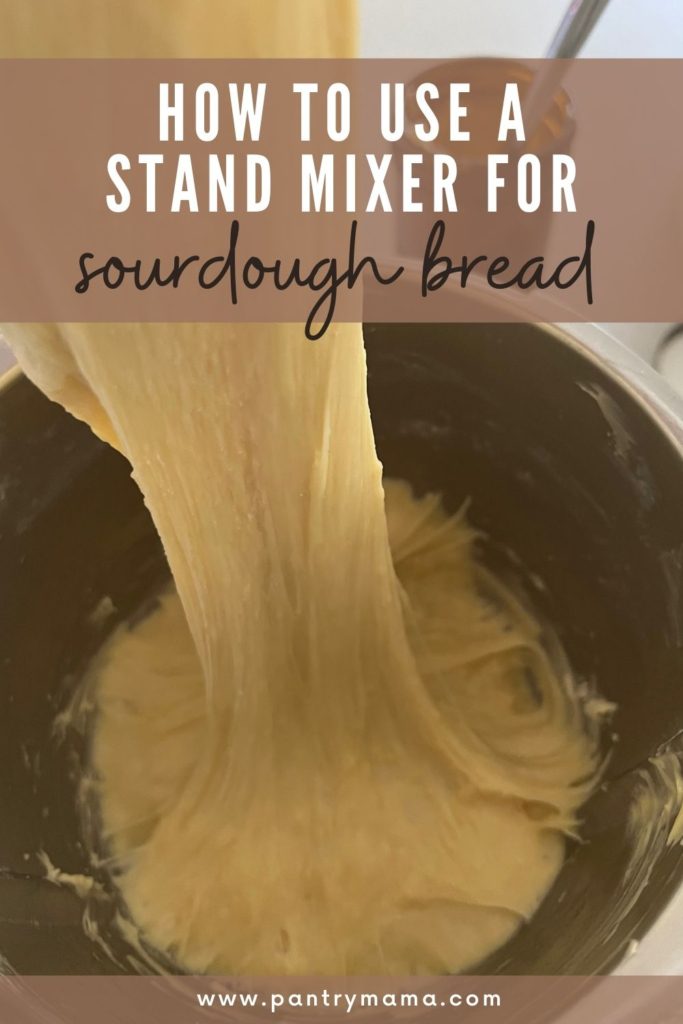
You’ll know when your stand mixer has finished kneading your sourdough when the dough is not sticking to the sides of the bowl. It will form a ball around the dough hook. It will be quite elastic and stretchy and will “slap” the sides of the bowl as it goes around.
Sourdough is sticky so it will tend to stick to the hook. Egg rich doughs like brioche will tend to stick more than a lean sourdough. It’s normal for sourdough to climb the dough hook while being kneaded in a stand mixer.
You should be able to get your sourdough kneaded in around 4 – 6 minutes in a Kitchen Aid mixer. Allow the dough to knead for 2 minutes before giving the machine a short break. This stops the motor from over working, but also stops the dough from becoming too hot.
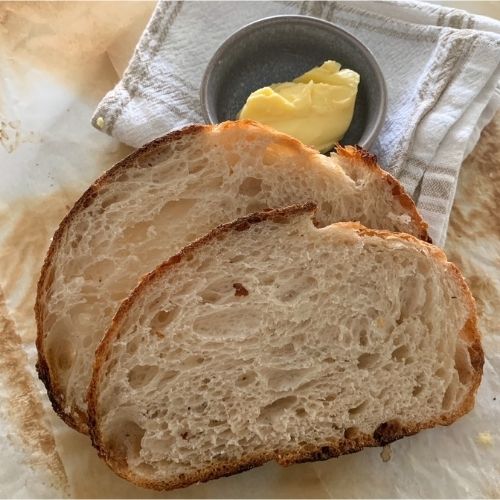
It can make the dough slightly tighter if over mixed, but with gentle mixing, you’ll still get an open, beautiful crumb. Using your mixer on low speed will ensure that you are gently developing the gluten network, rather than tearing it.
Not at all, flavour comes from fermentation time, not mixing method. And remember the mixer only helps with the mixing, not the fermentation or baking parts.
Stand Mixer Sourdough Bread Recipe
Equipment
- Stand Mixer (KitchenAid or similar)
- Banneton
- Dutch Oven
Ingredients
- 100 g Sourdough Starter , fed and bubbly (can decrease to 50g – see notes)
- 350 g Water
- 500 g Bread Flour
- 10 g Salt
Instructions
PRE MIX
- Add your sourdough starter and water to the stand mixer bowl. Gently mix together for around 30 seconds or until the sourdough starter is dispersed through the water and the water is cloudy. I use a spatula to do this.
- Now, add the dough hook to your stand mixer and add your flour and salt to the sourdough starter and water in the stand mixer bowl. Knead for around 30 seconds at speed 2 or until it comes together in a shaggy dough.
FERMENTOLYSE
- Leave dough to rest in the bowl for around 10 minutes (you can leave it up to around 30 minutes if you want to).
KNEADING
- Use the dough hook to knead the dough in 2 minute increments. This should take around 4 – 6 minutes.You'll know when the dough is done when you look into the bowl and see that there is a gap between the dough and the side of the bowl because the dough has formed a "ball". The dough will be elastic when you pull it up and have quite a bit of stretch.
BULK FERMENTATION
- Remove the stand mixer bowl from the appliance and cover with a plastic cover. Now leave the dough to bulk ferment until double at room temperature.It's ok to leave the dough to bulk ferment in either glass, ceramic or stainless steel. I've tested this recipe using all 3 different types of stand mixer bowls and it works in all of them.
SHAPING
- Use a silicon spatula to gently ease the dough out of the bowl. You want it to land "upside down" with the smooth top of the dough at the bottom and the sticky underneath on the top. This will make it very easy to shape.Using your hands, pull the top the dough into the centre so that it starts to form a ball. Once all the edges are in the centre, turn the dough over so that the smooth dough is at the top. Using the sticky underside, gently tension the dough so that it forms a ball.
- You will need a banneton to put your dough into. If you do not have a banneton, then a bowl or basket lined with a floured tea towel is perfectly fine. Make sure your bowl isn't too big though, you want your dough to retain some shape.Whatever you're using needs to be liberally floured with your rice flour. If you're using a banneton – liberally sprinkle it with rice flour. If you're using a cloth or tea towel, rub the flour into it to ensure it becomes non stick.Once the dough is shaped into a tight ball, place it into your banneton smooth side down, so your seam is on the top – this way the top of your dough will get the pretty lines from the banneton. If you're using a cloth or tea towel in a bowl it's ok to put your dough with the smooth side up. Just make sure the dough is tight.Lift your dough around the edges to pop a little more rice flour if you feel it needs it. Just try to handle the dough as little as possible and be really gentle as you really want to preserve all the gases and air bubbles that have formed during your bulk ferment.
COLD FERMENTATION
- Now your dough is in it's "shaping container" cover it loosely with a plastic bag or damp tea towel and place into the fridge. I use a large plastic bag to cover it – I just reuse it each time. It's not totally essential to cover it – you can place it in the fridge uncovered if you'd prefer.Try to leave it in the fridge for a minimum 5 hours up to a maximum of around 36 hours. The longer you leave it the better your bread will be! A longer cold ferment creates beautiful blisters on your crust and a deeper sourdough flavour. It will also ensure your dough forms a skin which makes it easier to score.
- Once you're ready to bake your sourdough, you'll need to preheat your oven to 230C/450F. Place your Dutch Oven into the oven when you turn it on so it gets hot. Try to preheat for around 1 hour to ensure your oven is super hot – but you know your oven so just adjust this time if you need to.Leave your dough in the fridge until the very last minute – placing a cold dough into a hot oven will give you a great "spring".
BAKING
- Now it's time to bake!When your oven is at temperature. Take your sourdough out of the fridge. Gently place it onto a piece of baking paper. Make sure that you make the baking paper big enough to use the edges as a handle to lower to dough into your Dutch Oven.Gently score your bread with a lame, clean razor blade or knife. At minimum a large cross is sufficient, but you can get as artistic as you like. Try to score it fairly deep to ensure the dough opens up.
- Carefully take your dutch oven out of the oven. Place the sourdough into the pot using the baking paper as a handle. Put the lid on and place into the hot oven. If you want to you can spritz your dough with extra water before you put the lid on.If you're worried about the base of your bread burning, place a baking sheet on shelf underneath your Dutch Oven – it works!BAKE TIME:Bake your sourdough for 30 minutes with the lid on at 230C/450F plus10 minutes with the lid off at 210C/
- When you remove your dough from the oven, carefully remove it from the dutch oven as soon as possible and place on a wire rack to cool.
Notes
Nutrition
Nutrition information is automatically calculated, so should only be used as an approximation.
Like this? Rate and comment below!


Learning to bake sourdough is definitely a journey! My bread is more like a frisbee than a loaf. What factors should I monitor for better oven rise? I baked at 450F and let oven and Dutch oven preheat almost an hour. End product was not very brown after 30 min covered and 10 min uncovered. Wondering if oven was hot enough? I used a stand mixer and also wonder if bulk fermentation was sufficient?
I would look to your sourdough starter first. If it’s only young, it probably just needs more time to become established and be able to rise your bread. These two posts might help 🙂
https://pantrymama.com/how-do-you-know-when-your-starter-is-ready-to-bake-with/
https://pantrymama.com/underfermentedsourdough/
This post is fantastic! Not only the recipe but all the tips and details. I had already given up on sourdough after so many failed attempts but you made it happen! Thank you so much for sharing this precious knowledge. My bread turned out beautiful and tasty, I’m so happy!!! Now I’m gonna buy a bigger banneton cause I figured mine is way too small. I’m so excited to bake more healthy bread for my family.
About to try my second sour dough stand mixer bread. First on became a focaccia bread ( it was pretty good but not much flavour). Hope I have better success this time. I will put 120gm starter in a fresh jar and add equal parts four and warm water. It should double in size in approximately 6 hours. Is this correct? Then I will follow the recipe to make the bread.
The time your sourdough starter takes to peak will depend on the temperature of your kitchen 🙂
Can I add Asiago cheese and garlic powder during the kneading process in the mixer? I want to try the mixer as I have shoulder issues and stirring and slap and fold are tough for me. Thanks.
You can or you could add them at shaping – I think this would be better with the garlic powder 🙂
I made my very first loaf using this recipe and guide, and it was absolutely perfect. Beautiful crunchy thin crust with a fluffy centre. I can’t believe my first loaf was so good. thanks for the comprehensive guide.