Aliquot Jar Method For Better Sourdough Bulk Fermentation
This post may contain affiliate links.
In the bustling world of sourdough bread making, where TikTok tutorials and Instagram stories reign supreme, there's a timeless method that's quietly revolutionizing the way bakers approach their craft: the aliquot jar method.
Originating from the pursuit of perfect sourdough loaves and the desire to understand every nuance of fermentation, this method offers a window into the soul of your sourdough, revealing its secrets with every rise and fall.
In this post I want to examine exactly how to use the aliquot jar method and whether or not it is indeed a foolproof way to judge whether bulk fermentation is done. If you're in pursuit of those glorious bubbles and open crumb for your next sourdough bake, grab a coffee and let's deep dive into the aliquot method of sourdough bulk fermentation.
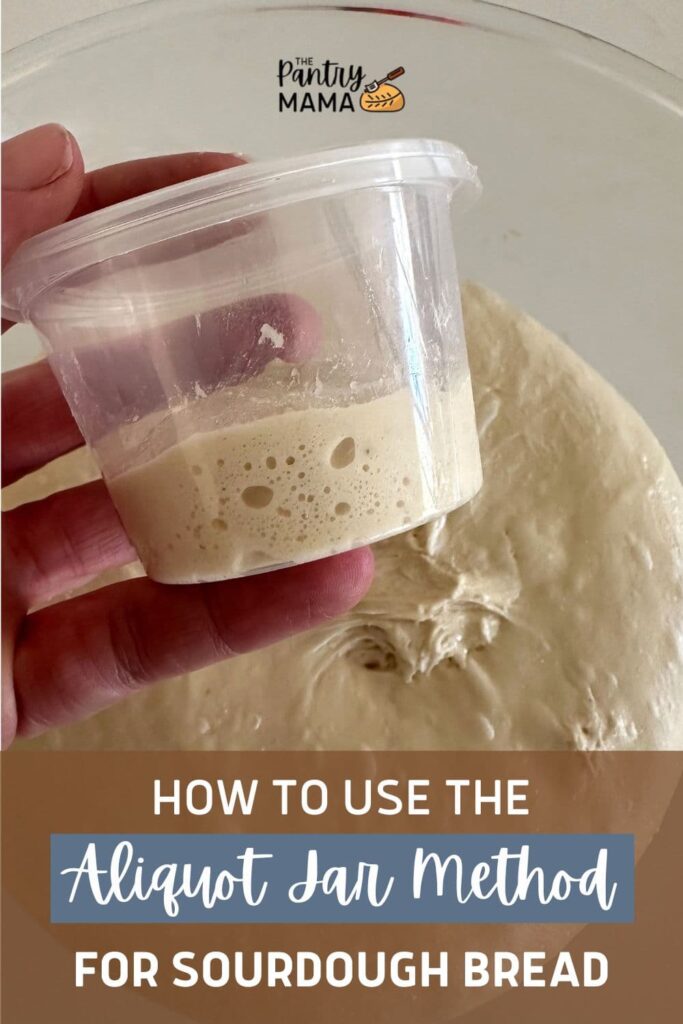
What is an Aliquot Jar?
So, what exactly is an aliquot? Aliquot comes from the scientific world, meaning "piece of a larger whole". It is often used in chemical analysis as an extraction of a smaller part or piece needed for closer analysis.
This idea of sample aliquoting has carried across into the world of sourdough and the idea of the sourdough aliquot jar was born.
Picture a spy glass into the heart of your dough, a small glass jar that holds a precious sample of your sourdough at various stages of fermentation. This simple yet ingenious tool allows you to monitor the progress of your dough with precision, providing insights into its rise, activity, and readiness for baking.
When used correctly, you'll know whether you've given your dough enough time to ferment, or whether it needs a little more before it's ready for shaping.
I would liken the aliquot jar method to measuring your sourdough starter by using a rubber band on the jar. You place the rubber band on the jar when you feed the sourdough starter. This allows you to know when the sourdough starter has doubled or even tripled.
How Big Should an Aliquot Jar Be?
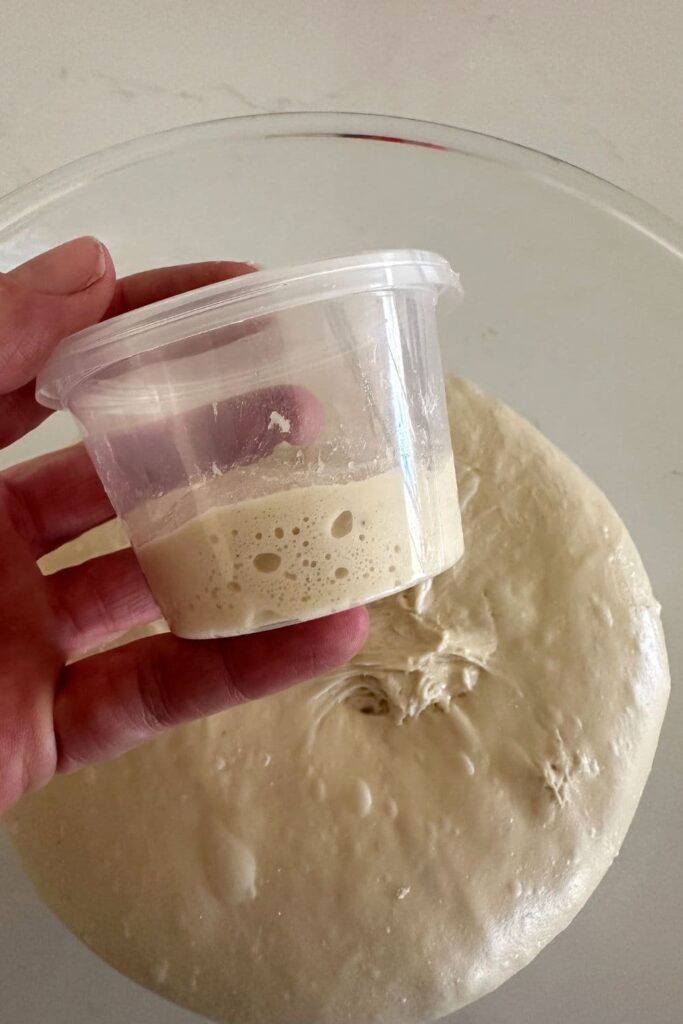
An aliquot jar should fit 20g to 30g of dough inside and allow it to expand until it's doubled. You don't want it so small that you can't get the dough in, but too big and it kind of loses its purpose.
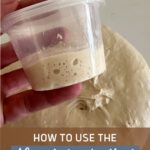
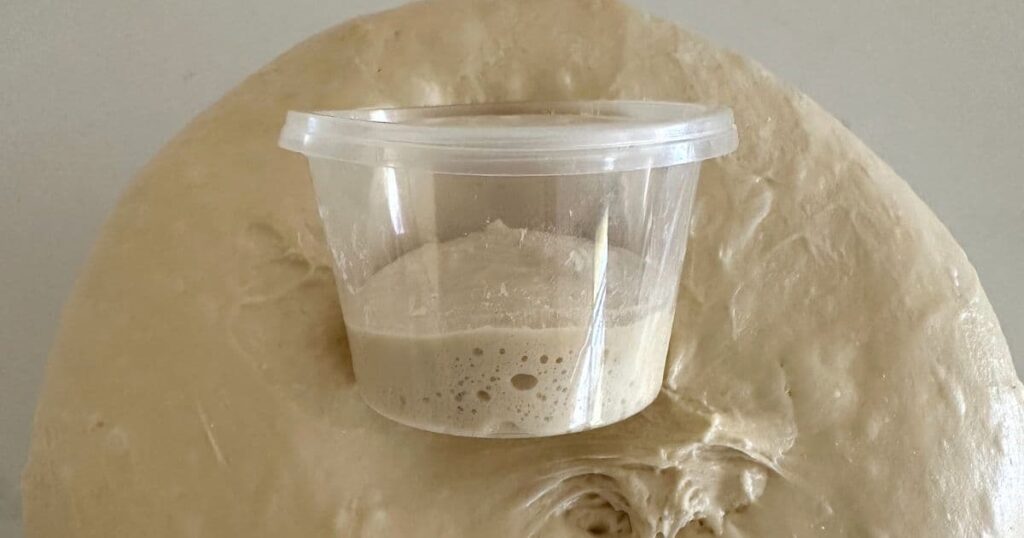
You can buy aliquot tubes online. These are small, straight sided tubes that require a pump to get the dough in and out of the tube. While these are purpose built, I don't use them because I don't want superfluous. equipment in my draws. I like using the small jars I already have on hand (like in the photo above).
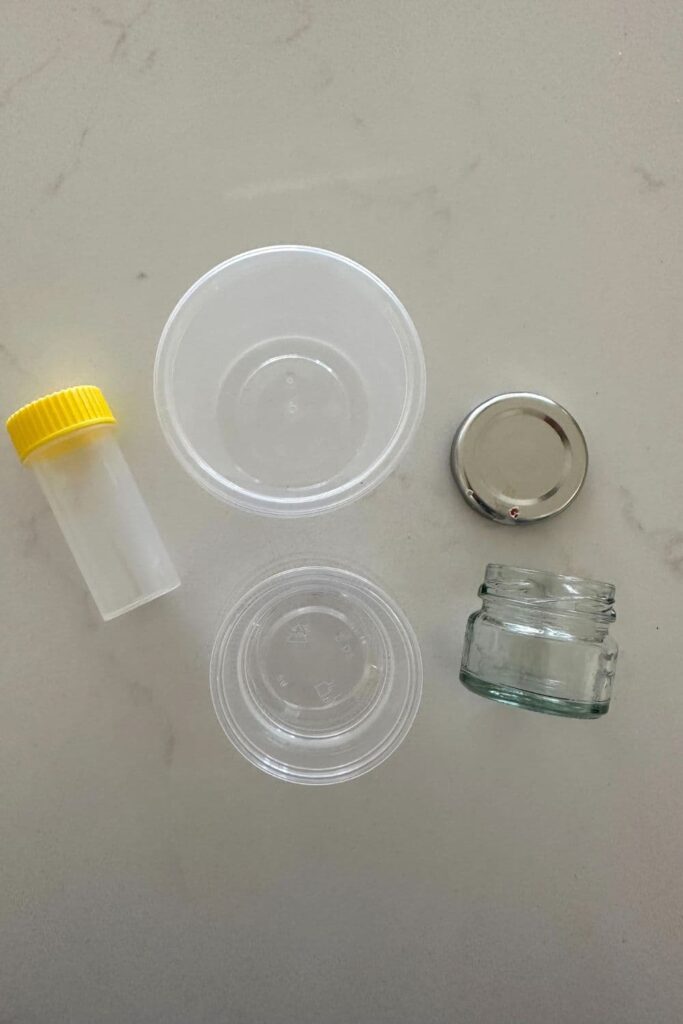
You really can use any type of small container. It is best if it is straight sided and has a lid, but you can also cover a small glass too. Some of the types of containers you could use as an aliquot jar include:
- small lidded take out container (think a condiment container)
- small jam jar with lid
- straight sided shot glass covered with plastic wrap
- a small measuring glass
While it is generally referred to as an aliquot jar, suggesting it's made of glass, a plastic container is fine for this purpose.
How To Use the Aliquot Jar Method for Sourdough Fermentation (Step By Step Guide)
Using an aliquot jar for your next sourdough bake isn't difficult. Here I've prepared a step by step guide on how to incorporate the aliquot jar method into your next sourdough bulk ferment.
- Begin by preparing your sourdough as normal. Mix your active sourdough starter with flour and water in a large mixing bowl, incorporating salt to ensure your gluten network develops like its meant to (you can use my easy beginner's sourdough recipe).
- Perform your stretch and folds to develop the gluten network in your sourdough.
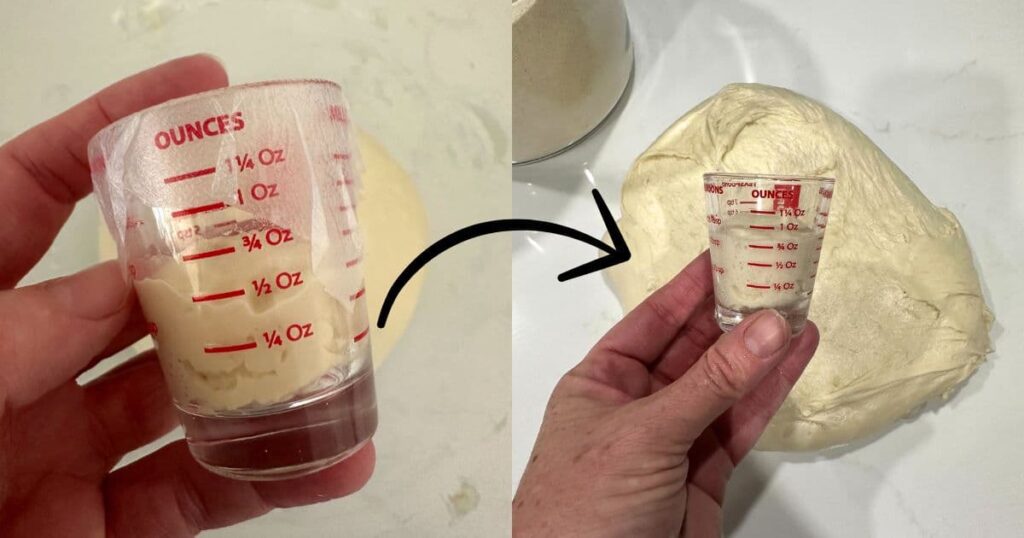
- Once you've finished the stretch and folds and you're ready to cover your dough and leave at room temperature for bulk fermentation. Before you do this, take a small piece of dough (around 20 to 30g) and place it into your chosen aliquot jar. You want the dough to take up around half the jar (or just under).
Wet your fingers if you need to and push the dough into the bottom of the jar as much as possible. Put the lid on the jar. Place the aliquot jar into the top of the dough so that it is at the same ambient temperature as the rest of your dough. - Cover the sourdough and leave it to ferment, checking the jar periodically to see when it is ready to shape. It's during this time that you'll witness the magic of lactic acid bacteria and wild yeast at work as air bubbles dance through the dough, signalling its readiness for the next stage.
- The sourdough is ready to shape when the dough sample in the aliquot jar has filled the jar completely and is touching the top of the lid (this is why its so important to use the correct size jar).
- When you flip the dough out onto the counter to shape, take the sample of dough out of the aliquot jar and place it back into the middle of the main dough so that it is incorporated in the dough as you shape it. This way you aren't wasting any of the dough at all.
The beauty of the aliquot jar method lies in its ability to provide valuable feedback at every step of the way. As you observe the rise of the dough within the jar, you'll gain insights into its enzymatic activity, temperature dependency, and overall health.
Adjustments can be made accordingly, whether it's giving your dough more time to ferment at room temperature or opting for a cold retard to slow down the process.
What Can Go Wrong When Using An Aliquot Jar for Sourdough?
However, like any technique, there are potential pitfalls to be aware of when using the aliquot jar method. I've done lots of sourdough experiments with an aliquot jar and have found that temperature fluctuations, overly hot environments and neglecting to use a suitable container can all impact the accuracy of your observations.
Choosing the right jar, preferably a small glass jar with clear markings and a tight-fitting lid, is essential for maintaining consistency and reliability throughout the aliquot sampling process.
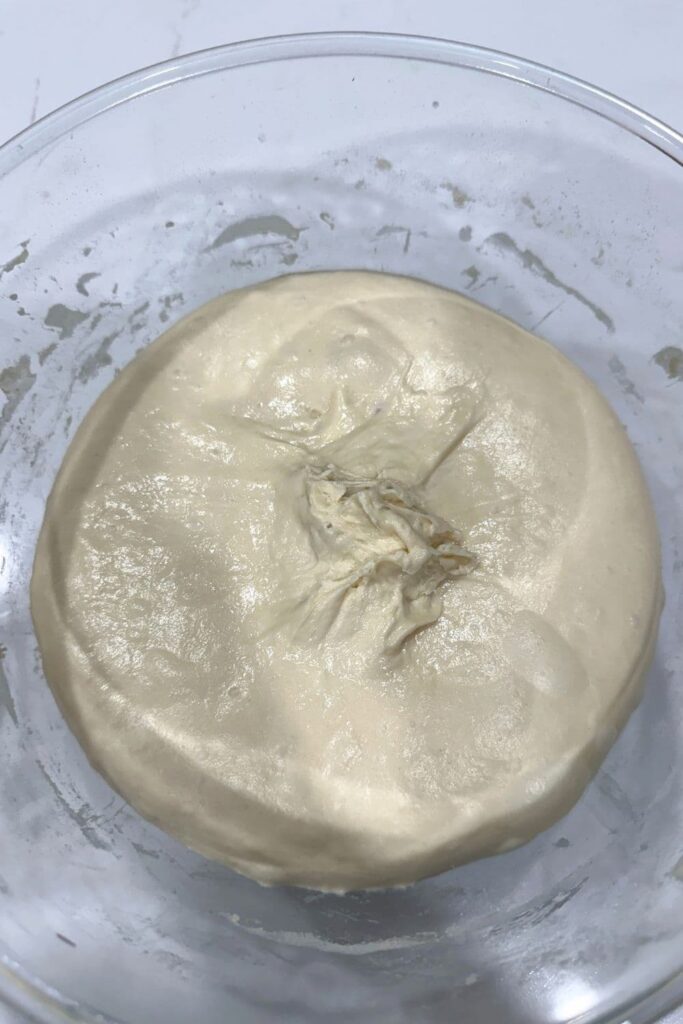
The other pitfall I observed when experimenting with aliquot jars was that sometimes nestling the jar into the top of the dough can cause issues when you take the jar out to check it or shape the dough. If the jar sticks to the dough it can tear that precious top part of the dough, making it sticky and unmanageable. This can cause problems when you flip the dough out to shape it.
An easy way to fix this is to dust the top of the dough with rice flour or semolina before you flip it out onto the counter top. This can however, be an issue if you don't like using flour when you shape (which is what I experienced).
Do You Have To Put The Aliquot Jar Into The Dough?
You don't have to put the aliquot jar containing your dough sample back into the main dough. However if you put it next to the bowl or somewhere else, then you run the risk of having inaccurate feedback about the dough sample vs the main dough.
For example the small sample of dough will warm up faster than the main bowl of dough, so if it's not in the bowl, it could show that it is ready to shape before the main dough is ready.
I know I always say this, but it's really something you'll need to experiment with to find out whether it works for you and your sourdough routine.
How Else Can You Measure Bulk Fermentation
Like most things in sourdough bread baking, you need to find what works for you and your lifestyle. For some people using an aliquot jar is the magic key that unlocks the secret to bulk fermentation. For others, it feels unnecessary and is just something else to clean up at the end of baking.
So how else can you measure when bulk fermentation is done?
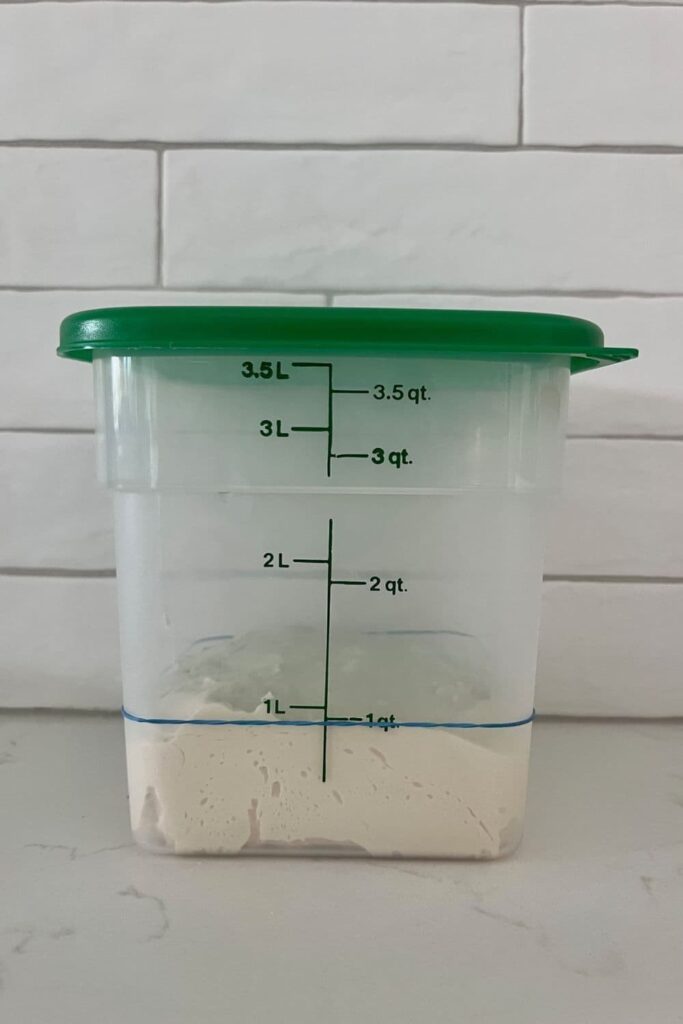
- Using a straight sided cambro container
- Using visual cues like size, stickiness, bubbles etc
- Honing your sourdough instincts
Sourdough Resources
If you're new to the sourdough journey, or you're looking for some help to bake the best loaf of sourdough ever, you might find these sourdough resources useful:
- How to strengthen your sourdough starter
- How to get bigger bubbles in your sourdough starter
- What should sourdough bread actually look like?
- Bulk Ferment vs Cold Ferment - what's the difference?

