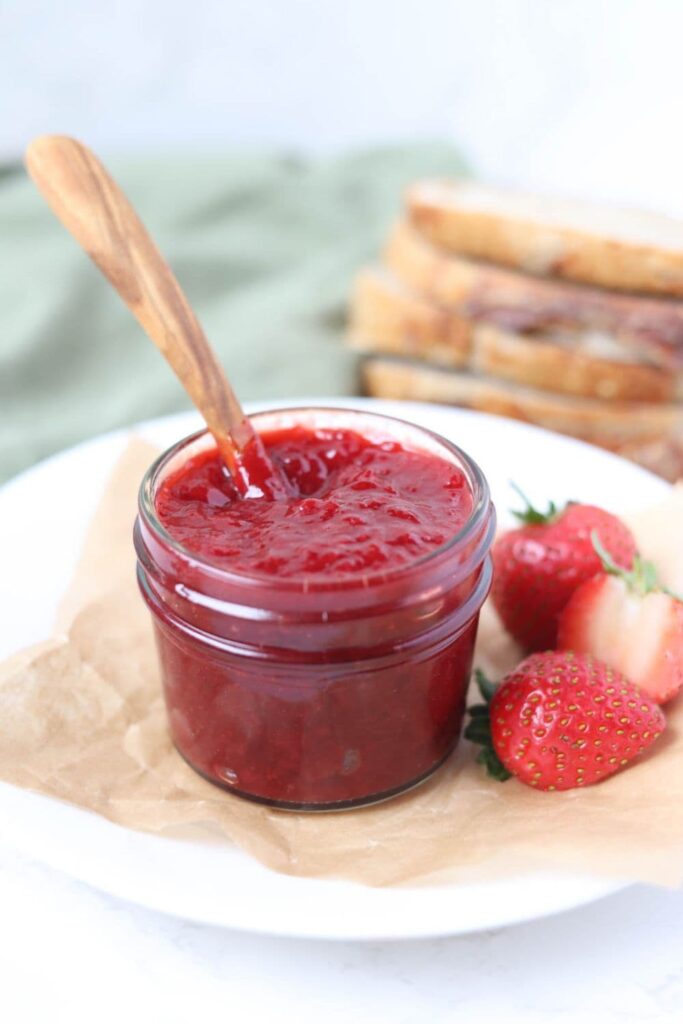
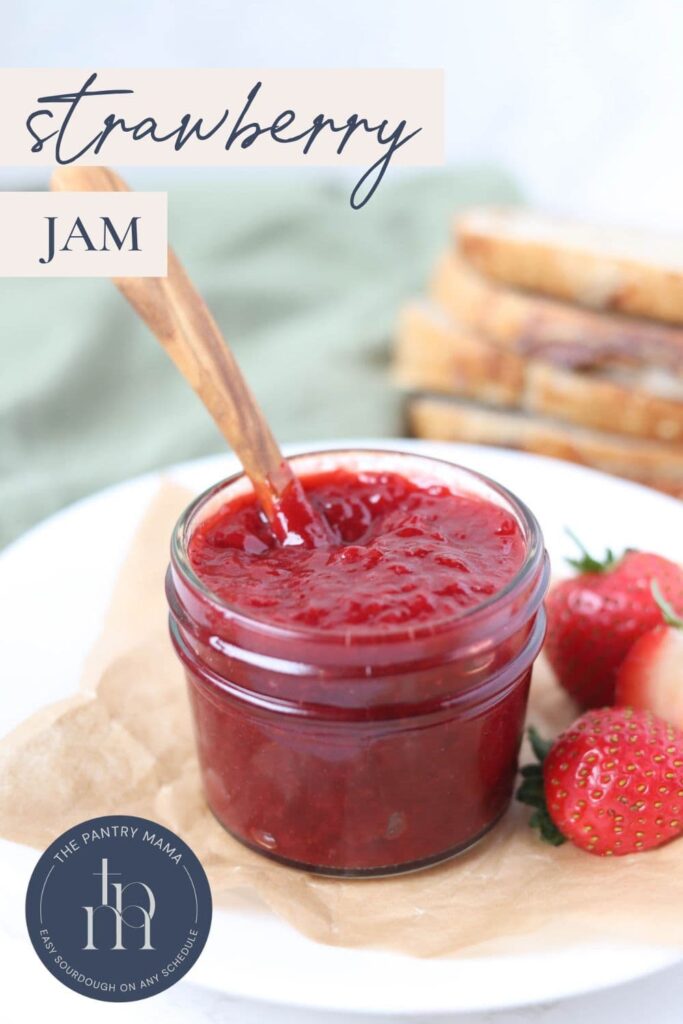
Small Batch Strawberry Jam (no pectin)
This post may contain affiliate links.

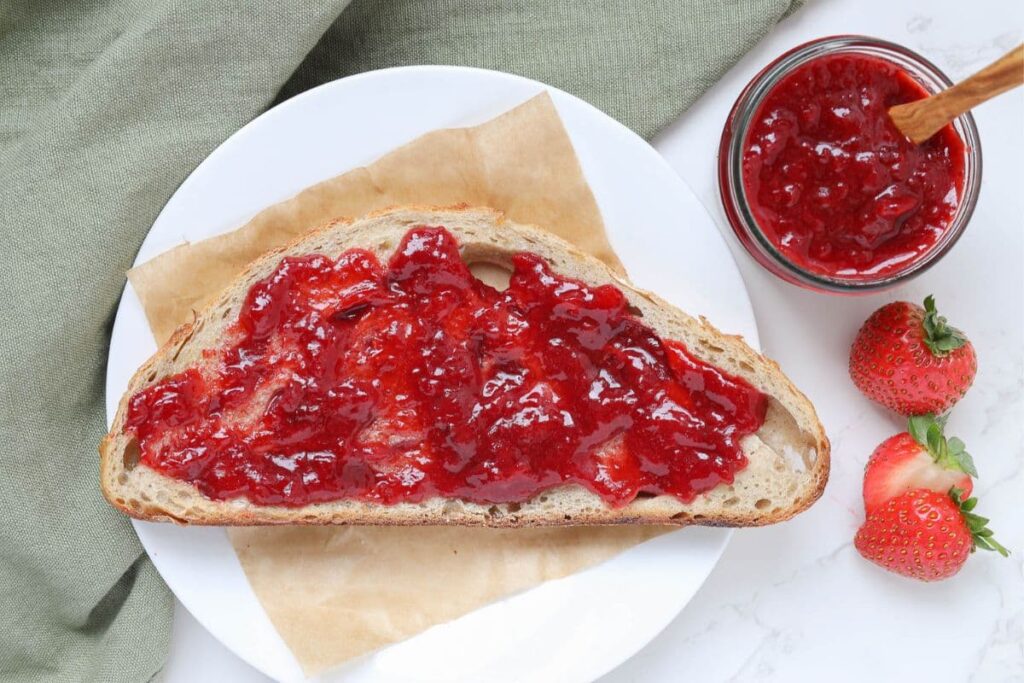
Is there anything better than homemade strawberry jam? Packed with sweet strawberry flavor, it’s perfect for spreading on your sourdough toast at breakfast or adding to a fruity dessert. And with only three ingredients, this jam is super easy to make. Whether you’ve got fresh strawberries straight from the field or frozen strawberries from the grocery store, you’re going to adore this bright and tangy jam!
Why You’ll Love This Recipe
Super flexible - I love that making jam at home means I can make it just the way I like it. You can adjust the sweetness by adding more or less sugar or make it tangier with additional lemon juice. You could also add in a bit of vanilla extract, fresh ginger, lime juice, or the zest of the lemon for more lemony flavor.
Make it any time of year - this tastes amazing with fresh ripe strawberries if they’re in season, but you can make it in the wintertime by using frozen strawberries and it’s just as good. You don’t even need to thaw them first!
A great starter jam - This is a super easy recipe, even if you’ve never made jam before. You don’t need any specialty equipment or any canning knowledge since this is a fridge jam. I do love these stainless steel jam funnels though, they make filling jars with hot jam so neat and easy!
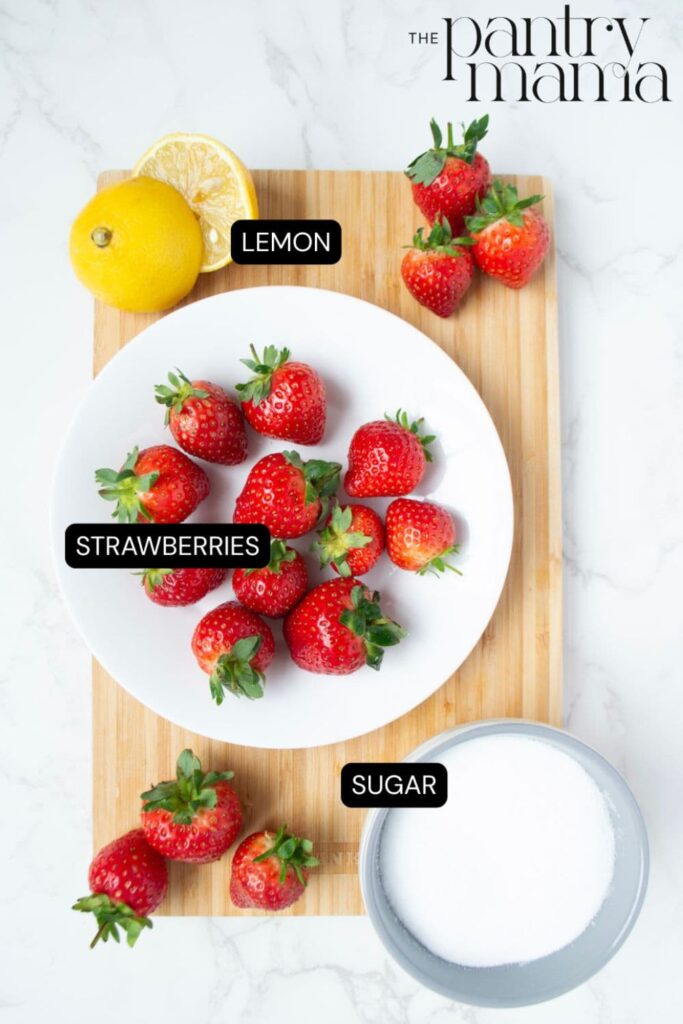
Ingredients
- Strawberries - If you’re lucky to have ripe summer strawberries, go for it! But I also love making this with frozen strawberries so I can have it any time of year.
- Sugar - I just use plain white sugar for this recipe, but you could use brown sugar if you want a more molasses-y flavor
- Lemon juice - Use fresh lemon juice if you can, and make sure you use unwaxed lemons if adding any of the zest.
How To Make Strawberry Jam with No Pectin
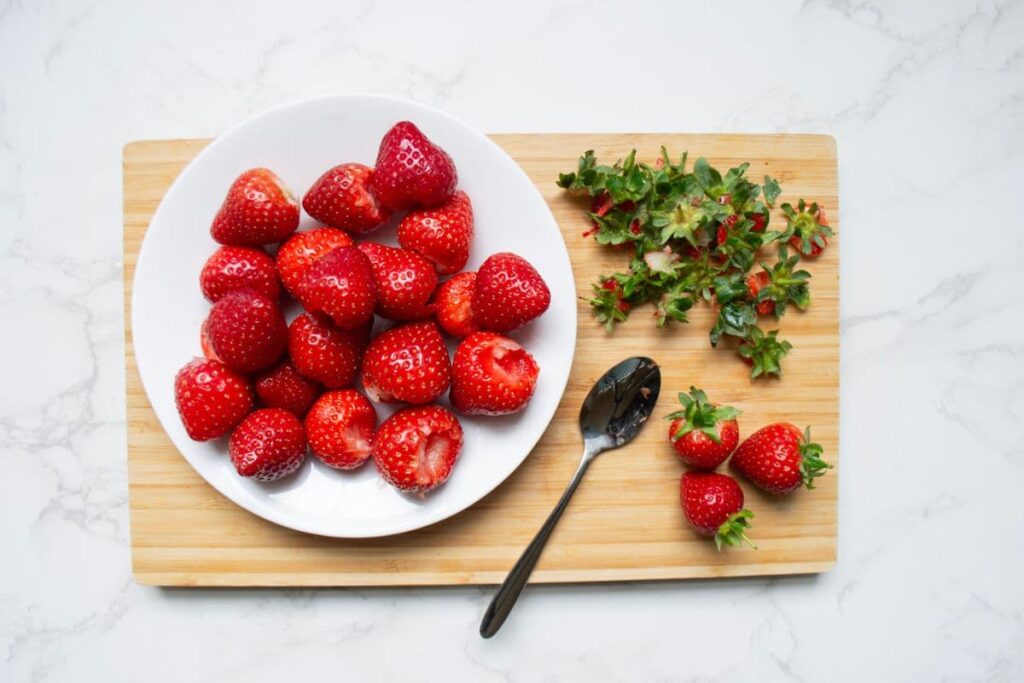
Hull and halve the strawberries. No need to chop them too fine as you’ll be mashing them soon. Put the strawberries, sugar and lemon juice into a heavy based pot and stir to coat the strawberries. If you’re using fresh berries, use a potato masher or wooden spoon to smush the strawberries and release the juices before heating over medium heat until simmering. If you’re using frozen berries, heat over medium heat for about 20 minutes until they’re soft enough to mash. Remove the pot from heat, carefully mash the berries, then return the pot to the heat and cook until the mixture simmers.

Once the berries are bubbling and simmering, increase the heat to medium-high. Cook for about 30 minutes, stirring occasionally, as the mixture goes from very liquidy to a more uniform jammy texture. As juices evaporate and the jam thickens, you’ll want to stir more often to prevent any burning or sticking on the bottom of the pan.
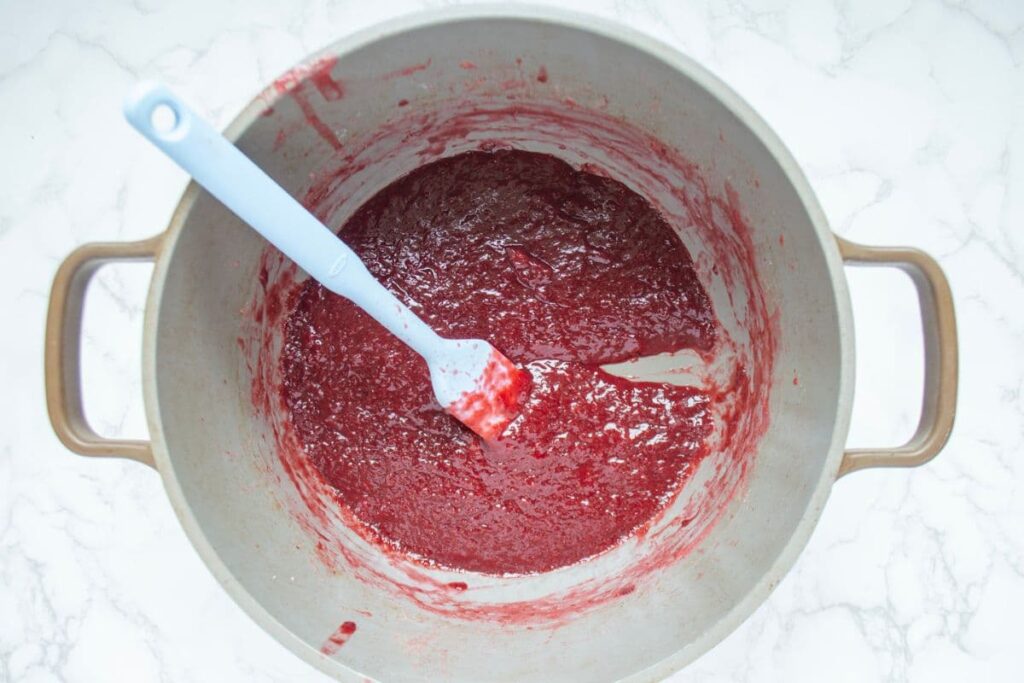
After 30 minutes, the jam should be close to done, so I stir constantly in the last few minutes to keep an eye on the texture. The jam should be thick and bubble up slowly like lava. Cook until you’re happy with the consistency, then turn off the heat. I like to run my spoon against the bottom of the pan. If you can see a strip of the pan and the jam doesn’t run immediately back to cover the space, you know your jam is thick enough and it’ll set more once cool.
Sterilise the jars you’re using with boiling water or run them through a super hot dishwasher cycle. Transfer the jam to the jars while they’re both still hot. I like to use a stainless steel jam funnel to keep from making a mess!. Leave about 1cm headspace at the top of each jar, then seal the jars tightly and let cool on the counter before transferring to the fridge.

Kate’s Recipe Tips
- Here’s a fun way to hull your strawberries: use a small teaspoon to scoop out the green tops! It’s not only fast and easy, but also a fun way for kids to get involved in the kitchen without using a sharp knife.
- If your strawberries are really ripe and juicy, you can start with a little less sugar. If using out-of-season strawberries or you prefer a sweet jam, you could up the sugar a bit. Taste the jam after simmering for a little while and add more if you like. Just remember it’ll be super hot!
- A silicone spatula works well to scrape the sides of the pot as you stir, and means fewer layers of sticky jam to clean off when you wash the pot!
What To Serve With Strawberry Jam
Honestly this jam is good on everything, but here are a few of our favorite ways we use it in our home.
- Strawberry jam and these flaky Sourdough Biscuits are a match made in heaven!
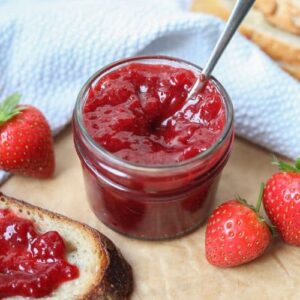
- We love it spread on buttered sourdough toast (especially this sourdough discard sandwich bread) or these Sourdough English Muffins.
- If you don’t have fresh strawberries, this jam is a perfect substitute in Sourdough Strawberry Shortcakes. Spread it on the shortcakes with a dollop of homemade whipped cream and you won’t miss a thing.
- My family loves it as a topping for both Sourdough Discard Pancakes or Sourdough Discard Waffles, we could almost go through a whole jar at one breakfast!
- Use it as the filling in these sourdough thumbprint cookies.
- And of course, you’ll love homemade jam in these Sourdough Strawberry Rolls, a fruity take on my fluffy Sourdough Cinnamon Rolls that always gets rave reviews.
How To Store and Freeze
I don’t can this jam, I pop it in the fridge. It lasts at least 2 months unopened, and once opened I try to use it within 2 weeks or so. This is never a problem in my house though with all the ways to eat homemade strawberry jam! You can also freeze the jars, just make sure you’ve left enough room in the jars for the jam to expand when it freezes.
Frequently Asked Questions
Absolutely. This recipe makes about two 250ml jars, which is just the right amount for my family to use up quickly. But if you want to make more for gifts, feel free to double or even triple the recipe, just keep in mind the cook time might take longer.
Cooking time can vary widely depending on your pans and your stove, as well as the size and ripeness of your berries. You can increase the temperature if you’re trying to speed things up, but be sure to stir constantly to prevent any sticking or burning. Or, if you notice things moving faster, you can always turn down the heat.
I just cook the jam until I like the consistency, knowing it will thicken a little more as it cools (you know I'm not a big fan of using thermometres). But you can also use an instant-read thermometer and cook the jam to up to (but not over) about 105C/220F.
The foam is just air bubbles released by the fruit. Some people like to remove it because it can leave cloudy streaks in the jam but I don’t usually bother! Most of it will disappear as the jam cooks anyway. The excess air can sometimes cause issues with long-term canning but since this is a refrigerator jam you don’t need to worry about it.
Strawberry Jam (no pectin)
Equipment
- Heavy Based Saucepan (I've used a 5L saucepan)
- Wooden Spoon or Spatula
- Stainless Steel Jam Funnel
- Stainless Steel Ladle
- 2 x 250ml jars
Ingredients
- 800 g Strawberries (fresh or frozen)
- 150 g Granulated sugar
- 40 g Lemon juice (approx. 1 lemon)
Instructions
- If using fresh strawberries, hull and halve the berries. No need to cut them too small, you’ll be mashing them soon!
- Put the berries, sugar, and lemon juice into a heavy based saucepan and toss to combine. If using fresh berries, crush them with a potato masher or wooden spoon, then turn the heat to medium and bring to a steady simmer. If frozen, heat over medium heat for about 20 minutes until the berries are thawed enough to mash.
- Remove from heat, carefully mash the berries, then return the pot to medium heat and bring to a steady simmer. Once the berries are bubbling and simmering, increase the heat to medium-high. Cook for about 30 minutes, stirring occasionally, as the mixture goes from very liquidy to a more uniform jammy texture. As juices evaporate and the jam thickens, you’ll want to stir more often.
- After 30 minutes, the jam should be close to done, so I like to stir constantly to prevent any burning in the last few minutes. The jam should be thick and bubble up slowly like lava.
- Cook until you’re happy with the consistency. I drag my spoon against the bottom of the pan until I can see a strip of the pan. If the jam doesn’t run immediately back to cover the space, you know your jam is thick enough and it’ll set more once cool.
- Take 2 jars (I've used 250mls here) and sterilise them with boiling water or run them through the dishwasher on a super hot cycle to ensure they are ready to use.While the jam and jars are still hot, use a stainless steel jam funnel to fill the jars, leaving around 1cm head room at the top. Seal the jars tightly.
- Let the jars cool on the counter before transferring to the fridge. I don't can this jam, I just keep it in the fridge and it's fine this way. It lasts at least 2 months unopened and around 2 weeks once you open the jar.