Chocolate Sourdough Bread
This post may contain affiliate links.
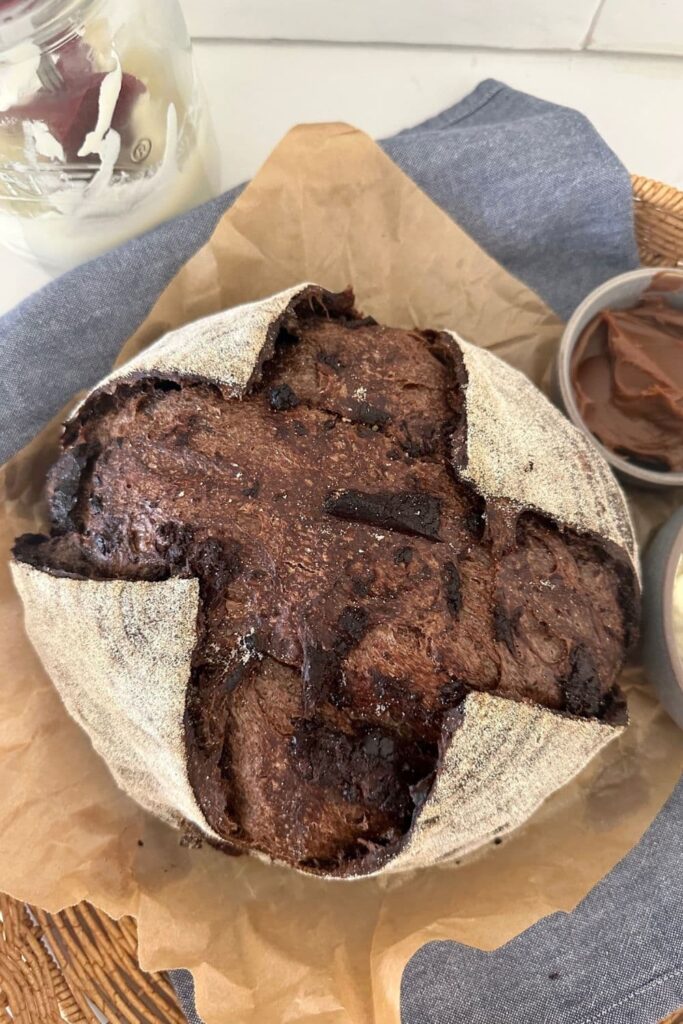
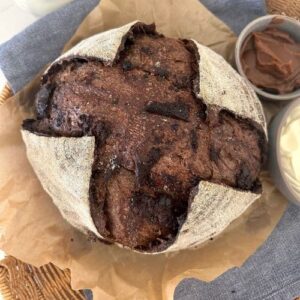
Sourdough chocolate bread is an indulgent sourdogh bread, it's like chocolate cake, only better because it's bread! Use your homemade sourdough starter to create this sourdough bread with a rich chocolate flavor and decadent texture, marbled with real chocolate pieces.
You could almost call this double chocolate sourdough bread, since it uses both cocoa powder and real chocolate to bring richness and texture. It's a little different to this chocolate chip sourdough bread.
If you'd prefer to use sourdough discard, instead of active starter, then check out this sourdough discard chocolate bread, or perhaps these chocolate sourdough waffles or sourdough chocolate cake are more your thing.
Why You'll Love This Sourdough Chocolate Bread Recipe
Sourdough + Chocolate - this sourdough chocolate bread is a delightful fusion of tangy sourdough and decadent chocolate. A match made in heaven you might say. The combination of the slightly chewy sourdough crust and the moist, chocolate-filled interior will leave you craving for more.
Blur the Boundaries - sourdough chocolate bread has both the tangy notes from sourdough starter and the sweetness of chocolate, blurring the boundaries on sweet and savory! It's perfect for breakfast, dessert or even the star of your dinner table at any time of day!
Choose Your Chocolate - you can create so many different versions of this sourdough chocolate bread simply by mixing up the chocolate you choose!
Prepare Your Sourdough Starter
You'll need an active sourdough starter to make this sourdough chocolate bread. You can find instructions for making a sourdough starter here, as well as learn about the best time to use your sourdough starter here.
If you want to take your chocolate sourdough bread to the next level, you can also create a chocolate sourdough starter using these instructions. Using a chocolate sourdough starter is not essential but it will give an extra layer of chocolate flavor to this already incredible chocolate cake like bread.
What Type of Chocolate To Use?
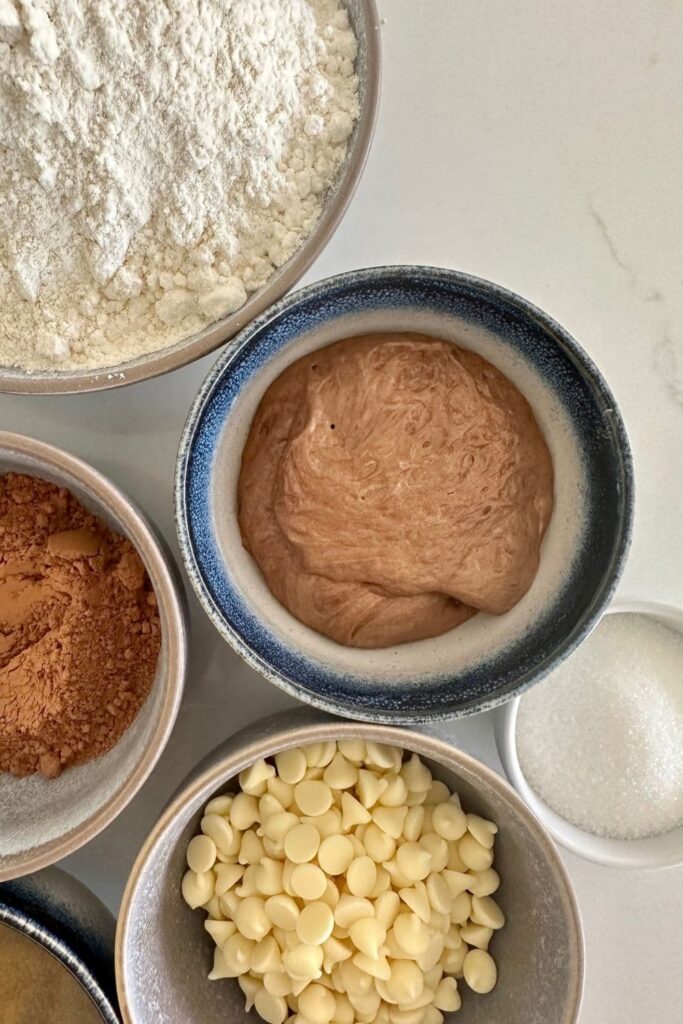
It's really up to you what type of chooclate you use to make sourdough chocolate bread. I've used a semi sweet chocolate bar that I've chopped up.
You can however use semi-sweet chocolate chips (or dark chocolate chips), white chocolate chunks or even flavored chocolate like peppermint chocolate or rum and raisin.
If you'd like something a little different, but still with chocolatey goodness, why not try this cookies and cream sourdough bread.
How To Make Sourdough Chocolate Bread
Making sourdough chocolate bread is a delightful adventure. Grab your active bubbly starter, a kitchen scale and let's bake this indulgent chocolate sourdough bread recipe! If you are looking for all the equipment I use in my kitchen, check out this post on the best equipment for making sourdough bread.
You'll find a summary of instructions below, along with a set of detailed instructions in the recipe card at the end of this post. If you're needing some explanations on sourdough specific terminology, this sourdough glossary will be helpful.
Autolyse (Premixing the Dough)
Weigh out your sourdough starter, sugar, cocoa powder and water into a large ceramic or glass bowl.
Mix these together until they are all dissolved in the water. Then add your flour (and dark malt powder if you are going to use it) and salt and mix whole lot together to form a shaggy dough.
Cover your bowl with cling film or a damp tea towel and let it sit for around 1 hour.
Forming Up The Dough
After the dough has been through autolyse you need to bring it together into a ball. Work your way around the bowl, grabbing the dough from the outside, stretching it up and over itself, into the centre, until a smooth ball is formed. You shouldn't need more than about 20-30 stretches to form the ball.
You'll notice that the dough is fully hydrated after soaking all the water up. It will be fairly sticky but as you bring it into a ball, it will become smoother and shinier.
Once the dough has formed into a smooth ball, pop the cover back on and let it rest for 30 minutes.
Stretching & Folding
Over the next few hours you need to create some structure for your dough by "stretching and folding". This will develop the gluten structure in your sourdough chocolate bread.
Aim to do around 4-6 sets of stretches and folds.
For each set, stretch the dough up and over itself 4 times. Leave around 15 minutes in between each set. Again you do not have to be exact with time, but you need to do at least 4 sets over 2 hours.
Bulk Fermentation
Once you've finished your stretch and folds, cover the dough back over and let it rest and ferment at room temperature (a plastic cover is a better option for this stage). You'll find notes on understanding when bulk fermentation is finished here.
Shaping the Dough
Once your dough has finished its first ferment, it's time to shape it and add the chopped chocolate. Before you start, grab the banneton you're going to be using and sprinkle some rice flour or semolina on the bottom of the banneton basket.
Right, let's shape that dough.
Use a dough scraper to gently ease the dough out of the bowl (your hands work just fine if you don't have one). You want it to land upside down on your counter so that the smooth top of the dough is on the countertop and the sticky underside is facing up. This will make it easier to shape.
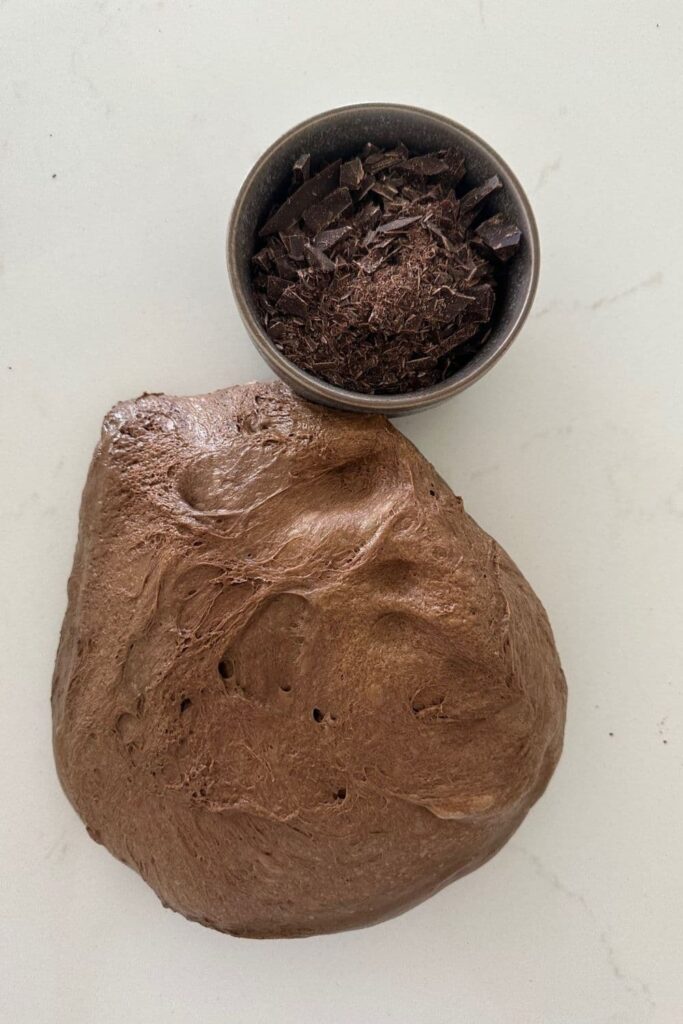
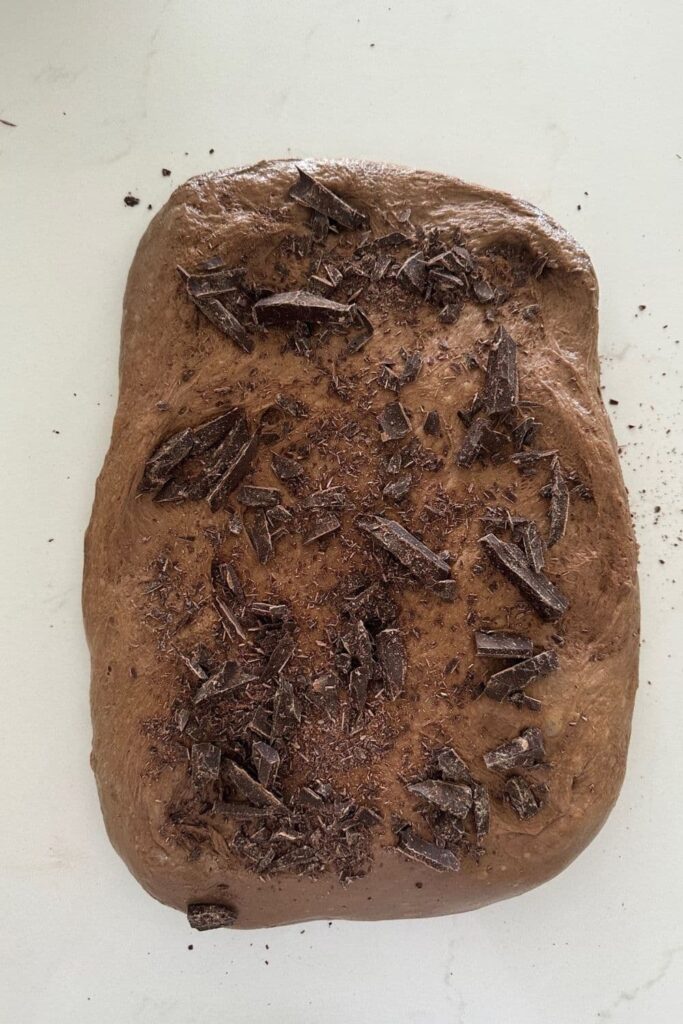
Before you shape the dough, pull it out into a rough rectangle. Sprinkle some of chopped chocolate over the dough. As you shape it into a batard or boule, keep sprinkling the chocolate on every fold. You can also see a video of me shaping a batard here.
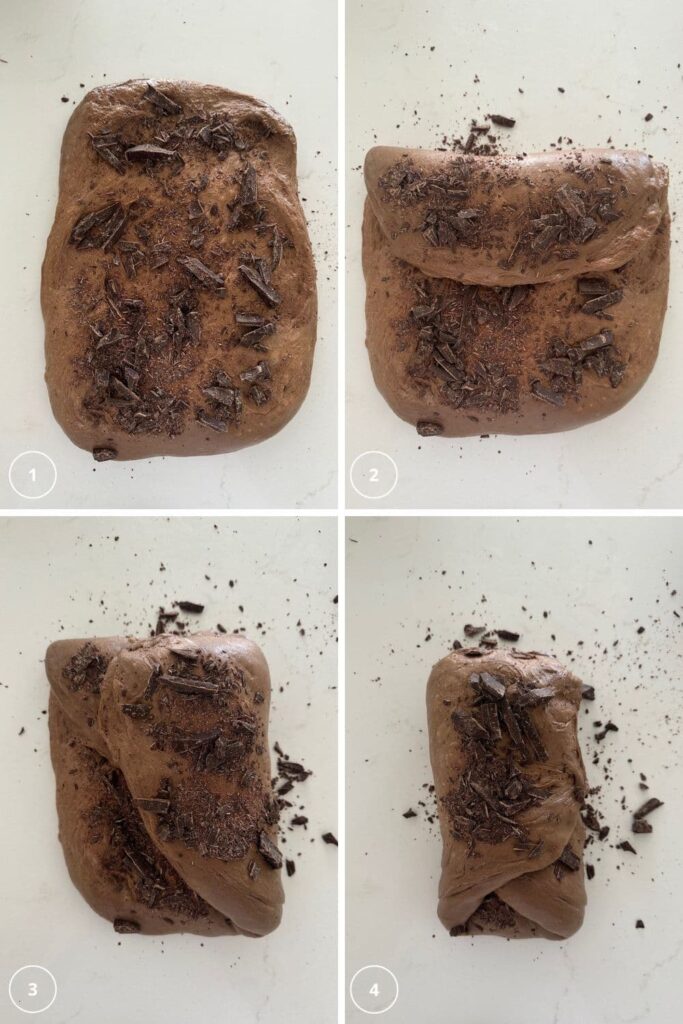
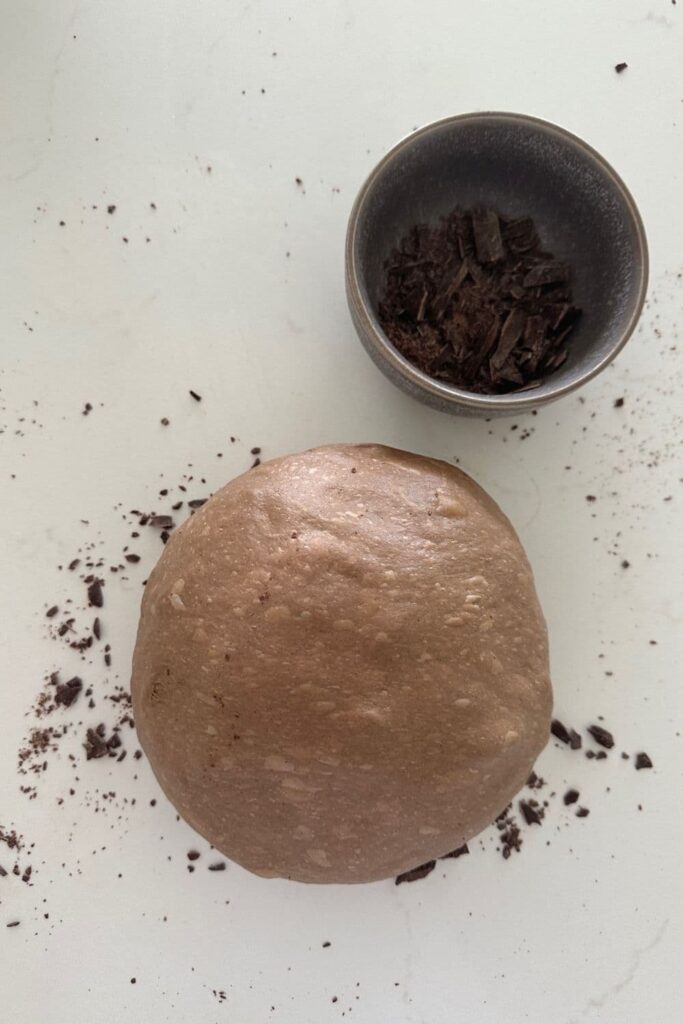
When you have finished shaping, the chocolate should be neatly tucked inside the dough.
Placing into a Banneton
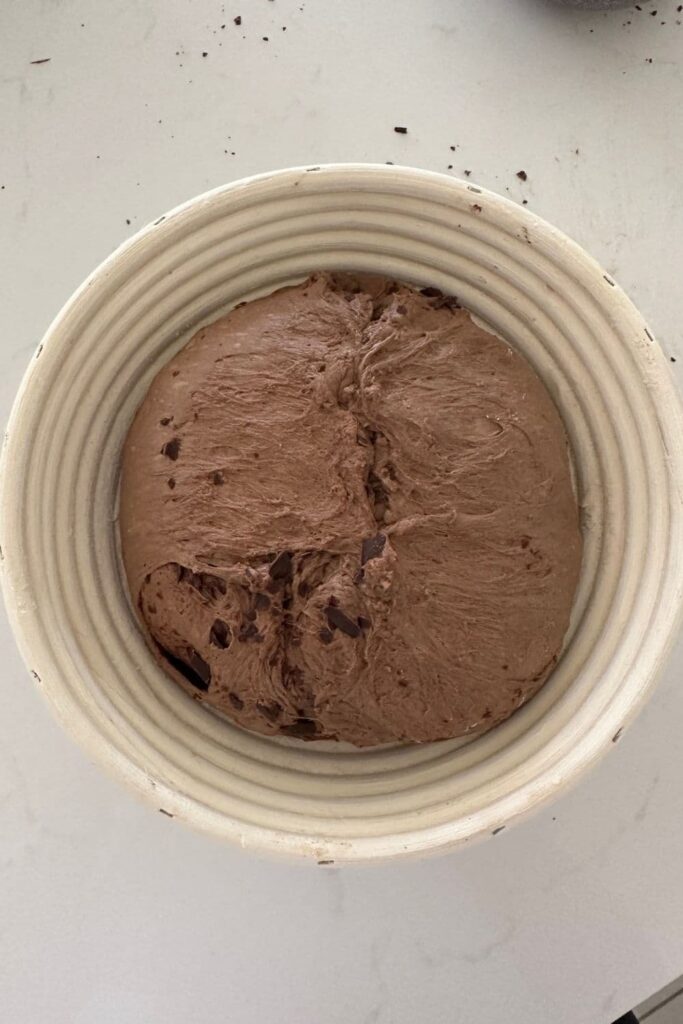
Once the dough is shaped, place it into your banneton smooth side down, so your seam is on the top.
Lift your dough around the edges to pop a little more rice flour or semolina if you feel it needs it. Just try to handle the dough as little as possible and be really gentle as you really want to preserve all the gases and air bubbles that have formed during your bulk ferment.
Cold Ferment
Now the dough is in its "shaping container" cover it loosely with a plastic bag or damp tea towel and place into the fridge.
Try to leave it in the fridge for a minimum 5 hours up to a maximum of around 36 hours. The longer you leave it the better your bread will be! A longer cold ferment creates beautiful blisters on your crust and a deeper sourdough flavour. It will also ensure your dough forms a skin which makes it easier to score.
Preparing to Bake
Once you're ready to bake your sourdough, you'll need to preheat your oven to 230C/450F.
Place your Dutch Oven into the oven when you turn it on so it gets HOT. Try to preheat for around 1 hour to ensure your oven is super hot - but you know your oven so just adjust this time if you need to.
Leave your dough in the fridge until the very last minute - placing a cold dough into a hot oven will give you a great "spring".
Bake Time!
Now it's time to bake! When your oven is at temperature, take your sourdough out of the fridge. Gently place it onto a piece of baking paper.
Make sure that you make the baking paper big enough to use the edges as a handle to lower to dough into your Dutch Oven.
Gently score your bread with a lame, clean razor blade or knife. At minimum a large cross is sufficient, but you can get as artistic as you like. You can find my full guide on how to score sourdough bread here.
Carefully take your dutch oven out of the oven. Place the sourdough into the pot using the baking paper as a handle. Put the lid on and place into the hot oven.
BAKE TIME:
30 Minutes with the lid on at 230C/450F plus
10-15 Minutes with the lid off at 210C/410F
Finishing The Bake
When you remove your dough from the oven, carefully remove it from the dutch oven as soon as possible and place on a wire rack to cool.
What Else Can You Add to Sourdough Chocolate Bread (Extra Fillings)
While Sourdough Chocolate Bread is heavenly on its own, you can take it to the next level by experimenting with additional fillings. Try folding in some chopped nuts like walnuts or hazelnuts for a satisfying crunch.
You can also explore the world of flavors by adding dried fruits like cherries or raisins, or even a swirl of peanut butter for a salty-sweet surprise. The possibilities are endless, and this is where you can let your creativity shine.
Some of the things that I love adding to sourdough chocolate bread are:
- 100 to 200g of chopped pecans
- 100 to 200g of dried or fresh blueberries
- A sprinkle of cinnamon sugar before adding the chocolate or other fillings at shaping.
Ingredient Notes
- Bread Flour - I've used strong bread flour for this loaf. Using bread flour is really important when adding inclusions like chocolate because they add extra fat and oil to the dough, which can inhibit the gluten network from forming. If you want to, you could also add some vital wheat gluten to the dough for an extra boost.
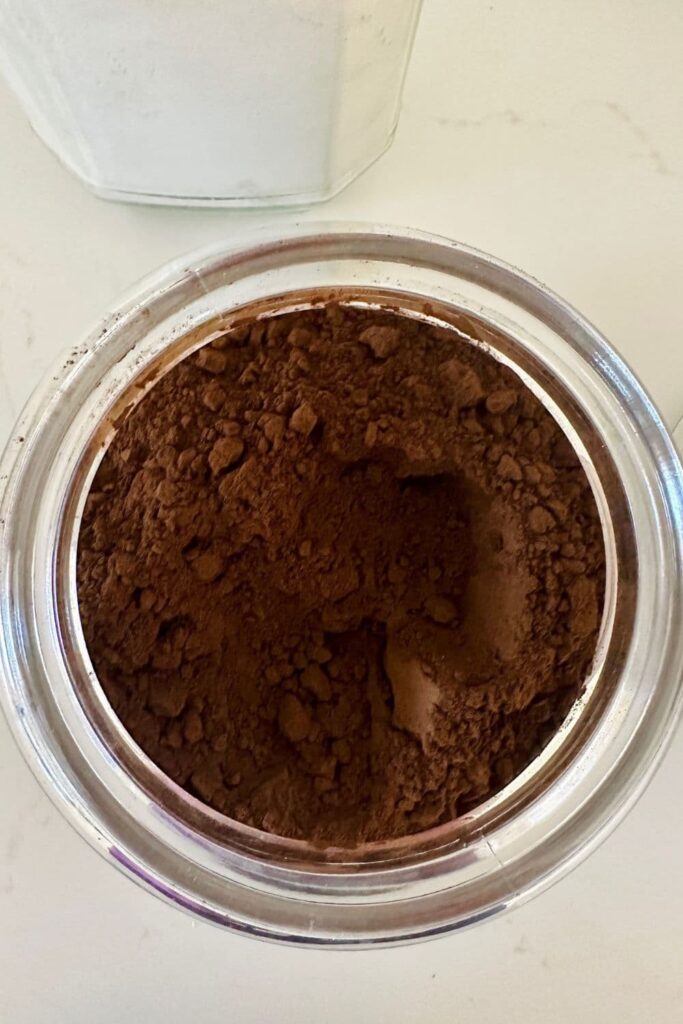
- Cocoa Powder - you can use any good quality cocoa powder or raw cocoa powder.
- Chocolate - use any type of chocolate that you enjoy eating. I have used dark chocolate or semi-sweet chocolate that I have chopped into small pieces. You can use any type of chocolate or chocolate chips including milk chocolate, dark chocolate, semi-sweet chocolate or even a combination of these.
- Dark Malt Powder - I've used a little dark malt powder to create a richer color and flavor for this loaf. If you don't have any on hand, just leave it out.
- Sugar - I've added 50g of sugar to the dough, you can leave it out if you wish but it does bring a sweetness and softer texture to the dough.
How To Serve & Eat Sourdough Chocolate Bread
Sourdough chocolate bread can be served and eaten in lots of different ways. Here are a few ways to enjoy your sourdough chocolate bread:
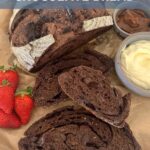
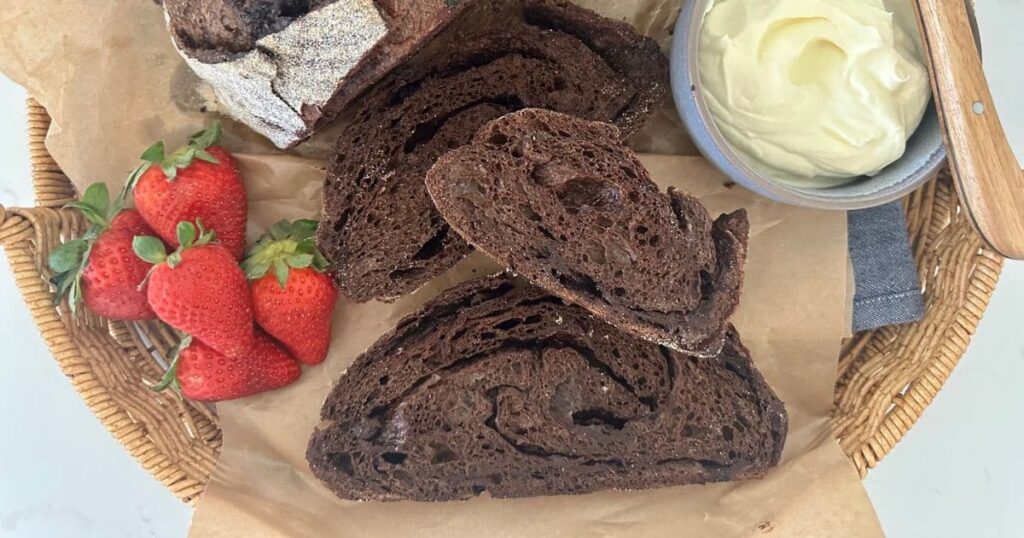
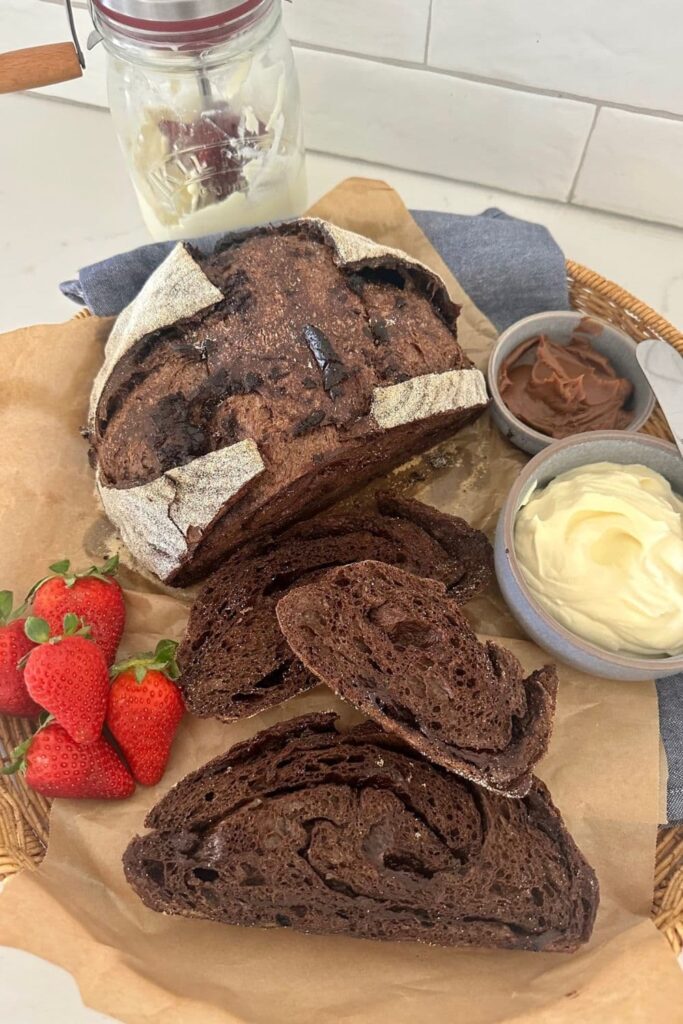
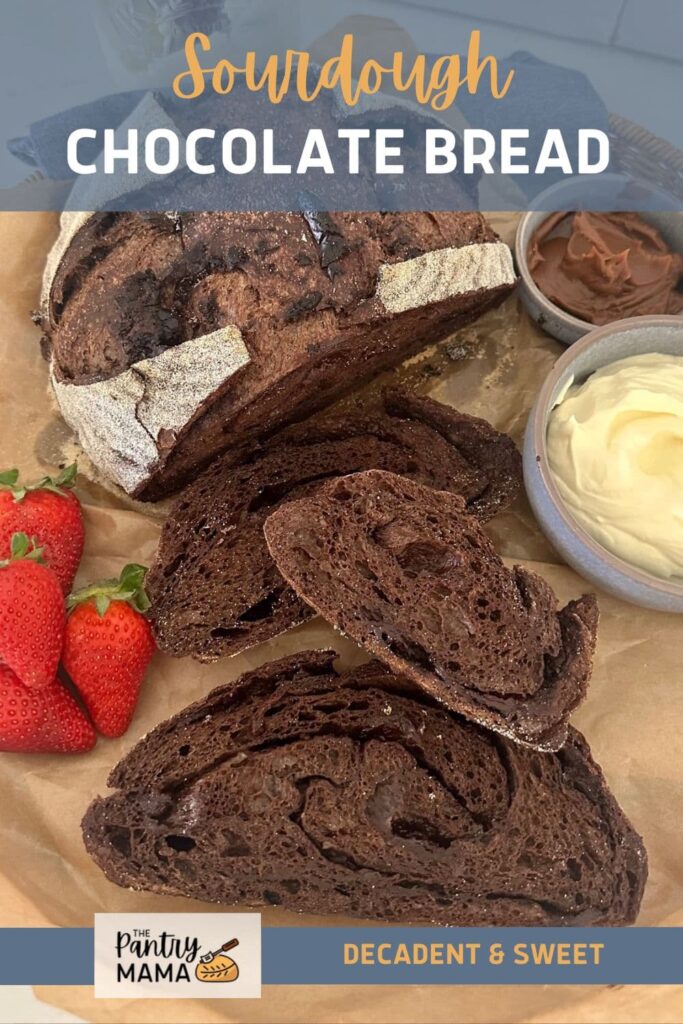
- Toast slices of chocolate sourdough bread and serve with a selection of toppings like nutella, caramel sauce, whipped cream and strawberry jam (you can see this in the photos of this post).
- Sourdough chocolate bread makes a delicious dessert served warm with your favorite ice cream.
- If you have any chocolate sourdough bread leftover, you can use it to make chocolate bread pudding or French Toast. You can use this sourdough bread pudding recipe.
Chocolate Sourdough Bread
Equipment
- Mixing Bowl
- Digital Scales
- Banneton (size guide for bannetons)
- Dutch Oven (size guide for Dutch Ovens)
Ingredients
- 500 g Bread Flour
- 360 g Water (can increase by 20 to 30g if you wish, especially if you increase the amount of cocoa powder)
- 100 g Sourdough Starter (or chocolate sourdough starter)
- 10 g Salt
- 50 g Sugar (white sugar)
- 150 g Semi-Sweet Chocolate (dark chocolate, chopped or grated)
- 30 g Cocoa Powder
Optional Ingredients
- 10 g Dark Malt Powder (for darker color)
Instructions
- Autolyse - Premixing The DoughWeigh out your sourdough starter, sugar, cocoa powder and water into a large ceramic or glass bowl.Mix these together until they are all dissolved in the water. Then add your flour (and dark malt powder if you are going to use it) and salt and mix whole lot together to form a shaggy dough.
- Cover your bowl with cling film or a damp tea towel and let it sit for around 1 hour.
- Forming Up The DoughAfter the dough has been through autolyse you need to bring it together into a ball. Work your way around the bowl, grabbing the dough from the outside, stretching it up and over itself, into the centre, until a smooth ball is formed. You shouldn't need more than about 20-30 stretches to form the ball. You'll notice that the dough is fully hydrated after soaking all the water up. It will be fairly sticky but as you bring it into a ball, it will become smoother and shinier.
- Once the dough has formed into a smooth ball, pop the cling film back on and let it rest for 30 minutes.
- Stretch & Fold - Creating StructureOver the next few hours you need to create some structure for your dough by "stretching and folding". Aim to do around 4-6 sets of stretches and folds. For each set, stretch the dough up and over itself 4 times. Leave around 15 minutes in between each set. Again you do not have to be exact with time, but you need to do at least 4 sets over 2 hours.
- Bulk FermentOnce you've finished your stretch and folds, place the cling film or damp tea towel back over your dough and let it rest and ferment at room temperature (a plastic cover is a better option for this stage). You want the dough to double. You can find more information on bulk fermentation here.
- Shaping The DoughOnce your dough has finished its first ferment, it's time to shape it and add the chopped chocolate. Before you start, grab the banneton you're going to be using and sprinkle some rice flour or semolina on the bottom of the banneton. Right, let's shape that dough.Use a dough scraper to gently ease the dough out of the bowl (your hands work just fine if you don't have one). You want it to land upside down on your counter so that the smooth top of the dough is on the countertop and the sticky underside is facing up. This will make it easier to shape.Before you shape the dough, pull it out into a rough rectangle. Sprinkle some of chopped chocolate over the dough. As you shape it into a batard or boule, keep sprinkling the chocolate on every fold (you can see photos of me doing this above). You can also see a video of me shaping a batard here.When you have finished shaping, the chocolate should be neatly tucked inside the dough.
- Placing Into A BannetonOnce the dough is shaped, place it into your banneton smooth side down, so your seam is on the top. Lift your dough around the edges to pop a little more rice flour if you feel it needs it. Just try to handle the dough as little as possible and be really gentle as you really want to preserve all the gases and air bubbles that have formed during your bulk ferment.
- Cold FermentNow the dough is in its "shaping container" cover it loosely with a plastic bag or damp tea towel and place into the fridge. I use a large plastic bag to cover it - I just reuse it each time. Try to leave it in the fridge for a minimum 5 hours up to a maximum of around 36 hours. The longer you leave it the better your bread will be! A longer cold ferment creates beautiful blisters on your crust and a deeper sourdough flavour. It will also ensure your dough forms a skin which makes it easier to score.
- Preparing To BakeOnce you're ready to bake your sourdough, you'll need to preheat your oven to 230C/450F. Place your Dutch Oven into the oven when you turn it on so it gets HOT. Try to preheat for around 1 hour to ensure your oven is super hot - but you know your oven so just adjust this time if you need to.Leave your dough in the fridge until the very last minute - placing a cold dough into a hot oven will give you a great "spring".
- Bake Time!Now it's time to bake!When your oven is at temperature, take your sourdough out of the fridge. Gently place it onto a piece of baking paper. Make sure that you make the baking paper big enough to use the edges as a handle to lower to dough into your Dutch Oven.Gently score your bread with a lame, clean razor blade or knife. At minimum a large cross is sufficient, but you can get as artistic as you like. You can find my full guide on how to score sourdough bread here.Carefully take your dutch oven out of the oven. Place the sourdough into the pot using the baking paper as a handle. Put the lid on and place into the hot oven. If you want to you can spritz your dough with extra water before you put the lid on.BAKE TIME:30 Minutes with the lid on at 230C/450F plus10-15 Minutes with the lid off at 210C/410F
- Finishing The BakeWhen you remove your dough from the oven, carefully remove it from the dutch oven as soon as possible and place on a wire rack to cool.
Notes
Ingredient Notes
- Bread Flour - I've used strong bread flour for this loaf. Using bread flour is really important when adding inclusions like chocolate because they add extra fat and oil to the dough, which can inhibit the gluten network from forming. If you want to, you could also add some vital wheat gluten to the dough for an extra boost.
- Cocoa Powder - you can use any good quality cocoa powder or raw cocoa powder.
- Chocolate - use any type of chocolate that you enjoy eating. I have used dark chocolate or semi-sweet chocolate that I have chopped into small pieces. You can use any type of chocolate or chocolate chips including milk chocolate, dark chocolate, semi-sweet chocolate or even a combination of these.
- Dark Malt Powder - I've used a little dark malt powder to create a richer color and flavor for this loaf. If you don't have any on hand, just leave it out.
- Sugar - I've added 50g of sugar to the dough, you can leave it out if you wish but it does bring a sweetness and softer texture to the dough.
Nutrition

