Rustic Sourdough Bread [easy no knead method]
This post may contain affiliate links.
This rustic sourdough recipe uses the most simple, no knead method to create a crusty loaf of sourdough bread, worthy of any kitchen table. It has a crunchy crust and soft crumb, the perfect combination for a loaf you're going to want to make again and again.
You'll need an active sourdough starter to make this rustic sourdough bread recipe successfully. I've added bread flour and whole wheat flour for a more rustic flavor and crust, but you can choose to use only bread flour if you prefer.
The good news is that this rustic sourdough bread uses a more hands off method. It's perfect if you don't feel like hanging around the kitchen once you've done the initial mixing. It's also a great beginner sourdough recipe if you're just beginning your sourdough journey.
If you love hearty sourdough flavors, then you will enjoy making this sourdough rye bread or this long fermented sourdough loaf for a more sour sourdough flavor. Or perhaps this sourdough Irish soda bread or sourdough popovers are more your style.
What Is Rustic Sourdough Bread?
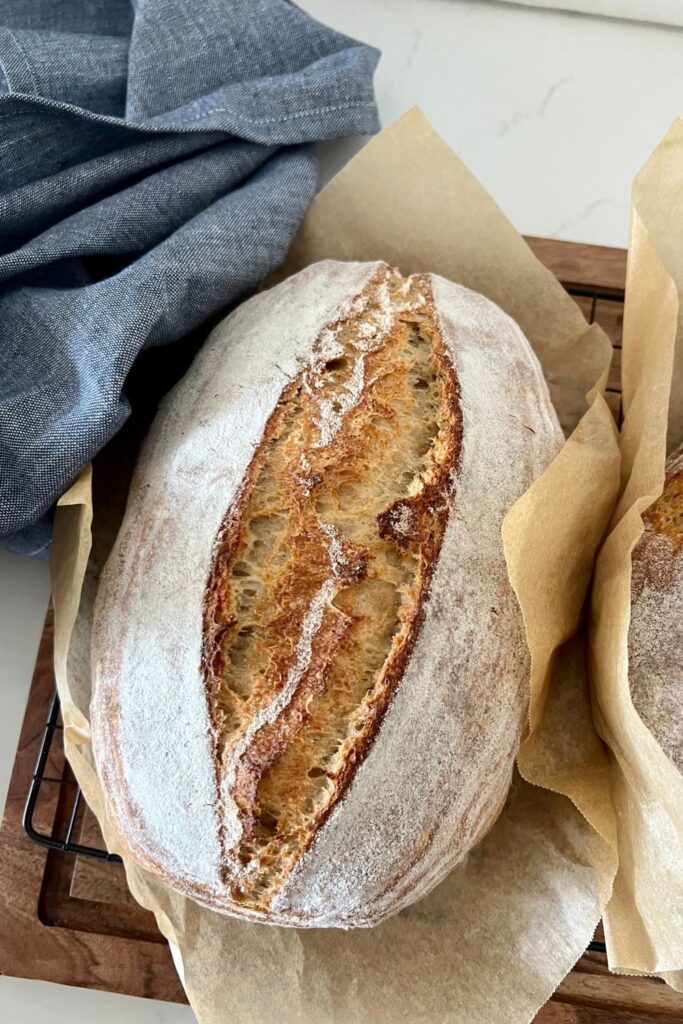
Rustic sourdough bread can really be whatever you want it to be! Truly this loaf is open to your own preferences when it comes to sourdough bread, however, by definition rustic sourdough might be a loaf you'd find on a farmhouse table.
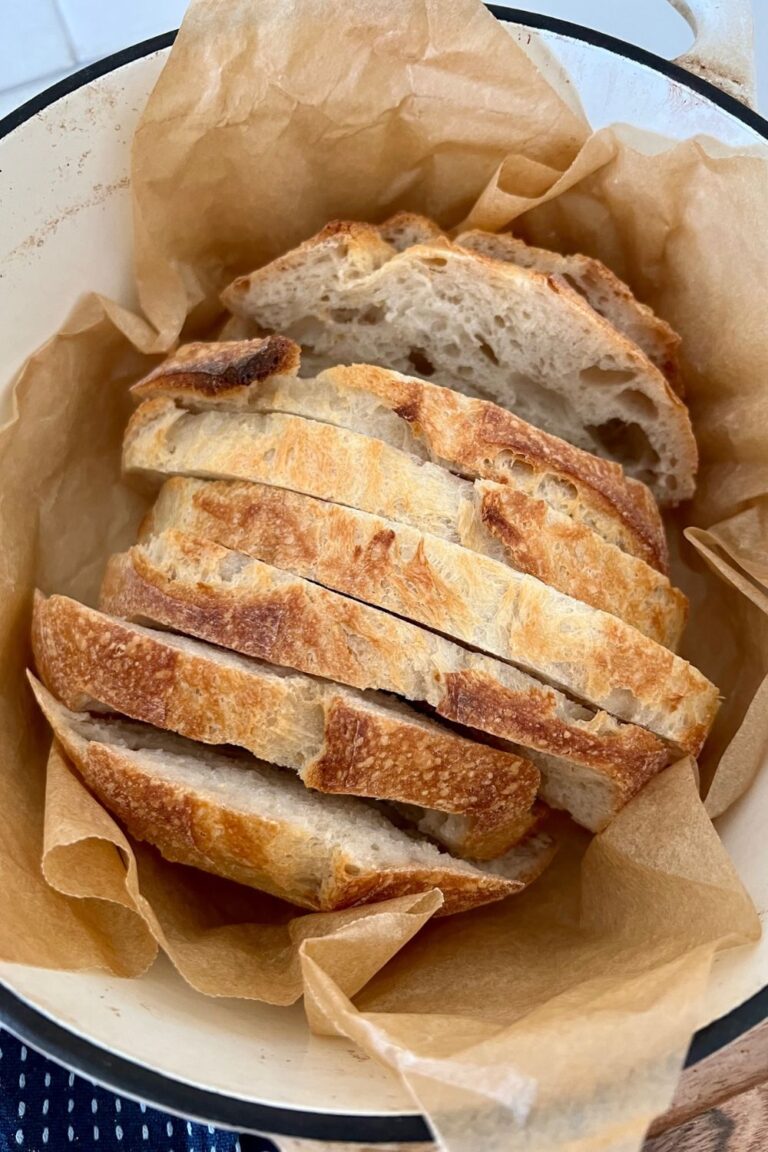
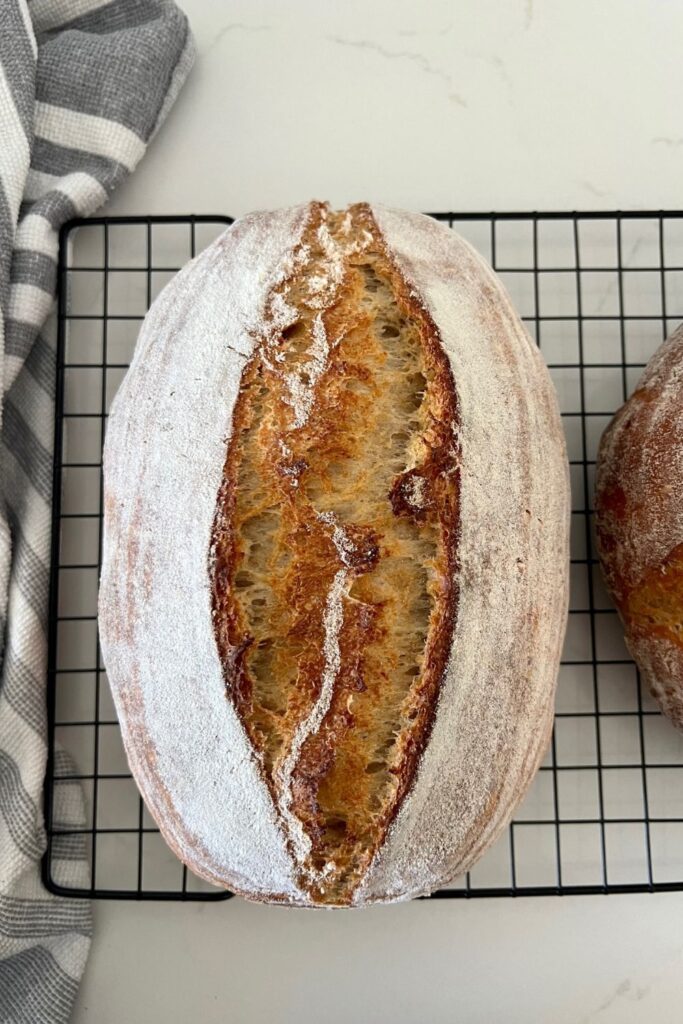
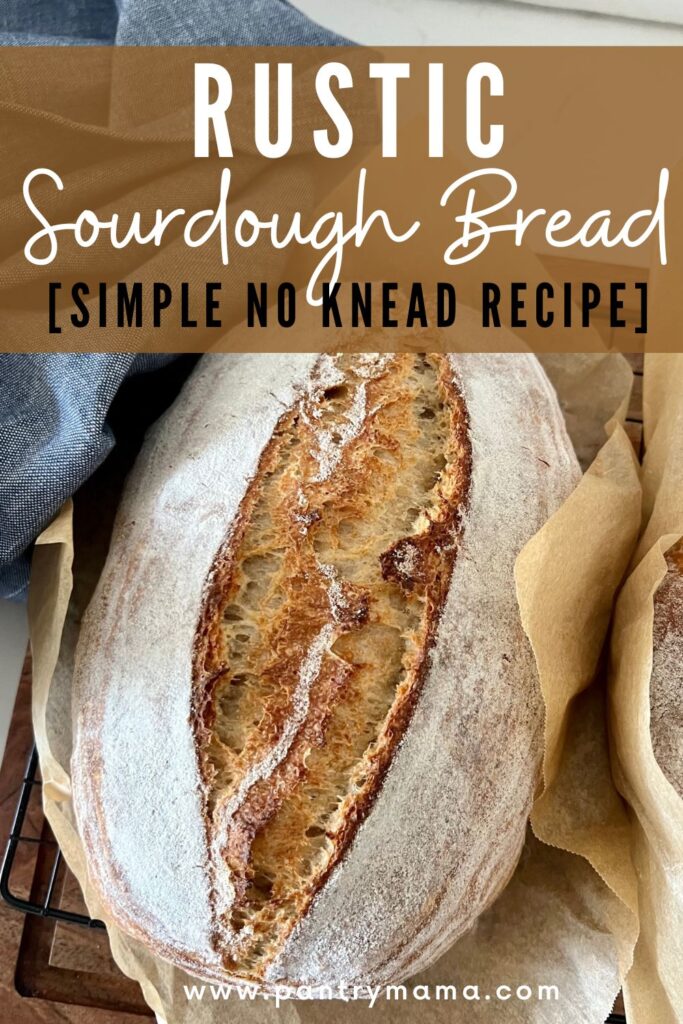
A loaf made with love and wild yeast that results in a crunchy, blistered sourdough crust that's full of flavor. When you slice the rustic sourdough bread open it reveals a soft interior with a chewy, open crumb - just asking to be slathered with homemade butter! I think the most important thing to remember is that rustic loaf doesn't focus on the aesthetics of the bread. A definite, confident score down the centre of the loaf is all that's needed.
Generally rustic sourdough bread refers to bread that has no additives, a lean bread if you like. But of course you can add whatever flavors you'd like into this simple dough (you'll find lots of ideas on what to add to sourdough bread here).
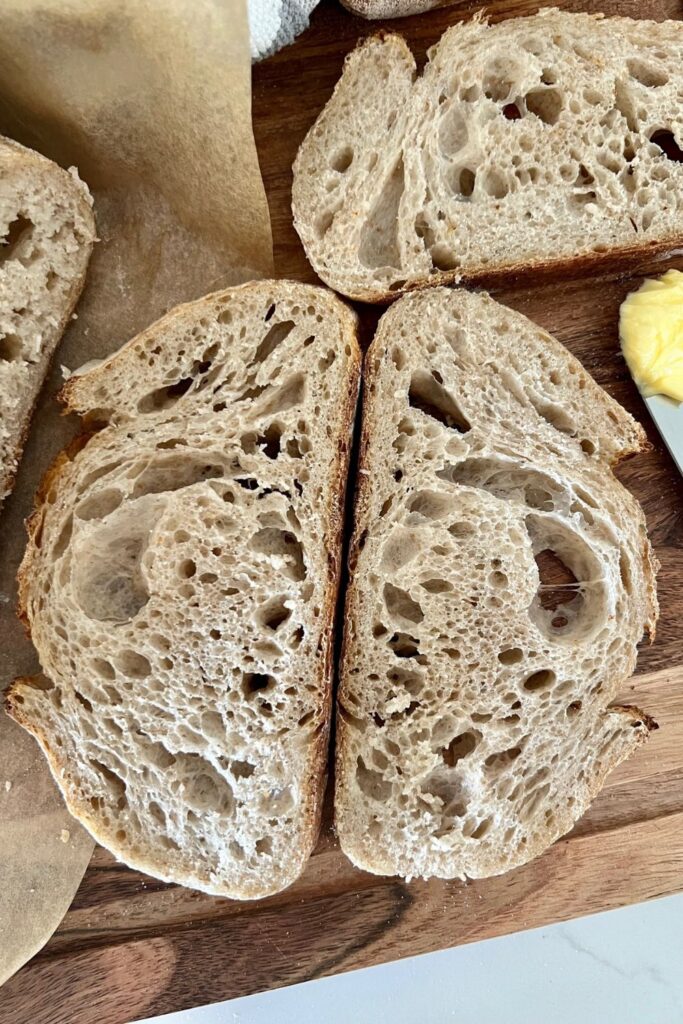
Rustic Sourdough Bread with Active Sourdough Starter
It's really important to use an active starter that's been recently fed for this sourdough recipe. You don't necessarily need to make a levain, just feed your sourdough starter. And remember you can use your sourdough discard to make the most delicious sourdough discard recipes!
You want your sourdough starter to be at its peak when you add it to the flour, water and salt to give you the best rise. This is particularly important in this recipe since its a no knead, hands off recipe.
Do I Have To Use Whole Wheat Flour?
I have used a mix of half bread flour and half whole wheat flour for this rustic sourdough bread. You can choose to use only bread flour or a lower percentage of whole wheat flour. Whole grain spelt flour is also a nice addition to this loaf for a more rustic crust and crumb. If you use only bread flour, you won't necessarily get that rustic, whole wheat color in your crumb but it will still be full of flavor! I find that using whole grain spelt flour instead of whole wheat flour adds a deeper flavor to this loaf and lends a more farmhouse feel to the end product.
I don't recommend using all purpose flour for this loaf as it's not the best flour for sourdough bread.
Using whole grain flour or spelt is a good source of fiber and increases the nutritional profile of this sourdough bread. Sourdough bread is already a healthier option for you, but using these whole grain flours takes it to a whole new level.
Is A Dutch Oven Essential for Rustic Sourdough Bread?
No a Dutch Oven is not essential to making rustic sourdough bread - you can choose to bake this sourdough without a Dutch Oven if you prefer. You'll get good results using a baking stone or pizza stone in a hot oven.
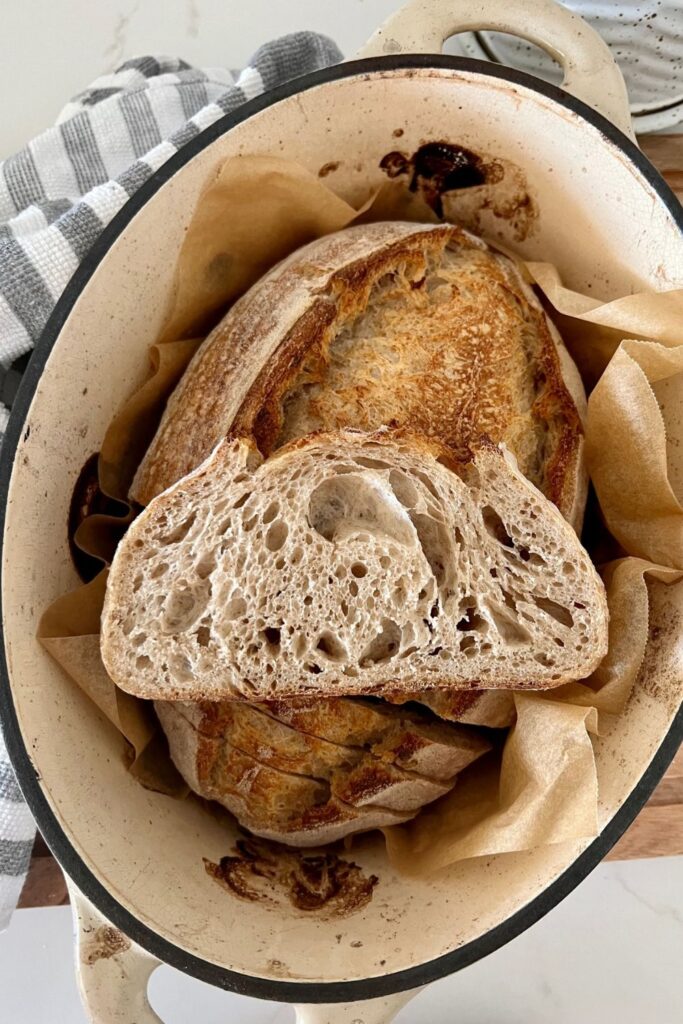
The rustic sourdough bread featured in these photos was baked in an oval Dutch Oven, however you can still get a great result by doing an open bake on a baking sheet or a baking stone.
How To Make Rustic Sourdough Bread (step by step guide)
I've put together this step by step guide to making rustic sourdough bread, but you can also find more details in the recipe card below. This is a good bread for sourdough beginners to start to understand the fermentation process but works equally well for seasoned sourdough bakers who want a more hands off approach.
Autolyse
Weigh out your sourdough starter and water into a large bowl (I prefer using a glass bowl).
Mix the water and starter together briefly. Then add your flour and salt and mix altogether with the end of a wooden spoon or Danish Dough Whisk.
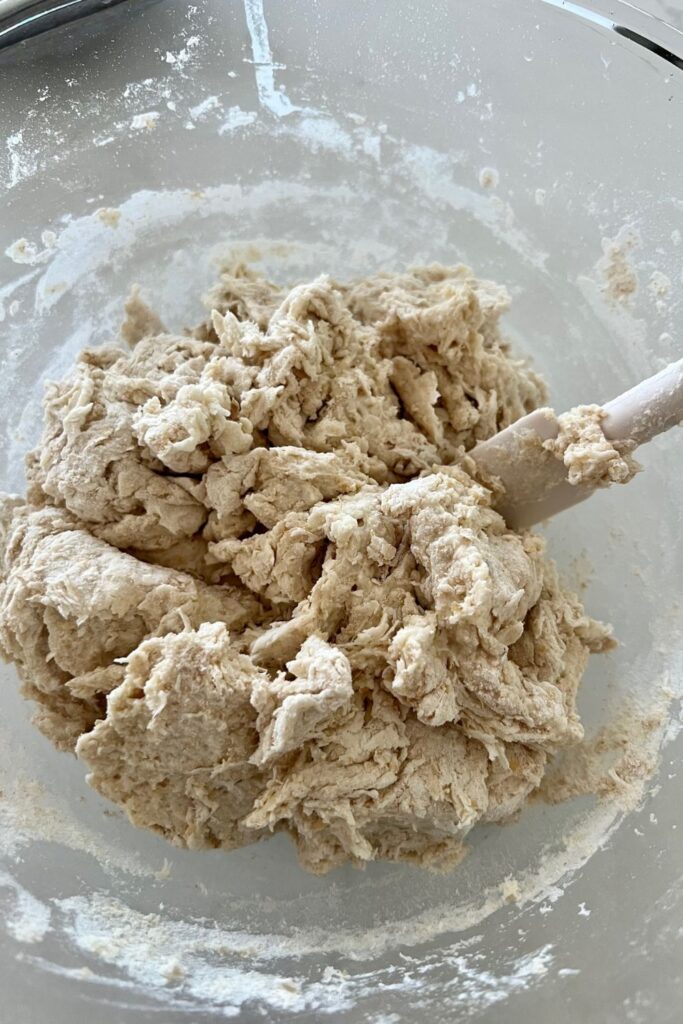
You'll have a shaggy dough that is only just brought together.
Cover your bowl with plastic wrap or a damp kitchen towel and let it sit for around 1 hour.
This process is called the "autolyse" and allows your flour to soak in all the water and become hydrated. This is really important because we are using whole wheat flour.
Forming Up Your Dough
After the dough has been through autolyse you need to bring it together into a ball. You'll notice that the dough is fully hydrated after soaking all the water up. It will be fairly sticky but as you bring it into a ball, it will become smoother and shinier.
Work your way around the bowl, grabbing the dough from the outside, stretching it up and over itself until a smooth ball is formed. You shouldn't need more than about 20-25 folds to form the ball.
Once the bread dough has formed into a smooth ball, pop the plastic wrap back on.
Stretch & Folds (OPTIONAL)
Because we are making a rustic, no knead bread - this step is completely optional! If you have time, even doing one stretch and fold is great. If you don't, just let the dough sit and ferment and skip over the stretch and folds.
Aim to do around 4-6 sets of stretches and folds. For each set, stretch the dough up and over itself 4 times. Leave around 15 minutes in between each set. Again you do not have to be exact with time, but you need to do at least 4 sets over 2 hours.
Bulk Fermentation
Once you've finished your stretch and folds, place the plastic or damp dish towel back over your dough and let the dough rest and bulk ferment at room temperature.
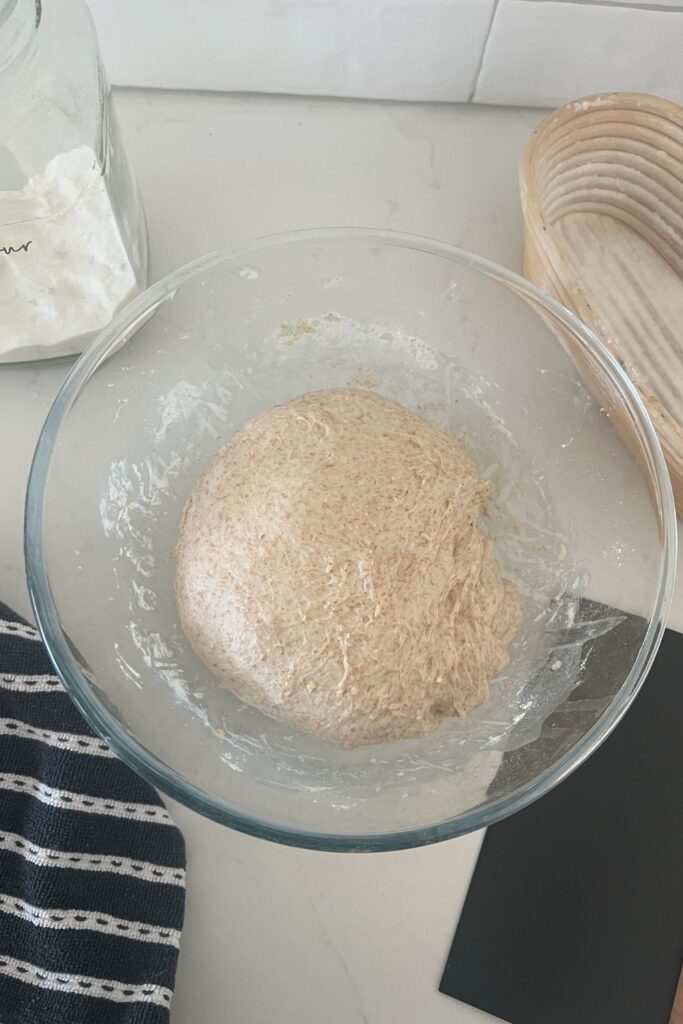
Shaping Your Dough
Once your dough has finished it's first ferment, it's time to form it back into a ball and give it some shape and surface tension. You'll need to flour your counter top with rice flour for this (we use rice flour because it has no gluten). Try to be quite sparing with the rice flour, you only need a very lightly floured surface
Use a silicone dough scraper to gently ease the dough out of the bowl. You want it to land upside down on your counter so that the smooth top of the dough is on the countertop and the sticky underside is facing up. This will make it easier to shape. This isn't a sticky dough though so it should be failry easy to work with.
You can shape into whatever you like. I prefer this one as a batard.
Once the dough is shaped into a tight ball, place it into your banneton smooth side down, so your seam is on the top - this way the top of your dough will get the pretty lines from the banneton. If you're using a cloth or tea towel in a bowl it's ok to put your dough with the smooth side up. Just make sure the dough is tight.
Lift the edges of the dough to pop a little more rice flour if you feel it needs it. Just try to handle the dough as little as possible and be really gentle as you really want to preserve all the gases and air bubbles that have formed during your bulk ferment.
*I've dusted the dough with extra rice flour before putting it in the banneton to give it a more rustic effect when baking*
You will need a banneton to put your dough into. If you do not have a banneton, then a bowl or basket lined with a floured tea towel is perfectly fine. Make sure your bowl isn't too big though, you want your dough to retain some shape. You'll find lots of proofing basket alternatives here.
Whatever you're using needs to be liberally floured with your rice flour. If you're using a banneton - liberally sprinkle it with rice flour. If you're using a cloth or tea towel, rub the flour into it to ensure it becomes non stick.
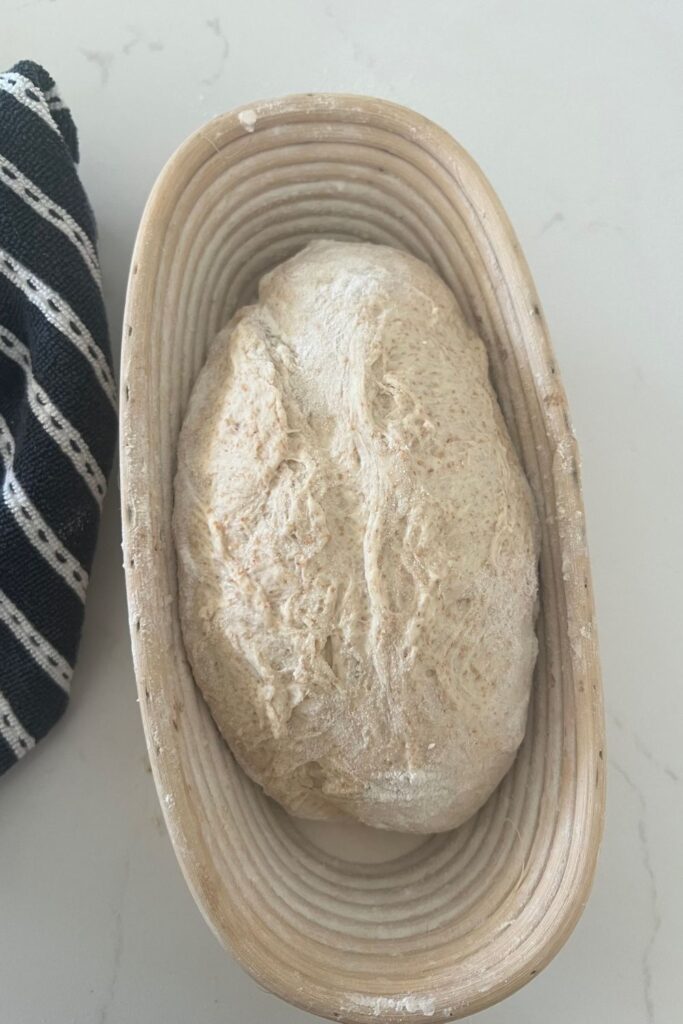
Cold Ferment
Now your dough is in its proofing basket cover it loosely with a plastic bag or damp tea towel and place into the fridge. I use a large plastic bag to cover it - I just reuse it each time. It's not totally essential to cover it - you can place it in the fridge uncovered if you'd prefer.
Try to leave it in the fridge for a minimum 5 hours up to a maximum of around 36 hours. The longer you leave it the better your bread will be! A longer cold ferment creates beautiful blisters on your crust and a deeper sourdough flavour. It will also ensure your dough forms a skin which makes it easier to score.
Preparing to Bake Your Sourdough
Once you're ready to bake your sourdough, you'll need to preheat your oven to 230C/450F.
Place your Dutch Oven into the oven when you turn it on so it gets hot. Try to preheat for around 1 hour to ensure your oven is super hot - but you know your oven so just adjust this time if you need to.
Leave your dough in the fridge until the very last minute - placing a cold dough into a hot Dutch Oven oven will give you better oven spring.
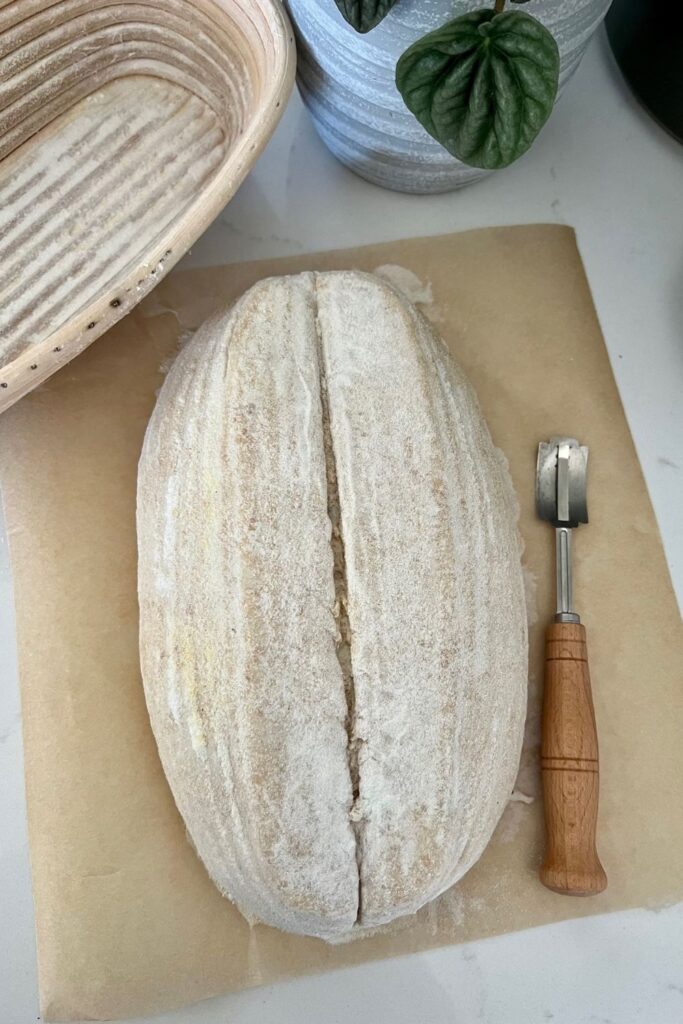
Baking Your Sourdough
When your oven is at temperature. Take your sourdough out of the fridge.
Gently place it onto a piece of parchment paper.
Make sure that you make the baking paper big enough to use the edges as a handle to lower to dough into your Dutch Oven.
Gently score the top of the loaf with a lame, clean razor blade or sharp knife. I've stuck to a simple slash for a more rustic effect (this is known as a utility score).
Carefully take your dutch oven out of the oven. Place the sourdough into the pot using the baking paper as a handle. Put the lid on and place into the hot oven. If you want to you can spritz your dough with extra water before you put the lid on.
BAKE TIME
- 30 Minutes with the lid on at 230C/450F plus
- 10-15 Minutes with the lid off at 210C/410F
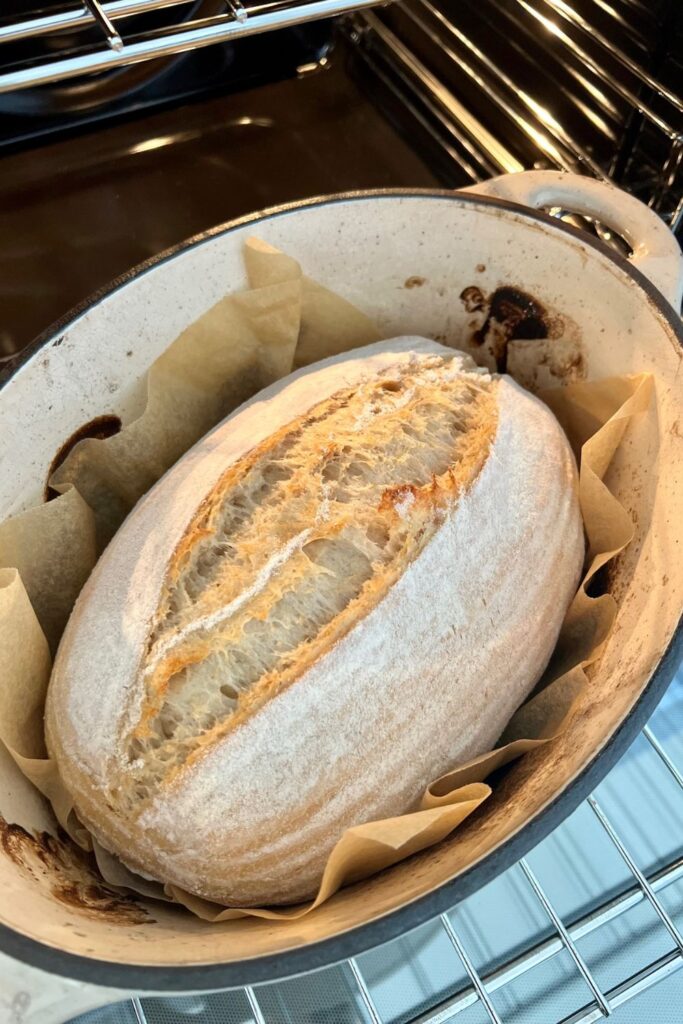
Finishing Your Bake
When you remove your dough from the oven, carefully remove it from the dutch oven as soon as possible and place on a wire rack to cool. I recommend using this Mercer Bread Knife to slice your sourdough bread when it's cooled - it's a sharp knife and makes slicing this rustic sourdough bread a breeze.
Can I Mix This Dough In A Stand Mixer?
Yes you can mix this dough in a stand mixer. You don't necessarily need to "knead" the dough with the stand mixer though. You can bring the dough together using the dough hook, let it rest and then give it a few turns around the bowl before allowing it to rest and ferment.
If you are interested in using your stand mixer for sourdough bread, you could follow this recipe for sourdough bread in a stand mixer.
Rustic Sourdough Bread Recipe
Equipment
- Mixing Bowl
- Digital Scales
- Banneton
- Dutch Oven
Ingredients
- 100 g Sourdough Starter fed and bubbly
- 250 g Bread Flour
- 250 g Whole Wheat Flour (or whole grain spelt flour)
- 315 g Water (add a sprinkle of water if it feels too dry)
- 10 g Salt
Instructions
- Autolyse:Weigh out your sourdough starter and water into a large ceramic or glass bowl. Mix the water and starter together briefly. Then add your flour and salt and mix altogether with the end of a wooden spoon.The dough will be fairly shaggy and only just brought together. Cover your bowl with plastic wrap or a damp towel and let it sit for around 1 hour. This process is called the "autolyse" and allows your flour to soak in all the water and become hydrated. This is really important because we are using whole wheat flour.
- Forming Up Your Dough:After the dough has been through autolyse you need to bring it together into a ball. You'll notice that the dough is fully hydrated after soaking all the water up. It will be fairly sticky but as you bring it into a ball, it will become smoother and shinier.Work your way around the bowl, grabbing the dough from the outside, stretching it up and over itself until a smooth ball is formed. You shouldn't need more than about 20-25 folds to form the ball.Once the dough has formed into a smooth ball, pop the plastic wrap back on.
- Stretch & Folds (OPTIONAL):Because we are making a rustic, no knead bread - this step is completely optional! If you have time, even doing one stretch and fold is great. If you don't, just let the dough sit and ferment and skip over the stretch and folds.Aim to do around 4-6 sets of stretches and folds. For each set, stretch the dough up and over itself 4 times. Leave around 15 minutes in between each set. Again you do not have to be exact with time, but you need to do at least 4 sets over 2 hours.
- Bulk Ferment:Once you've finished your stretch and folds, place the cling film or damp tea towel back over your dough and let it rest and ferment (see notes).
- Shaping Your Dough:Once your dough has finished it's first ferment, it's time to form it back into a ball and give it some shape and surface tension. You'll need to flour your counter top with rice flour for this (we use rice flour because it has no gluten). Try to be quite sparing with the rice flour, you only need a very light dusting.Use a silicone dough scraper to gently ease the dough out of the bowl. You want it to land upside down on your counter so that the smooth top of the dough is on the countertop and the sticky underside is facing up. This will make it easier to shape.You can shape into whatever you like. I prefer this one as a batard.
- Once the dough is shaped into a tight ball, place it into your banneton smooth side down, so your seam is on the top - this way the top of your dough will get the pretty lines from the banneton. If you're using a cloth or tea towel in a bowl it's ok to put your dough with the smooth side up. Just make sure the dough is tight.Lift your dough around the edges to pop a little more rice flour if you feel it needs it. Just try to handle the dough as little as possible and be really gentle as you really want to preserve all the gases and air bubbles that have formed during your bulk ferment.*I've dusted the dough with extra rice flour before putting it in the banneton to give it a more rustic effect when baking*
- You will need a banneton to put your dough into. If you do not have a banneton, then a bowl or basket lined with a floured tea towel is perfectly fine. Make sure your bowl isn't too big though, you want your dough to retain some shape.Whatever you're using needs to be liberally floured with your rice flour. If you're using a banneton - liberally sprinkle it with rice flour. If you're using a cloth or tea towel, rub the flour into it to ensure it becomes non stick.
- Cold Ferment:Now your dough is in it's "shaping container" cover it loosely with a plastic bag or damp tea towel and place into the fridge. I use a large plastic bag to cover it - I just reuse it each time. It's not totally essential to cover it - you can place it in the fridge uncovered if you'd prefer.Try to leave it in the fridge for a minimum 5 hours up to a maximum of around 36 hours. The longer you leave it the better your bread will be! A longer cold ferment creates beautiful blisters on your crust and a deeper sourdough flavour. It will also ensure your dough forms a skin which makes it easier to score.
- Preparing to Bake Your Sourdough:Once you're ready to bake your sourdough, you'll need to preheat your oven to 230C/450F. Place your Dutch Oven into the oven when you turn it on so it gets hot. Try to preheat for around 1 hour to ensure your oven is super hot - but you know your oven so just adjust this time if you need to.Leave your dough in the fridge until the very last minute - placing a cold dough into a hot oven will give you a great "spring".
- Baking Your Sourdough:When your oven is at temperature. Take your sourdough out of the fridge. Gently place it onto a piece of baking paper. Make sure that you make the baking paper big enough to use the edges as a handle to lower to dough into your Dutch Oven.Gently score your bread with a lame, clean razor blade or knife. I've stuck to a simple slash for a more rustic effect.Carefully take your dutch oven out of the oven. Place the sourdough into the pot using the baking paper as a handle. Put the lid on and place into the hot oven. If you want to you can spritz your dough with extra water before you put the lid on.BAKE TIME:30 Minutes with the lid on at 230C/450F plus10-15 Minutes with the lid off at 210C/410F
- Finishing Your Bake:When you remove your dough from the oven, carefully remove it from the dutch oven as soon as possible and place on a wire rack to cool.
