Sourdough Guinness Beer Bread [perfect for St Patrick's Day]
This post may contain affiliate links.
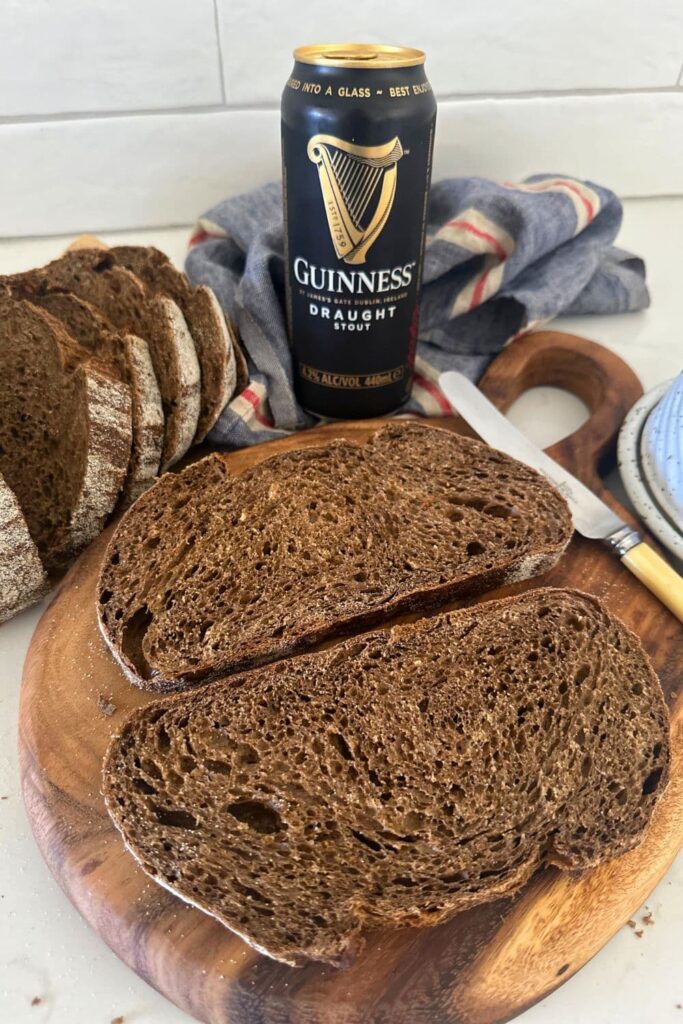
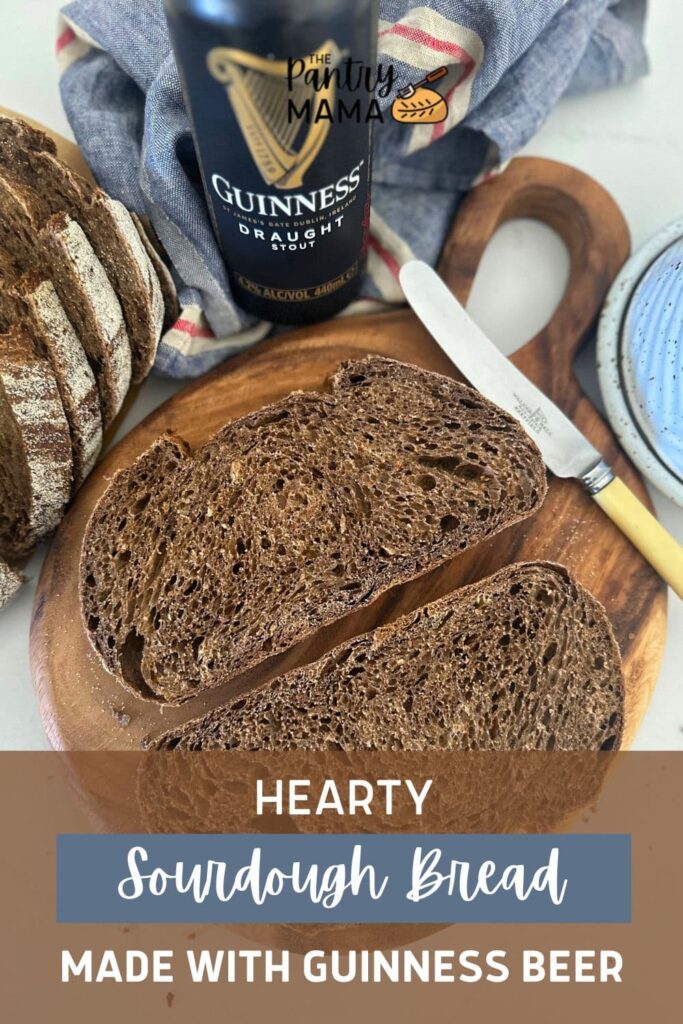
You'll love the rich, hearty flavor of this sourdough Guinness bread made with a wild yeast sourdough culture and distinctive Guinness beer. For the ultimate Irish treat, serve this savory bread with a slab of Irish butter or homemade cultured butter.
I've added dark malt powder to this sourdough Guinness bread to increase the depth of flavor and add an almost marble effect to the dough.
If you're looking for some other Irish inspired sourdough recipes make sure you try this sourdough Irish soda bread and, beef and Guinness Irish Stew with sourdough starter and sourdough herb dumplings. You might also like to try adding Guinness to this sourdough rye bread recipe.
Why You'll Love This Recipe!
Rich Color, Flavor and Texture - the combination of whole wheat flour and Guinness beer creates a rich, hearty sourdough loaf full of fermented flavor!
Irish Twist - making sourdough bread with a can of Guinness beer is a lovely way to give your sourdough bread an Irish twist to celebrate St Patrick's Day.
Works in a Loaf Pan - this sourdough Guinness Bread can be made in a Dutch Oven or can be converted into a loaf pan using this easy guide to baking sourdough in a loaf pan.
What is Guinness & Why Use It In Sourdough?
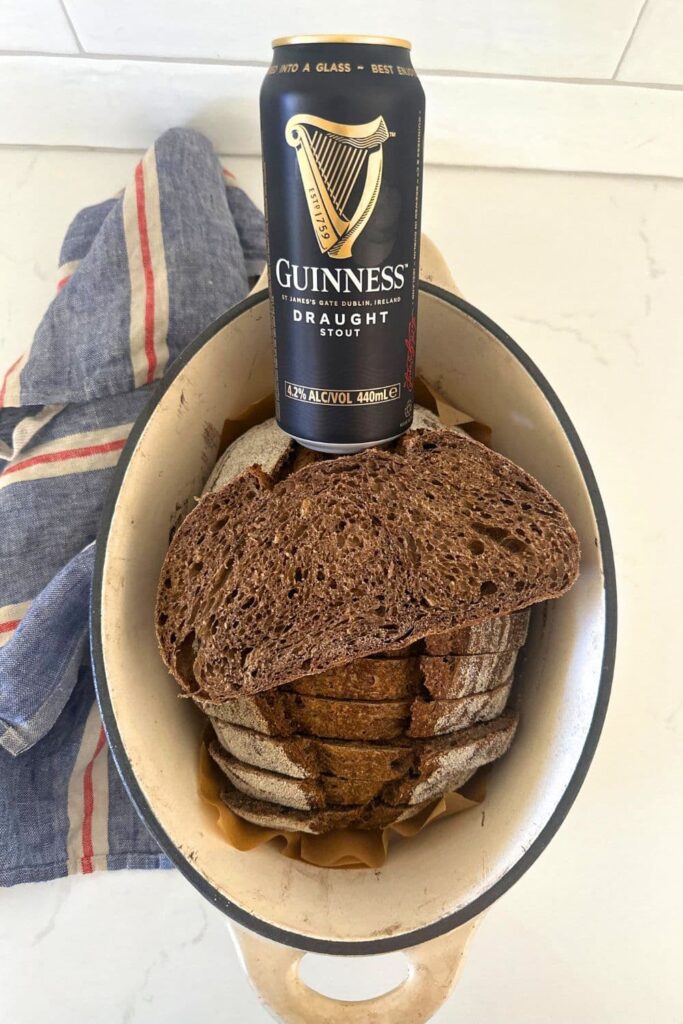
Guinness, a famous Irish dry stout, was founded by Arthur Guinness in 1759 at St. James's Gate in Dublin. Known for its dark color and distinctive flavor with notes of coffee and chocolate, Guinness is brewed with water, malted and roasted barley, hops, and yeast, making it a dark beer.
The introduction of the widget in the 1980s enhanced the beer's creamy texture, and the unique pouring technique results in a settled pint with a creamy head. As a global brand, Guinness offers various editions, including Draught and Extra Stout. It has become an iconic symbol of Irish culture and is particularly associated with St. Patrick's Day celebrations worldwide, with its consumption spiking during this Irish holiday.
How to Make Sourdough Guinness Bread
I based this sourdough Guinness Bread on my easy Whole Wheat Rye Sourdough Bread recipe which uses both whole wheat flour and rye flour.
For this Guinness version, I took out the rye flour and used just bread flour and whole wheat flour, as well as some dark malt flour for color (which you can leave out if you don't have it). You might also like to read my post on making sourdough beer bread for some additional pointers and tips for using beer in sourdough bread.
Before you start making this sourdough Guinness bread, make sure you have a happy, healthy active sourdough starter. Ensure your bubbly starter has been fed and is at its peak before starting this recipe to ensure you get the best results.
Autolyse
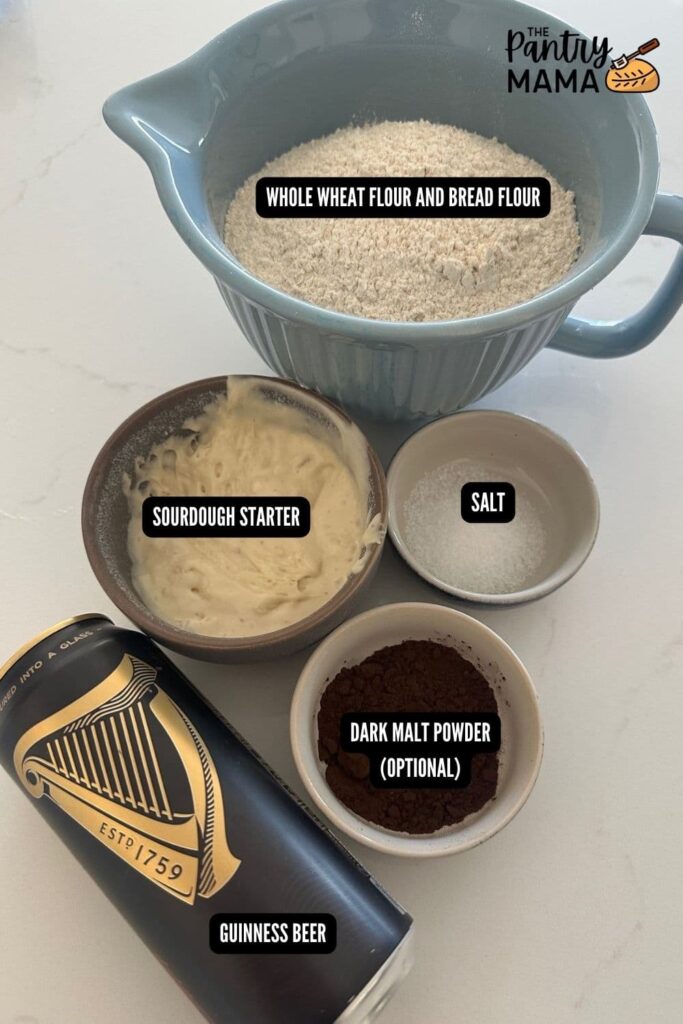
Weigh out your 100 g sourdough starter and 400 g Guinness beer into a large ceramic or glass bowl.
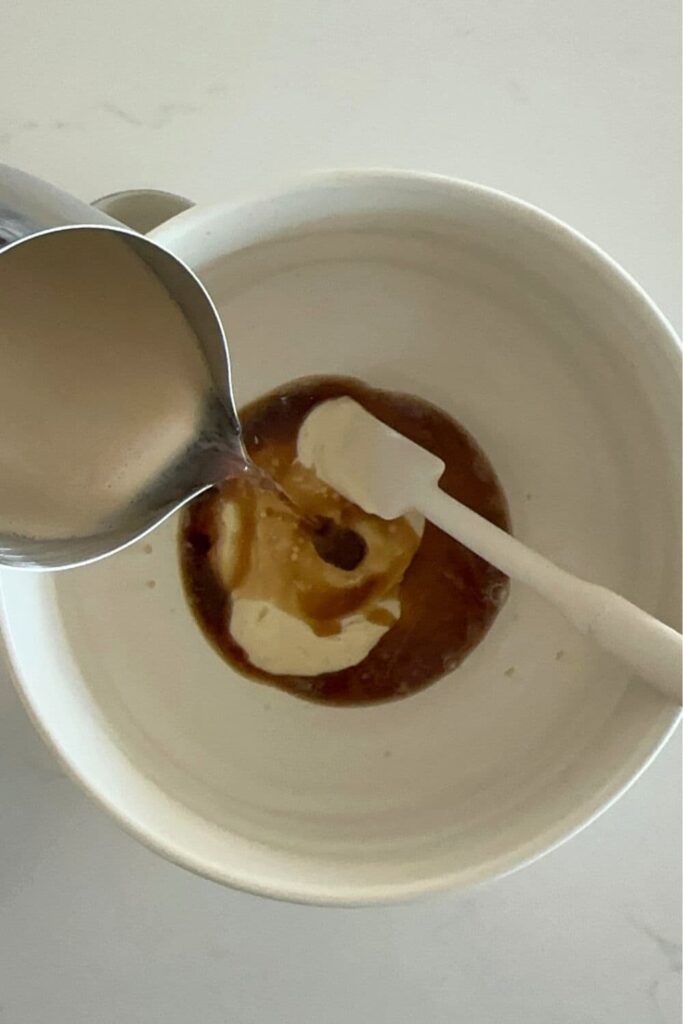
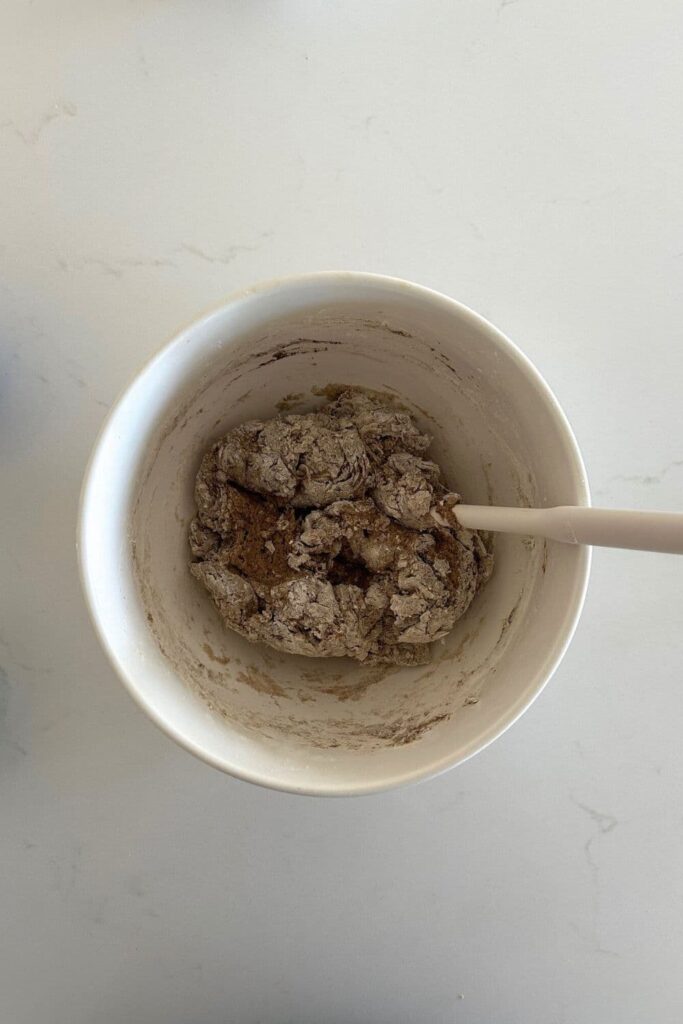
Mix the Guinness and starter together briefly. Then add your bread flour, whole wheat flour (and dark malt powder if you're using it) and salt and mix altogether with a spatula.
The dough will be fairly shaggy and only just brought together. If you feel the dough is too stiff, even at this stage, add a little more Guinness from the can.
Cover your bowl with cling film or a damp tea towel and let it sit for around 1 hour. It's ok if it's a little bit longer, it's not going to matter too much.
This process is called the "autolyse" and allows your flour to soak in all the Guinness and become hydrated.
Forming Up Your Dough
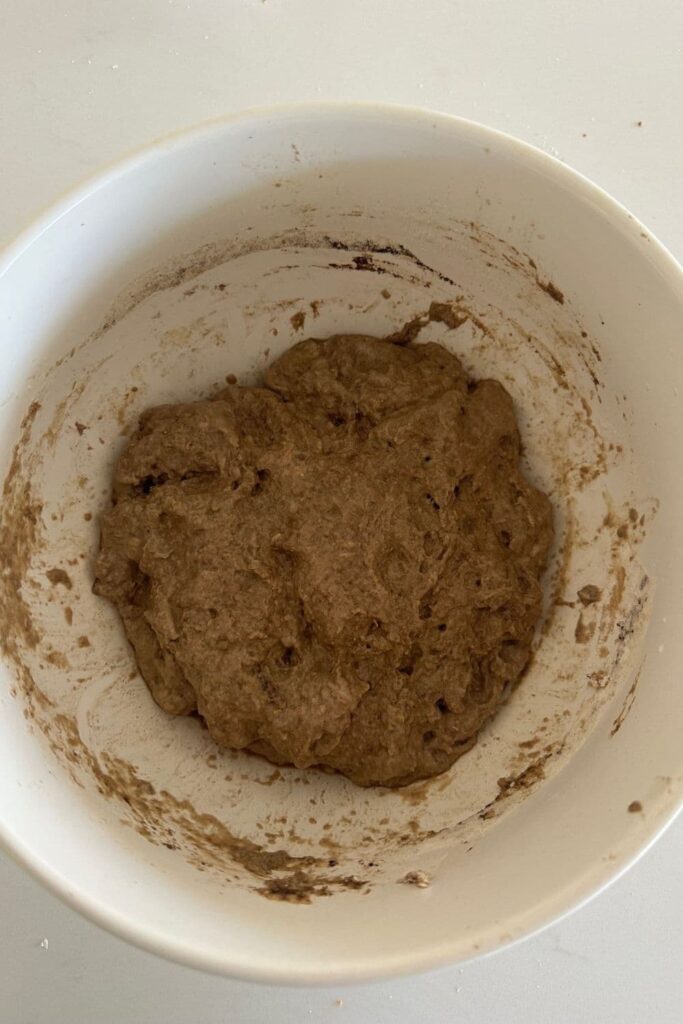
After the dough has been through autolyse you need to bring it together into a ball. You'll notice that the dough is fully hydrated after soaking all the Guinness up. It will be fairly sticky due to the whole wheat flour, but do your best to bring it together into a cohesive ball of dough.
Once the dough has formed a more cohesive form, pop the cling film back on and let it rest for 30 minutes.
Stretch & Folds
Over the next few hours you need to create some structure for your dough by "stretching and folding".
Aim to do around 4-6 sets of stretches and folds. For each set, stretch the dough up and over itself 4 times. Leave around 15 minutes in between each set. Again you do not have to be exact with time, but you need to do at least 4 sets over 2 hours.
You will need to really work the dough to develop the gluten - because whole wheat flour has a lower gluten content.
Bulk Ferment
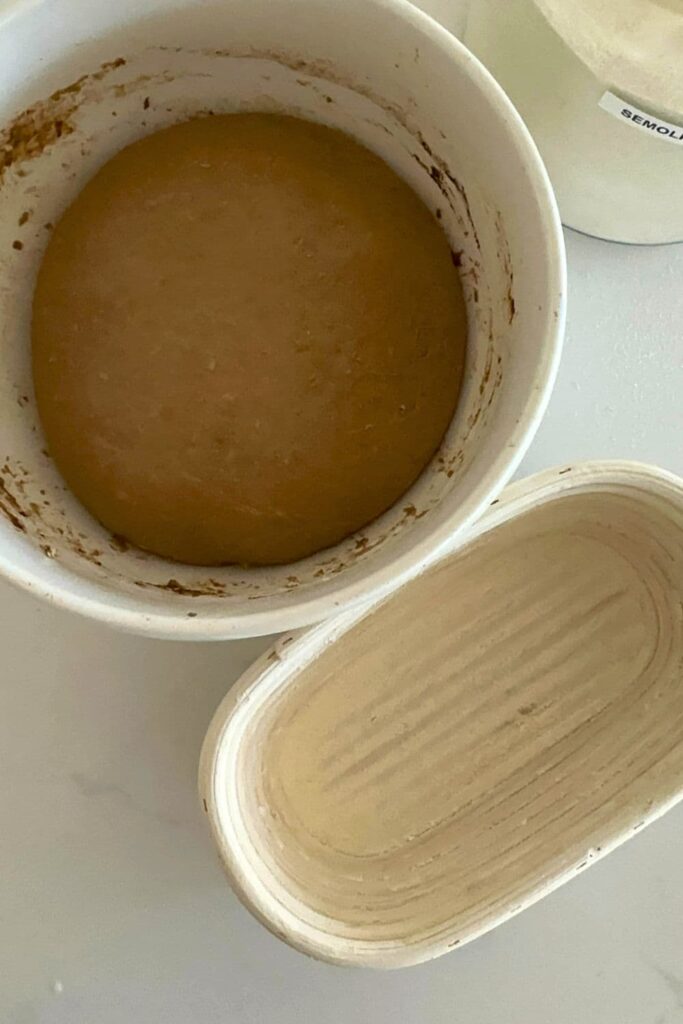
Once you've finished your stretch and folds, place the cling film or damp tea towel back over your dough and let it rest and ferment. You want to leave it at room temperature until the dough doubles - this will take some time (see notes).
Shaping Your Dough
Once your dough has finished it's first ferment, it's time to form it back into a ball and give it some shape and surface tension. You'll need to flour your counter top with rice flour for this (we use rice flour because it has no gluten). Try to be quite sparing with the rice flour, you only need a very light dusting.
Use a silicone dough scraper to gently ease the dough out of the bowl. You want it to land upside down on your counter so that the smooth top of the dough is on the countertop and the sticky underside is facing up. This will make it easier to shape.
You can shape into whatever you like. I prefer this one as a batard.
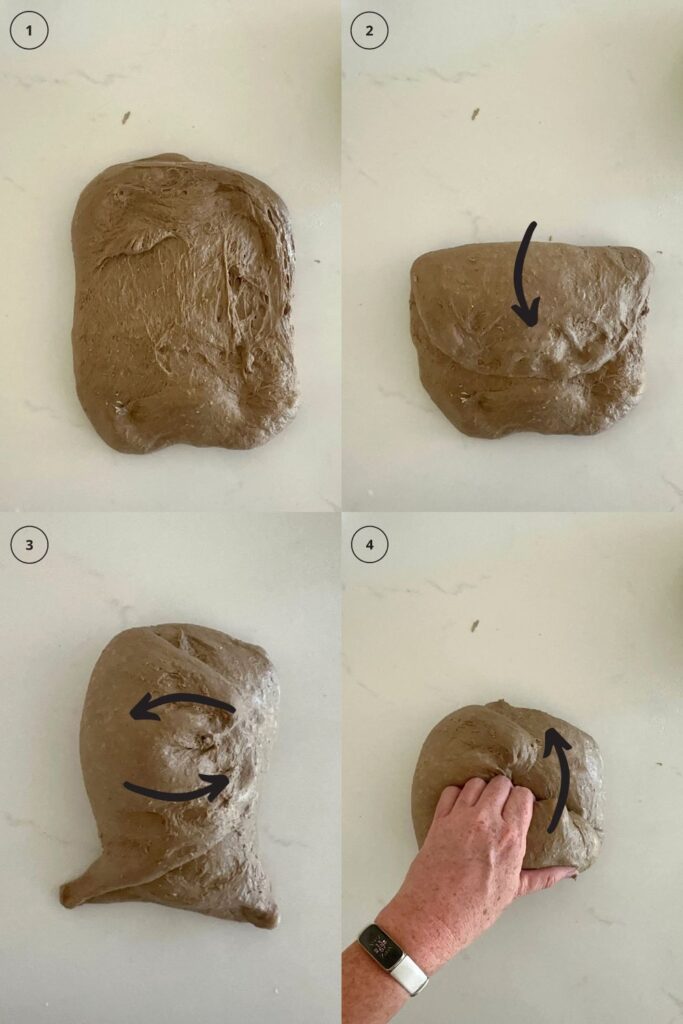
Once the dough is shaped into a batard, place it into your banneton smooth side down, so your seam is on the top - this way the top of your dough will get the pretty lines from the banneton. If you're using a cloth or tea towel in a bowl it's ok to put your dough with the smooth side up. Just make sure the dough is tight.
Lift your dough around the edges to pop a little more rice flour if you feel it needs it. Just try to handle the dough as little as possible and be really gentle as you really want to preserve all the gases and air bubbles that have formed during your bulk ferment.
You will need a banneton to put your dough into. If you do not have a banneton, then a bowl or basket lined with a floured tea towel is perfectly fine. Make sure your bowl isn't too big though, you want your dough to retain some shape.
Whatever you're using needs to be liberally floured with your rice flour. If you're using a banneton - liberally sprinkle it with rice flour. If you're using a cloth or tea towel, rub the flour into it to ensure it becomes non stick.
Cold Ferment
Now your dough is in it's "shaping container" cover it loosely with a plastic bag or damp tea towel and place into the fridge. I use a large plastic bag to cover it - I just reuse it each time. It's not totally essential to cover it - you can place it in the fridge uncovered if you'd prefer.
Try to leave it in the fridge for a minimum 5 hours up to a maximum of around 36 hours. The longer you leave it the better your bread will be! A longer cold ferment creates beautiful blisters on your crust and a deeper sourdough flavour. It will also ensure your dough forms a skin which makes it easier to score.
Preparing to Bake Your Sourdough
Once you're ready to bake your sourdough, you'll need to preheat your oven to 230C/450F.
Place your Dutch Oven into the oven when you turn it on so it gets hot. Try to preheat for around 1 hour to ensure your oven is super hot - but you know your oven so just adjust this time if you need to.
Leave your dough in the fridge until the very last minute - placing a cold dough into a hot oven will give you a great "spring".
Baking Your Sourdough
When your oven is at temperature. Take your sourdough out of the fridge.
Gently place it onto a piece of baking paper.
Make sure that you make the baking paper big enough to use the edges as a handle to lower to dough into your Dutch Oven.
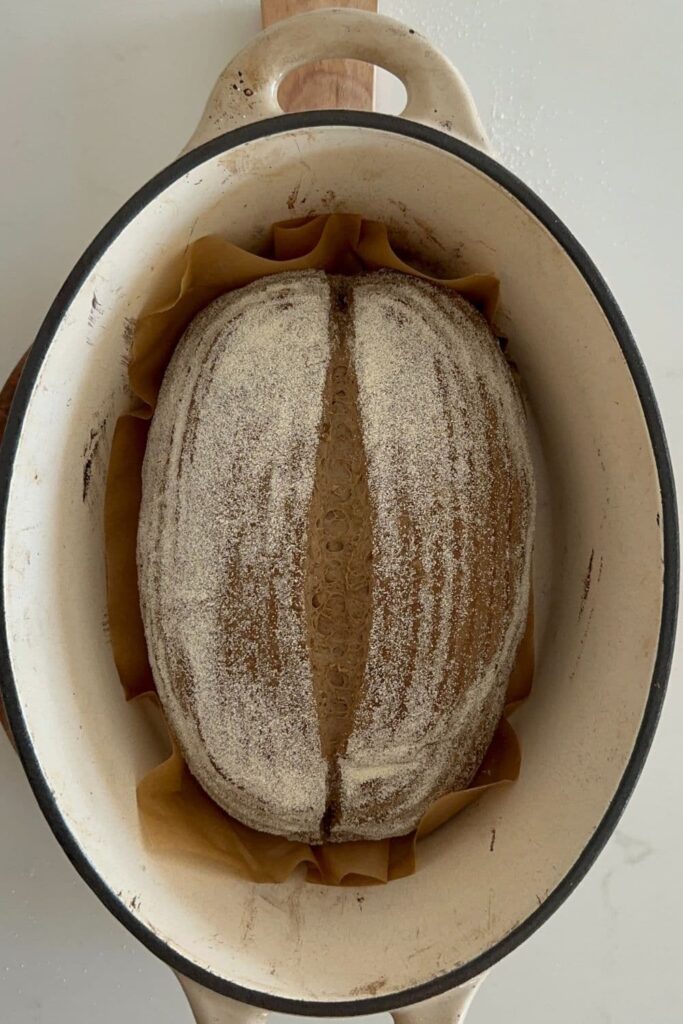
Gently score your bread with a lame, clean razor blade or knife.
Carefully take your dutch oven out of the oven. Place the sourdough into the pot using the baking paper as a handle. Put the lid on and place into the hot oven. If you want to you can spritz your dough with extra water before you put the lid on.
BAKE TIME
30 Minutes with the lid on at 230C/450F plus
10-15 Minutes with the lid off at 210C/410F
Finishing Your Bake
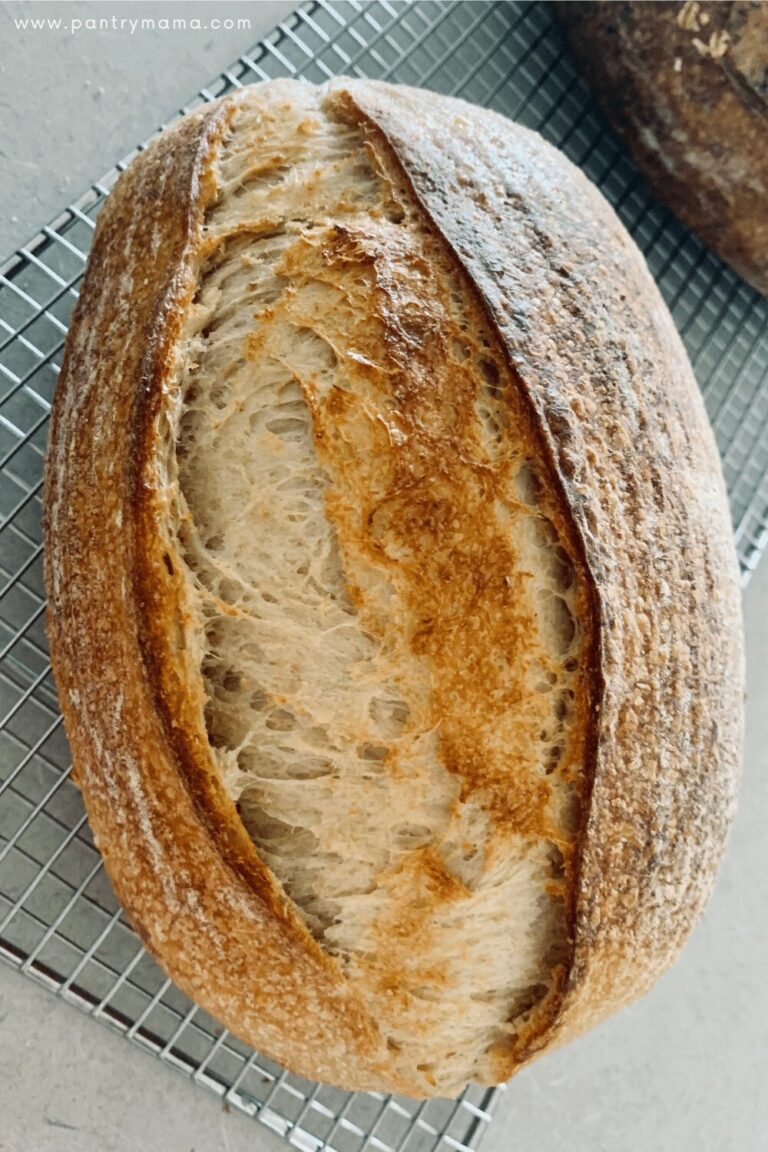
When you remove your dough from the oven, carefully remove it from the dutch oven as soon as possible and place on a wire rack to cool.
Flavor Variations on Sourdough Guinness Bread
If you'd like to change things up with this recipe, here are a few suggestions for adding in some different complementary flavors:
- Guinness Rye Sourdough Bread - substitute up to 50g of whole wheat flour for rye flour in this recipe or check out this sourdough rye bread recipe which you could use Guinness in.
- Honey Wheat Sourdough Guinness Bread - add up to 50g of honey into this recipe to add a sweetness to the loaf. You could also add Guinness to this honey oat sourdough bread.
- Jalapeño Cheddar Guinness Sourdough Bread - add 40g of diced canned jalapeños and 100g of shredded cheddar cheese to this recipe or check out how to add Guinness to this jalapeño cheddar sourdough bread.
Sourdough Guinness Bread
Equipment
- Mixing Bowl
- Digital Scales
- Banneton
- Dutch Oven
Ingredients
- 100 g Sourdough Starter fed and bubbly
- 300 g Bread Flour (optional - see notes)
- 200 g Whole Wheat Flour
- 10 g Dark Malt Flour (optional - see notes)
- 400 g Guinness Beer (room temperature)
- 10 g Salt
Instructions
- Autolyse:Weigh out your sourdough starter and Guinness into a large ceramic or glass bowl. Mix the Guinness and starter together briefly. Then add your bread flour, whole wheat flour (and dark malt powder if you're using it) and salt and mix altogether with a spatula. The dough will be fairly shaggy and only just brought together. If you feel the dough is too stiff, even at this stage, add a little more Guinness from the can.Cover your bowl with cling film or a damp tea towel and let it sit for around 1 hour. It's ok if it's a little bit longer, it's not going to matter too much.This process is called the "autolyse" and allows your flour to soak in all the Guinness and become hydrated.
- Forming Up Your Dough:After the dough has been through autolyse you need to bring it together into a ball. You'll notice that the dough is fully hydrated after soaking all the Guinness up. It will be fairly sticky due to the whole wheat flour, but do your best to bring it together into a cohesive ball of dough.Once the dough has formed a more cohesive form, pop the cling film back on and let it rest for 30 minutes.
- Stretch & Folds:Over the next few hours you need to create some structure for your dough by "stretching and folding". Aim to do around 4-6 sets of stretches and folds. For each set, stretch the dough up and over itself 4 times. Leave around 15 minutes in between each set. Again you do not have to be exact with time, but you need to do at least 4 sets over 2 hours.You will need to really work the dough to develop the gluten - because whole wheat flour has a lower gluten content.
- Bulk Ferment:Once you've finished your stretch and folds, place the cling film or damp tea towel back over your dough and let it rest and ferment. You want to leave it at room temperature until the dough doubles - this will take some time (see notes).
- Shaping Your Dough:Once your dough has finished it's first ferment, it's time to form it back into a ball and give it some shape and surface tension. You'll need to flour your counter top with rice flour for this (we use rice flour because it has no gluten). Try to be quite sparing with the rice flour, you only need a very light dusting.Use a silicone dough scraper to gently ease the dough out of the bowl. You want it to land upside down on your counter so that the smooth top of the dough is on the countertop and the sticky underside is facing up. This will make it easier to shape.You can shape into whatever you like. I prefer this one as a batard.
- Once the dough is shaped into a batard, place it into your banneton smooth side down, so your seam is on the top - this way the top of your dough will get the pretty lines from the banneton. If you're using a cloth or tea towel in a bowl it's ok to put your dough with the smooth side up. Just make sure the dough is tight.Lift your dough around the edges to pop a little more rice flour if you feel it needs it. Just try to handle the dough as little as possible and be really gentle as you really want to preserve all the gases and air bubbles that have formed during your bulk ferment.
- You will need a banneton to put your dough into. If you do not have a banneton, then a bowl or basket lined with a floured tea towel is perfectly fine. Make sure your bowl isn't too big though, you want your dough to retain some shape.Whatever you're using needs to be liberally floured with your rice flour. If you're using a banneton - liberally sprinkle it with rice flour. If you're using a cloth or tea towel, rub the flour into it to ensure it becomes non stick.
- Cold Ferment:Now your dough is in it's "shaping container" cover it loosely with a plastic bag or damp tea towel and place into the fridge. I use a large plastic bag to cover it - I just reuse it each time. It's not totally essential to cover it - you can place it in the fridge uncovered if you'd prefer.Try to leave it in the fridge for a minimum 5 hours up to a maximum of around 36 hours. The longer you leave it the better your bread will be! A longer cold ferment creates beautiful blisters on your crust and a deeper sourdough flavour. It will also ensure your dough forms a skin which makes it easier to score.
- Preparing to Bake Your Sourdough:Once you're ready to bake your sourdough, you'll need to preheat your oven to 230C/450F. Place your Dutch Oven into the oven when you turn it on so it gets hot. Try to preheat for around 1 hour to ensure your oven is super hot - but you know your oven so just adjust this time if you need to.Leave your dough in the fridge until the very last minute - placing a cold dough into a hot oven will give you a great "spring".
- Baking Your Sourdough:When your oven is at temperature. Take your sourdough out of the fridge. Gently place it onto a piece of baking paper. Make sure that you make the baking paper big enough to use the edges as a handle to lower to dough into your Dutch Oven.Gently score your bread with a lame, clean razor blade or knife. Carefully take your dutch oven out of the oven. Place the sourdough into the pot using the baking paper as a handle. Put the lid on and place into the hot oven. If you want to you can spritz your dough with extra water before you put the lid on.BAKE TIME:30 Minutes with the lid on at 230C/450F plus10-15 Minutes with the lid off at 210C/410F
- Finishing Your Bake:When you remove your dough from the oven, carefully remove it from the dutch oven as soon as possible and place on a wire rack to cool.
Notes
Nutrition


