Easy Sourdough Rye Bagels
This post may contain affiliate links.
If you love sourdough bagels, you've got to try these easy sourdough rye bagels. They bring the flavor and texture of nutritious rye flour to a traditional sourdough bagel.
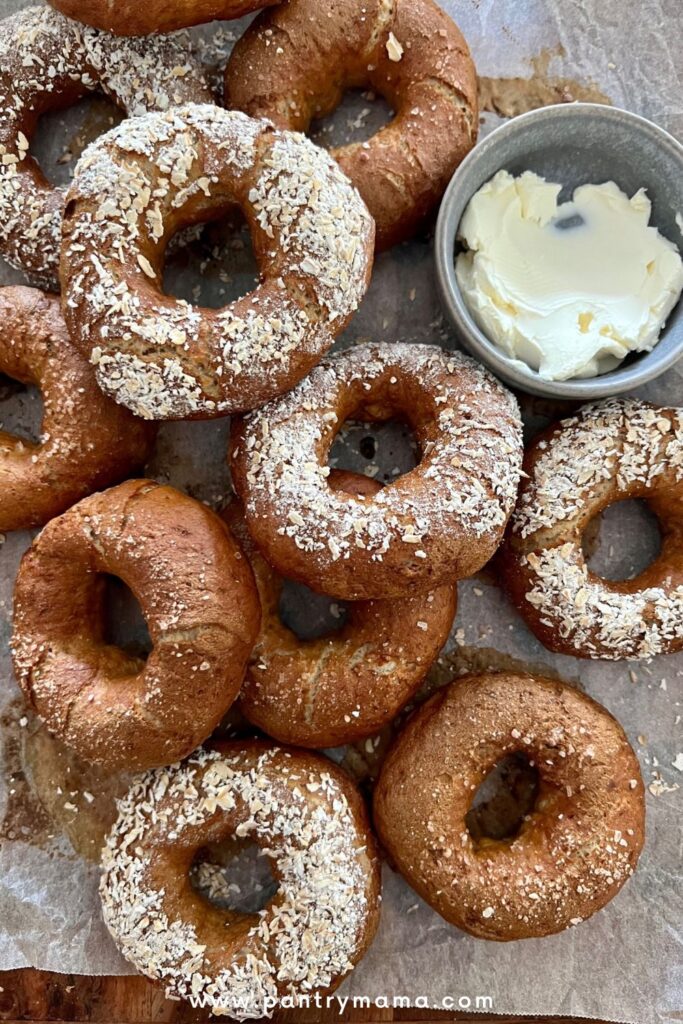
These delicious sourdough rye bagels have a crisp exterior with a chewy texture inside and can be topped with caraway seeds, poppy seeds, coarse salt or even ground oats (sooo good!).
I love eating these fresh out of the oven, spread with cream cheese or cultured butter - YUM!
You will find a step by step guide to making sourdough rye bagel dough from scratch and rolling them into beautifully shaped bagels.
If you're looking for more homemade sourdough bagel recipes then you're going to love these easy overnight sourdough bagels or these sourdough egg bagels! Or maybe sourdough pumpkin bagels are more your style? You can use your sourdough starter or even sourdough discard plus instant yeast for these recipes. And if you really do love rye, then why not try this rustic and hearty sourdough rye bread!
How To Utilise Rye Flour for Bagels
This recipe uses 200g of rye flour, blended with some bread flour to give you the best of both worlds. The rye flour adds color, flavor and texture to these sourdough bagels that you couldn't achieve by using bread flour or all purpose flour alone. Rye flour is touted as one of the most nutrient dense options for making sourdough starter and bread.
I recommend using regular light rye flour, however you could also use dark rye flour.
Rye flour, while it's not gluten free, contains a lot less gluten than a high protein flour like bread flour. This means that if you use only rye flour, you won't be able to create a strong gluten network to hold the C02 made by the wild yeast in your sourdough starter. This is the reason that rye only baked goods like rye bread don't get a great rise.
This blend of rye flour and bread flour gives you the goodness of whole grain while still giving you a nicely shaped, well risen sourdough bagel. This simple approach to a classic rye bagel allows you get the best bagels at home - without having to resort to grocery store bagels!
You could also try adding some vital wheat gluten if you're concerned about the rye flour in your dough.
How To Make Sourdough Rye Bagels (step by step guide)
Many people are scared off by using rye flour in their sourdough baking, but this sourdough rye bagel recipe really is a great way to play with rye.
You can of course use a rye sourdough starter, build a levain or just use your regular sourdough starter - they are all perfectly fine options.
Just remember that this dough will feel a bit different to working with a non rye dough. But don't be frightened, jump in and have a go!
Here's how to make rye sourdough bagels:
- I recommend using a stand mixer for this recipe as it is a stiff dough and can easily be kneaded in a stand mixer.
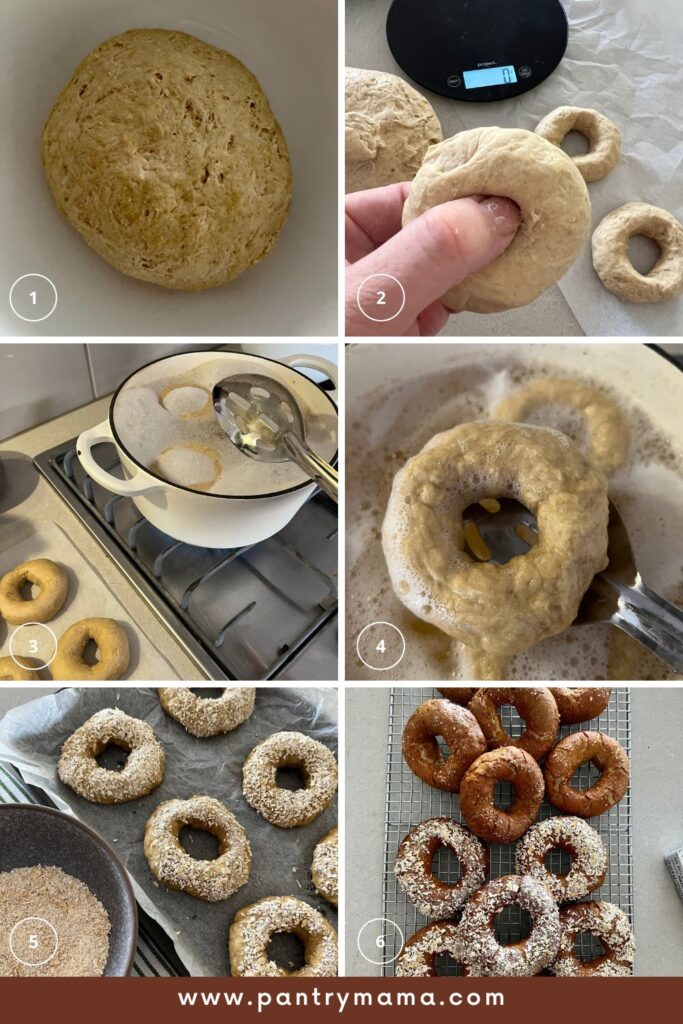
- Add sourdough starter, water, bread flour, rye, sugar, and salt to the bowl of your stand mixer and bring together to form a shaggy dough.
- Allow the dough to rest for around 30 minutes.
- Knead the dough (you'll need to use a dough hook for stand mixers) for around 10 minutes until it is smooth and supple. This is a stiff dough (much like sandwich bread dough) so it won't be super elastic, however it should be smooth and not sticky.
- If you feel the dough is too stiff (because rye flour can make it stiff) add up to 30g more water to loosen up the dough. Just exercise caution as too much water will make the dough unworkable (and I don't normally recommend adding extra water to bagel dough!).
- Once the dough is sufficiently kneaded, you'll need to allow it to rise or bulk ferment at room temperature.
- You want the dough to double and be puffy and soft.
- Once the dough has risen, you'll need to shape the bagels. It's quite simple, you just need a little patience. Just remember that they might feel a little different than you're used to because of the rye flour. I think this dough feels almost like plasticine.
- Divide the dough into 12 equal portions weighing 80g each. Shape each piece of dough into a small ball.
- Take each dough ball and poke a hole in the middle using your index finger. Gently stretch the hole out and then place each bagel on a prepared sheet pan to rise. Rye based dough will be less stretchy than you're used to.
- Cover the bagels with a dish cloth and allow them become lovely and puffy. This will take a while - it's a lower hydration dough and you're working with wild yeast.
- While they are puffing up, bring a large pot of water with 40g of honey added to the boil and preheat your oven to 200C/392F.
- When the water is boiling, carefully place 3-4 bagels into the boiling water at a time. You want to boil them for around 30 seconds each. They should float to the surface and that's when you know to take them out.
- If you prefer really chewy bagels, boil them for up to 2 minutes each.
- Carefully remove the boiled bagels from the boiling water using a slotted spoon.
- If you want to add seeds or seasonings, dip the wet bagel into the seeds/seasonings before placing on a baking sheet lined with parchment paper. There's no need for egg wash with these bagels.
- You can leave them plain if you wish. I like to do a mix of seeded and plain (caraway seeds, poppy seeds, sesame seeds or even coarse salt all work well).
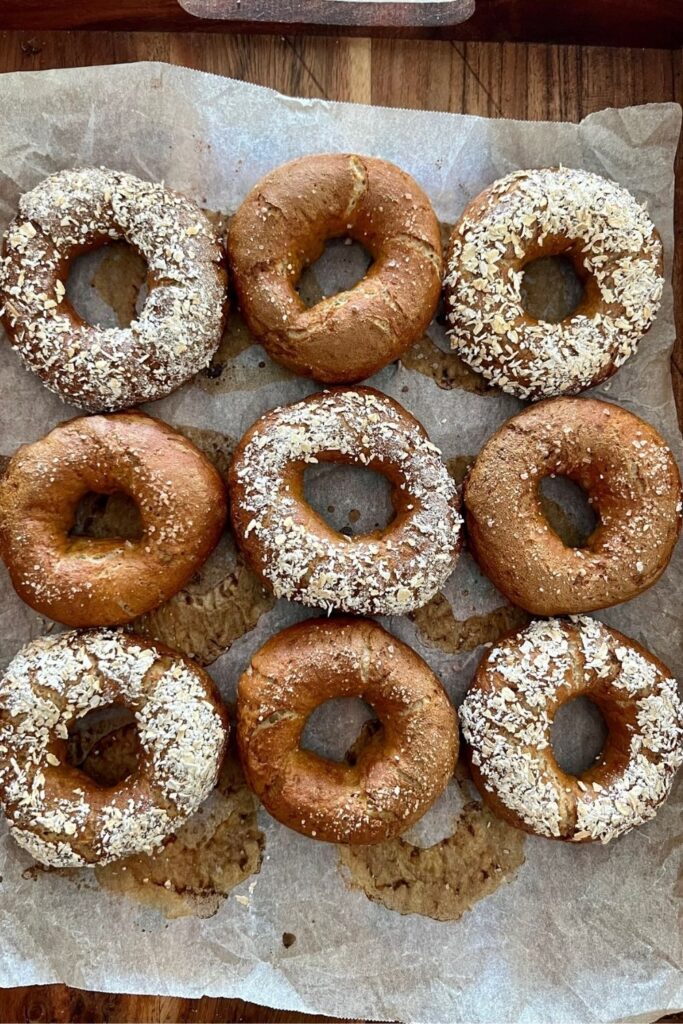
- Bake the bagels for around 20 - 25 minutes at 200C/392F. Remove them from the oven when they are golden brown.
- Place them onto a cooling rack to rest before you enjoy them!
Can You Use Discard for Sourdough Rye Bagels?
This sourdough bagel recipe can be made using active sourdough starter (recommended) or sourdough discard with added commercial yeast.
If you use active sourdough starter, you'll need to give the bagels sufficient time for the natural leavening of the yeast. This can take 8-12 hours depending on the strength of your own sourdough starter. You should also remember that being a lower hydration dough, it will take longer to bulk ferment than regular sourdough.
If you use sourdough discard plus commercial yeast, then you won't need to give the bagels so long to rise as the timing is much faster with active dried or instant yeast.
Using warm water is another way you can speed up the dough rise for this recipe if you're short on time.

Flavor Variations for Sourdough Rye Bagels
You can certainly leave these sourdough rye bagels plain if you'd prefer, but here are some delicious ways to take these to the next level:
- Caraway seeds are the perfect accompaniment to sourdough rye bagels - simply sprinkle them on top after boiling.
- Dip the bagels in ground rolled oats after boiling (but before baking).
- Top the bagels with cheddar cheese before baking for a cheesy sourdough bagel treat.
- Sprinkle with poppy seeds, sesame seeds or homemade Everything but the Bagel seasoning after boiling, but before baking for a classic seedy twist.
Storing + Freezing Sourdough Rye Bagels
I think these classic bagels are best eaten fresh - or at least within 12 hours of baking. If you want to store them longer than this, then freezing is your go to!
These sourdough rye bagels are suitable for freezing. I like to freeze them on a baking sheet lined with baking paper and then once they are frozen, place them into a plastic ziploc bag. This means that you can take out a couple at a time without them all sticking together.
Allow the bagels to defrost at room temperature on the counter. Lightly toast them or zap them in the microwave to refresh them (just like when you refresh sourdough bread).


Sourdough Rye Bagel Recipe
Equipment
- Stand Mixer recommended
- Baking Trays
- Stock Pot for boiling bagels
- Slotted Spoon
Ingredients
- 100 g Sourdough Starter active and bubbly
- 300 g Bread Flour
- 200 g Rye Flour
- 250 g Water Warm (with 30g extra if you need it)
- 30 g Sugar
- 10 g Salt
For Boiling
- 2 Litres Water
- 40 g Honey or you can use baking soda or brown sugar
Instructions
- I recommend using a stand mixer for this recipe as it is a stiff dough and can easily be kneaded in a stand mixer.Add sourdough starter, water, bread flour, rye, sugar, and salt to the bowl of your stand mixer and bring together to form a shaggy dough.
- Allow the dough to rest for around 30 minutes.
- Knead the dough (you'll need to use a dough hook for stand mixers) for around 10 minutes until it is smooth and supple. This is a stiff dough (much like sandwich bread dough) so it won't be super elastic, however it should be smooth and not sticky.If you feel the dough is too stiff (because rye flour can make it stiff) add up to 30g more water to loosen up the dough. Just exercise caution as too much water will make the dough unworkable.
- Once the dough is sufficiently kneaded, you'll need to allow it to rise or ferment.You want the dough to double and be puffy and soft.
- Once the dough has risen, you'll need to shape the bagels. It's quite simple, you just need a little patience. Just remember that they might feel a little different than you're used to because of the rye flour. I think this dough feels almost like plasticine. Divide the dough into 12 pieces weighing 80g each. Shape each piece of dough into a small ball.
- Take each ball and poke a hole in the middle. Gently stretch the hole out and then place each bagel on a sheet of baking paper to rise. Rye based dough will be less stretchy than you're used to.
- Cover the bagels with a dish cloth and allow them become lovely and puffy. This will take a while - it's a lower hydration dough and you're working with wild yeast.
- While they are puffing up, bring a pot of water with 40g of honey added to the boil and preheat your oven to 200C/392F.
- When the water is boiling, carefully place 3-4 bagels into the boiling water at a time. You want to boil them for around 30 seconds each. They should float to the surface and that's when you know to take them out.If you prefer really chewy bagels, boil them for up to 2 minutes each.
- Carefully remove the bagels from the boiling water using a slotted spoon.If you want to add seeds or seasonings, dip the wet bagel into the seeds/seasonings before placing on a baking tray.You can leave them plain if you wish. I like to do a mix of seeded and plain.
- Bake the bagels for around 20 - 25 minutes at 200C/392F. Remove them from the oven when they are golden brown.
- Allow them to cool before you enjoy them!
Notes
Nutrition


