How To Make A Rye Sourdough Starter
This post may contain affiliate links.
Looking to unveil the magic of sourdough by making a rye sourdough starter? Consider this your one stop, ultimate guide on how to make a rye sourdough starter from scratch!
From how and when to feed your rye sourdough starter, to understanding when your rye starter is ready to bake with, this comprehensive guide is all you need to know about how to make a rye sourdough starter from scratch. You might also find it helpful to read my guide to making a sourdough starter from scratch (using bread flour).
Once you have a thriving rye sourdough starter, you can use it to make delicious sourdough baked goods like sourdough rye bread, sourdough rye bagels and sourdough pumpernickel bread.
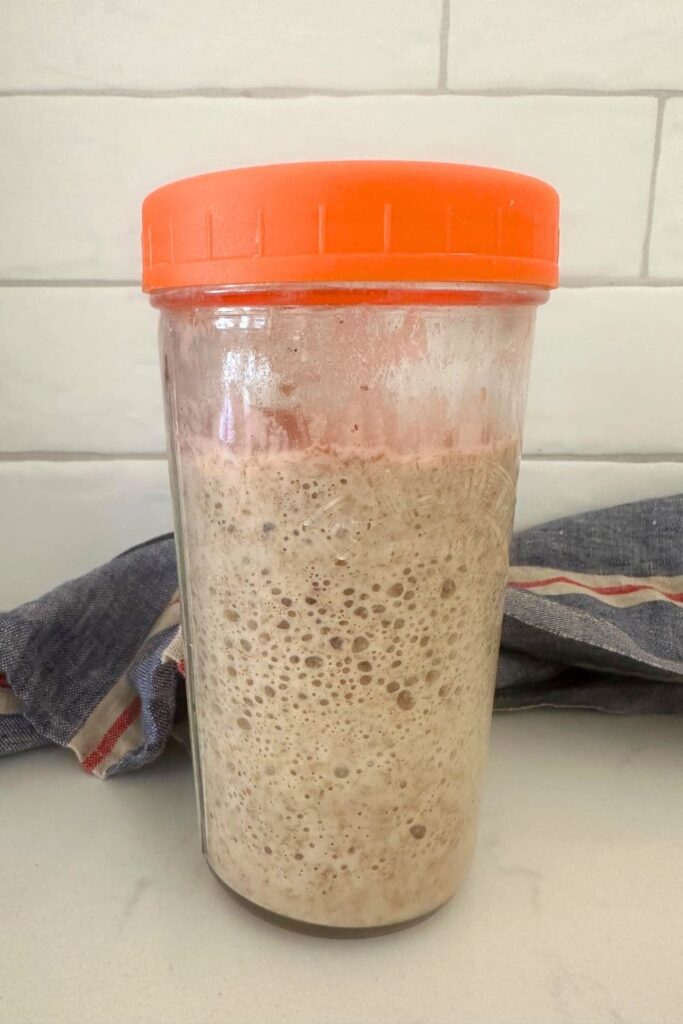
Best Sourdough Starter Resources
Before you start making your own rye sourdough starter, I've put together some beginner sourdough resources for you, so that you get a better understanding of what's involved in sourdough making and some of the problems you might come across in making a rye sourdough starter.
- Sourdough Glossary (this is great if you are a beginner)
- Beginner's Guide to creating a sourdough starter
- Common sourdough starter problems and how to fix them
- Best Water for Sourdough Starter (tap water isn't always best)
- How to Strengthen Your Sourdough Starter
- How to Dehydrate Your Sourdough Starter
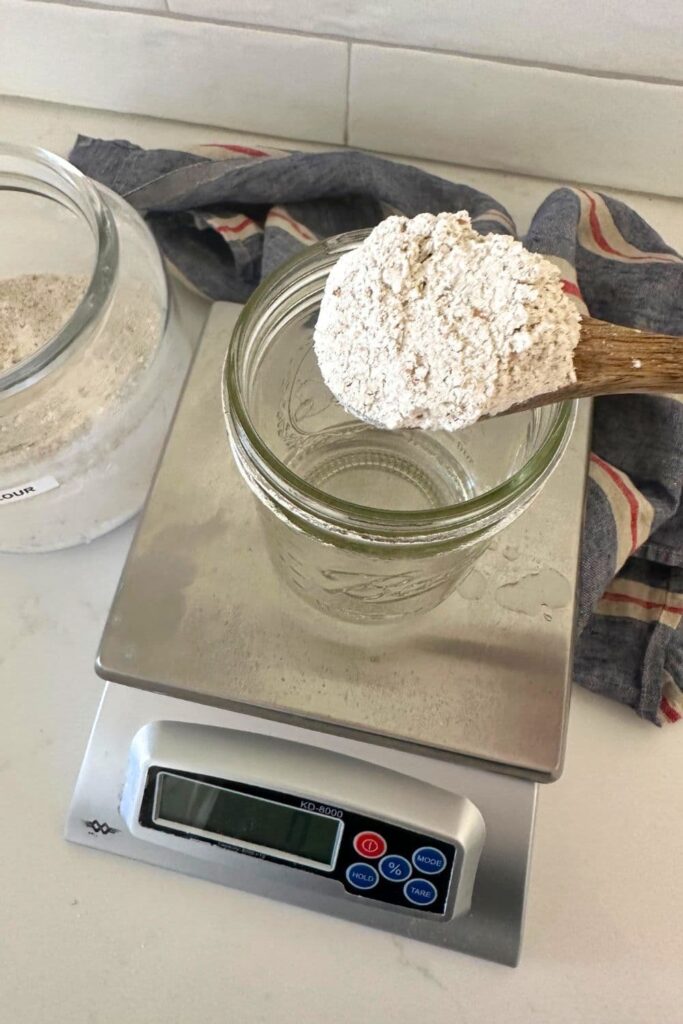
Why Make A Rye Sourdough Starter?
While you can make a sourdough starter with any type of wheat flour (like all purpose flour, whole wheat flour etc), making a sourdough starter with rye flour can be a rewarding experience. Rye flour is a type of flour made from grinding rye grains, a cereal grain closely related to wheat. It possesses a distinct flavor profile characterized by its slightly sweet and earthy taste, along with a darker color compared to wheat flour.
Rye flour does contain less gluten than say bread flour or all purpose flour, but it does hold some special qualities that make it like a super food for making a sourdough starter. Its high enzymatic activity facilitates the fermentation process, allowing for quicker and more robust growth of wild yeast and lactobacilli bacteria. Additionally, rye flour provides a favorable environment for the development of complex flavors, contributing to the tangy and nuanced taste characteristic of sourdough bread.
When making a sourdough starter with white flour, it's often said to add some rye flour to give a weak sourdough starter a boost.
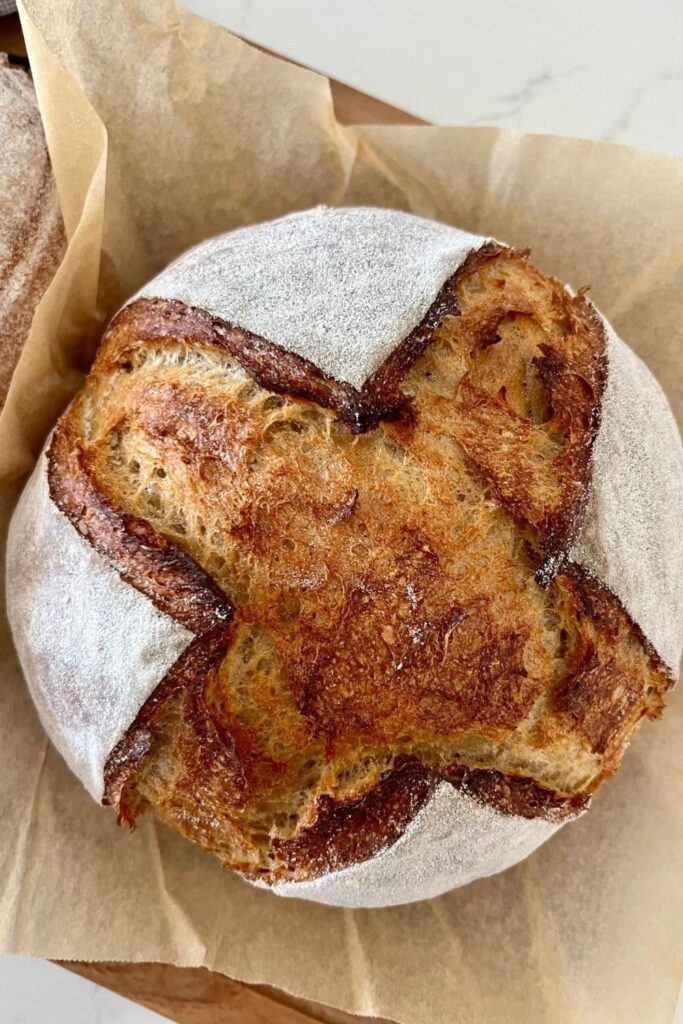
What Type of Rye Flour is Best for a Sourdough Starter?
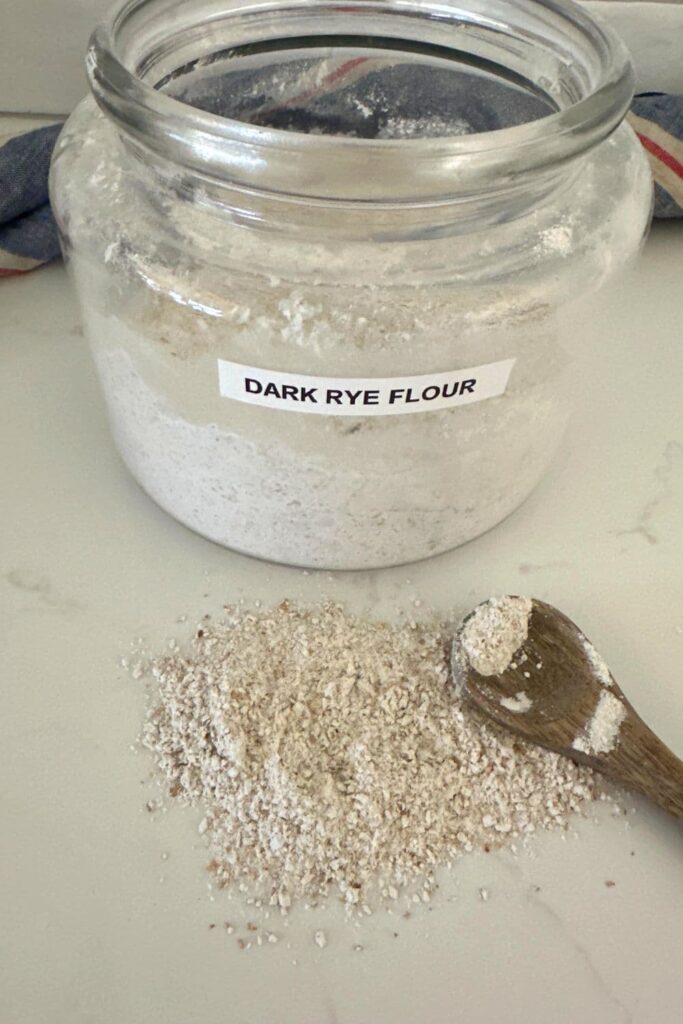
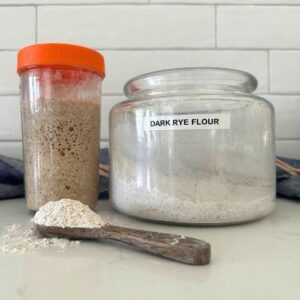
The truth is you can use any type of rye flour to make a sourdough starter. I've used dark rye flour in the photos in this recipe, but light rye works really well too (I've done a lot of experimenting with rye flour lately).
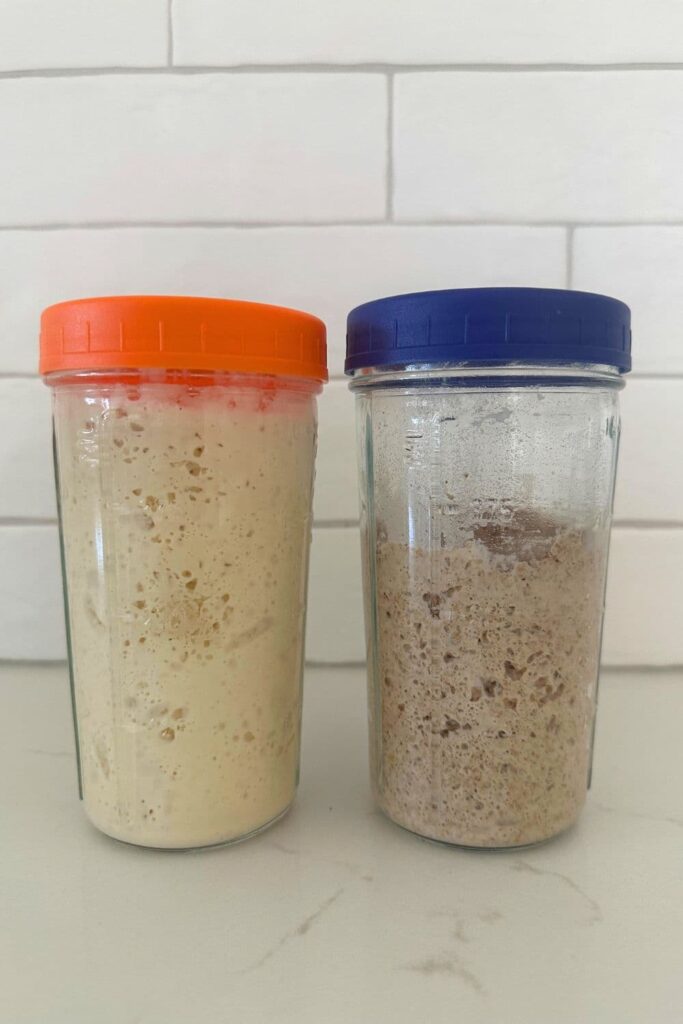
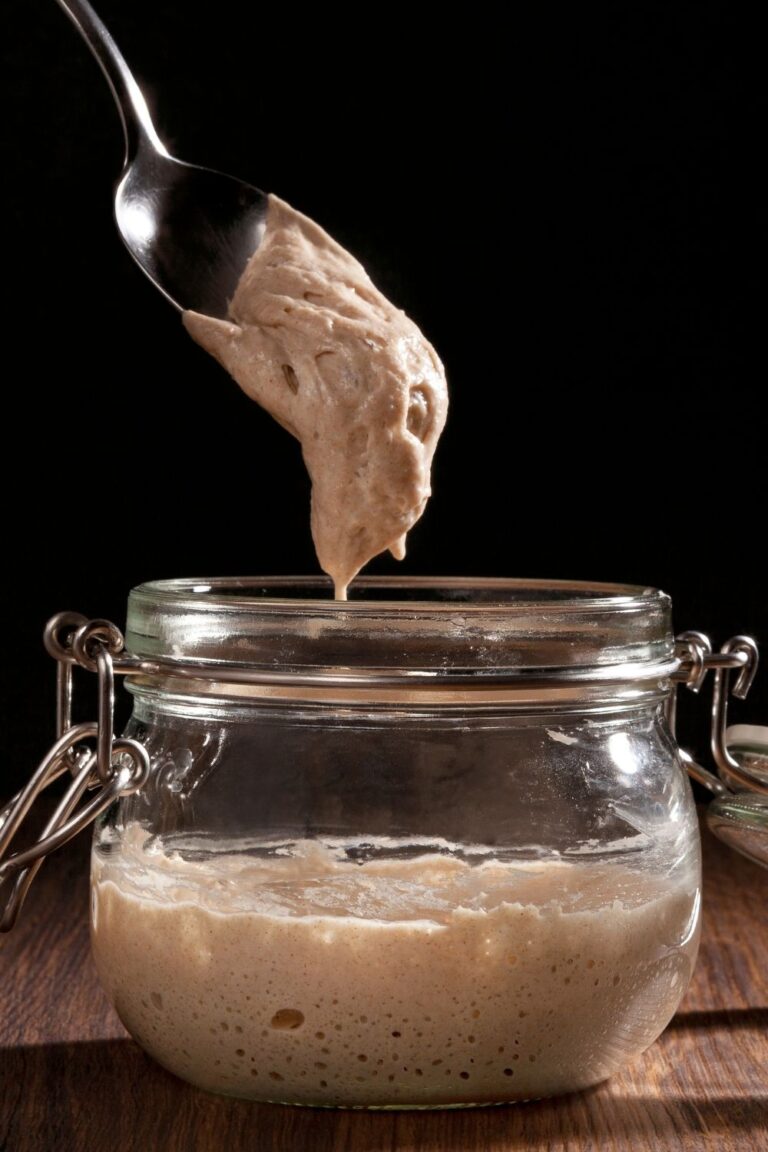
Rye flour is lower in gluten than bread flour or all purpose flour, so it will not behave exactly the same way. A sourdough starter made with a higher gluten flour like bread flour will be quite stretchy and marshmallow like.
A rye sourdough starter will not have the elasticity and stretch of a "regular sourdough starter". It will appear a bit more "sand like", although it will still rise as it ferments.
Should You Use More Water in a Rye Sourdough Starter?
You do not have to add more water to your rye sourdough starter, a 1:1:1 ratio will work. However in saying this, I have experimented a lot with ratios for rye sourdough starters lately and found that my rye sourdough starter was happiest with a slightly higher hydration.
In my experiments, I found that my rye sourdough starter was happiest with a ratio of 50g of starter, 50g of flour, 60g of water. I know this extra 10g of water does throw off the 1:1:1 ratio by a little bit, but I still treat this as a 100% hydration starter because it's only slightly higher and the rye flour means it will still behave the same way as a 100% hydration starter.
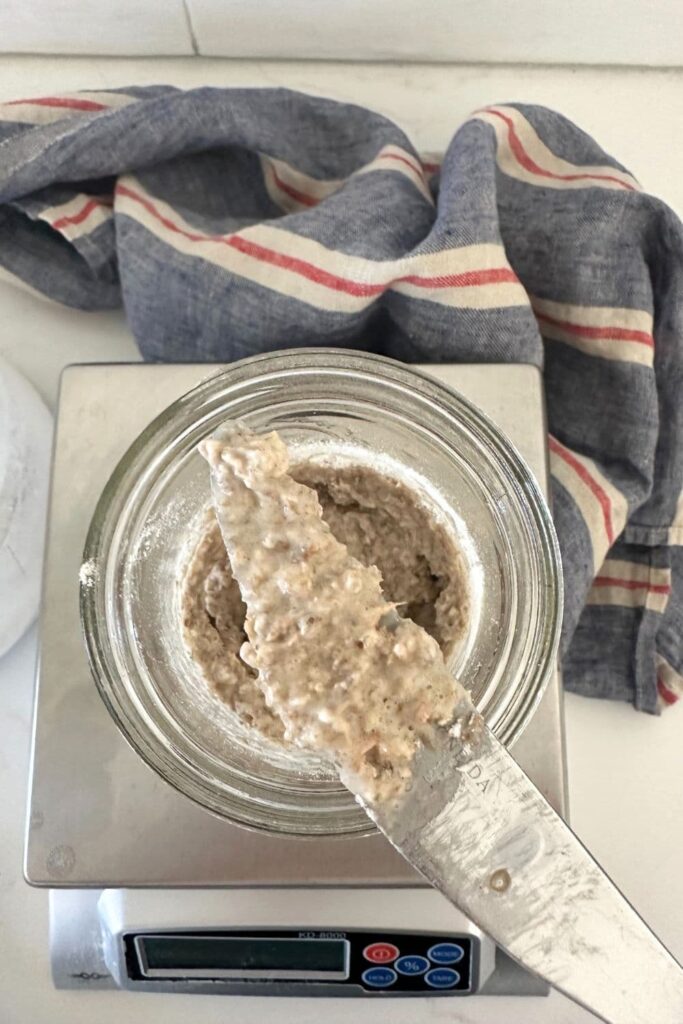
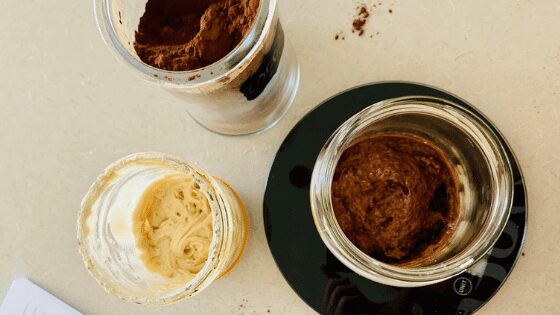
Rye flour, like many whole grain flours, absorbs more water than more highly processed flours. For this reason, your rye sourdough starter will appear much thicker than a starter made with white flour, particularly when you first mix it together. As it ferments the rye sourdough starter will thin out a little and appear a little more hydrated.
What Equipment Do You Need?
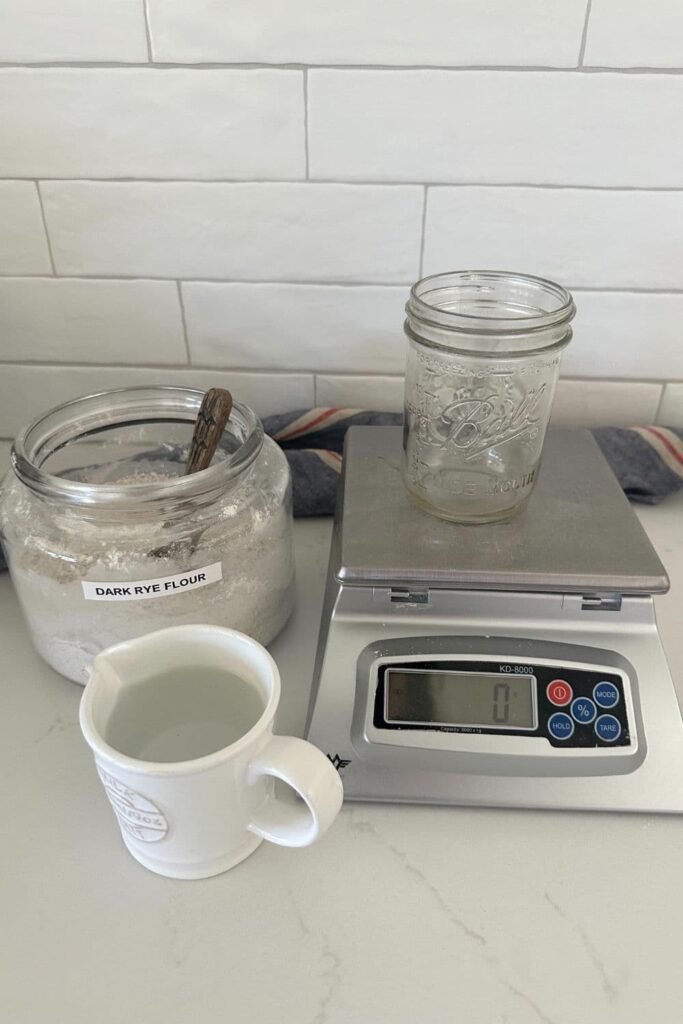
Making a rye sourdough starter can be done without too much fancy equipment. To make a successful rye sourdough starter you will need:
- accurate kitchen scale
- a widemouth glass jar with a lid
- rye flour (dark rye flour, light rye flour, organic rye - any whole rye flour of your choosing)
- filtered water (or any clean water of good quality)
- rubber spatula or knife
You might also find this list of the best equipment for sourdough bread baking handy too.
Can I Make a Rye Sourdough Starter from an Existing Sourdough Starter?
Yes! You can make a rye sourdough starter from your existing sourdough starter if you have one. Feeding your existing sourdough starter with different flours can be a great way to introduce more natural yeast into the colony.
To create a new rye sourdough starter from your existing sourdough starter, simply take 50g of your sourdough starter and feed that with 50 grams of rye flour and 60g of water. Continue to feed in this manner until the starter is doubling consistently after every feed. If your starter is mature, this won't take long, just one or two feeds.
How To Make a Rye Sourdough Starter (Step-By-Step Instructions)
Ok, so let's delve into this step-by-step guide to crafting your rye sourdough starter from scratch! While you're making your sourdough rye starter, it's best to allow it to ferment at room temperature on the counter.
If your kitchen is a bit on the chilly side, you'll need to find a warm place for your starter to live while it develops. I've written a list of 20+ ways to keep your sourdough starter warm here. Your rye sourdough starter might also benefit from being given warm water as it will give you a more active sourdough starter more quickly.
I don't advise using pineapple juice or honey or any commercial yeast when making a sourdough starter. You don't need these additives to create a bubbly starter when using rye flour. Just clean, warm water and rye flour. This sourdough starter recipe is based on my master sourdough starter recipe using regular all purpose flour.
You'll be feeding your rye sourdough starter with slightly more water than flour, but basically a 1:1:1 ratio. This means that you'll use 1 part starter, 1 part flour and 1 part water (50g of starter, 50g of flour and 60g of water).
DAY 1:
All you need for today is 60g of water and 50g of flour plus a clean jar. This is the first step to creating a thriving, bubbly rye sourdough starter.
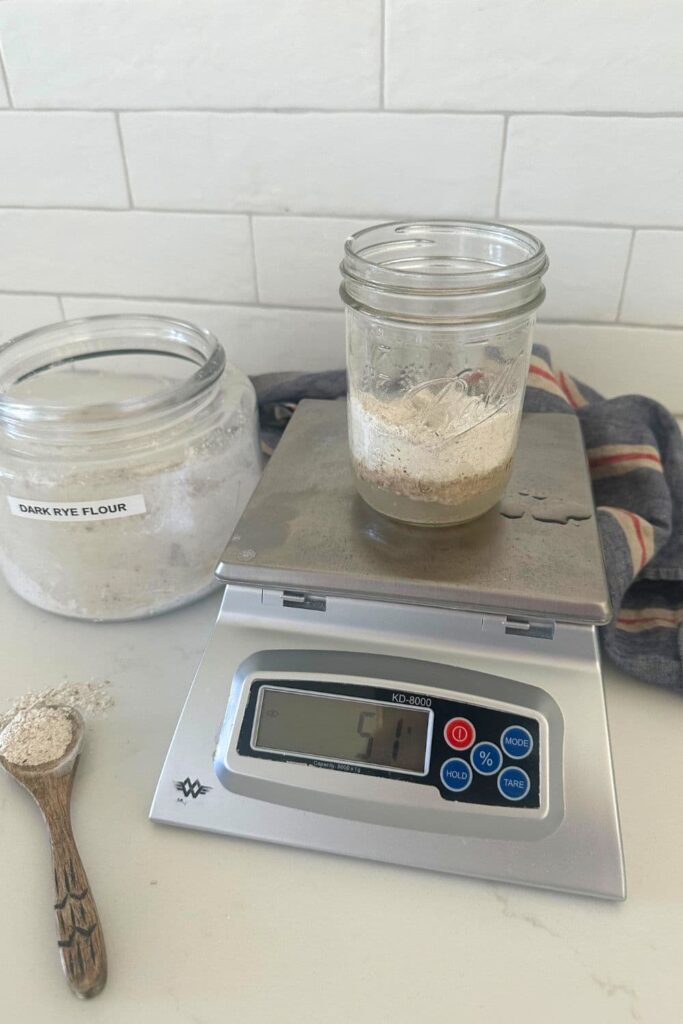
Mix the water & flour together in the jar, pop the lid on loosely (or a piece of paper towel & elastic band). Place the starter somewhere warm for the next 24 hrs.
If your house is cold, pop it near the kettle or oven to keep it warm.
DAY 2:
Once your starter is 24 hours old, you need to check on it and give it a good stir.
You do not need to add anything today- just get some oxygen into your mixture and then recover and pop aside for another 24 hours.
Your starter may already have some bubbles forming - this is a great sign. But it's also totally fine if it's not doing anything. Time is everything! Make sure it’s in a warm spot - you can find some ideas here.
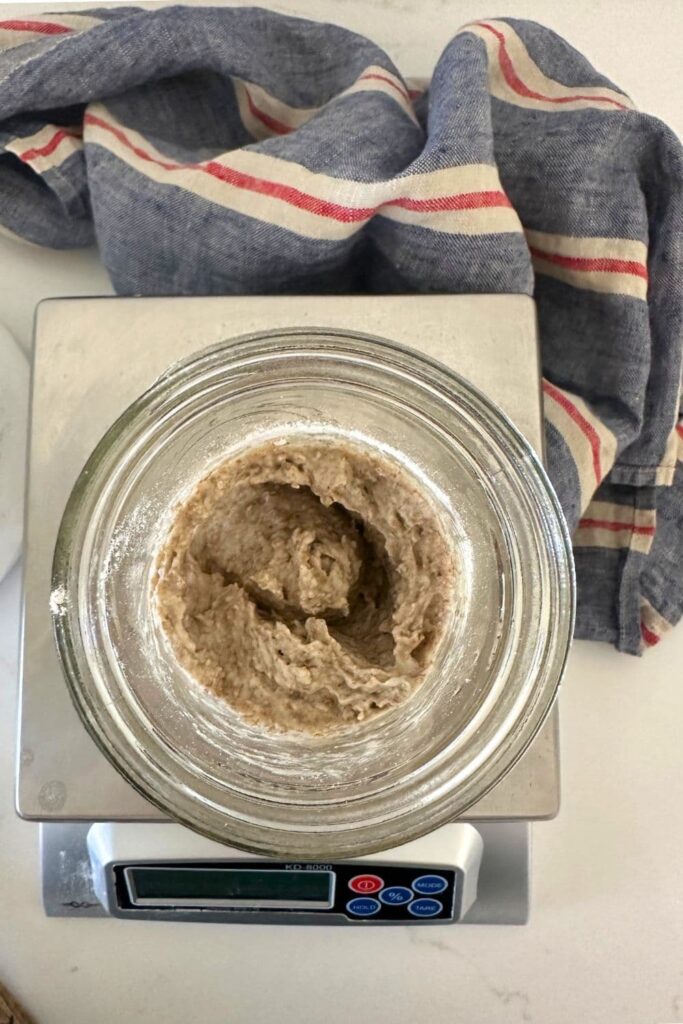
DAY 3:
On day 3 remove 60g of your starter and then add 50g of flour and 60g of water to the remaining 50g of starter in your jar.
Mix it together, being sure to get lots of oxygen into your mixture. Replace the cover and pop it away until tomorrow.
See notes below for more info on using a clean jar vs same jar.
Don’t worry if you keep checking it - it’s completely normal It’s good to notice how it changes in shape, size and smell over the 24 hours.
At this stage it's completely normal for it to smell really bad and to have developed a layer of liquid on top (this is called hooch). It might look like the water has separated from the flour but it's just telling you that it's hungry.
Stir the hooch in when you feed your starter. It's also quite normal for it to double in size. Keep going - it will be fine
DAY 4:
Step 4 is to feed your starter in the same way as you did yesterday. Remove 110g of your starter and then add 50g of flour and 60g of water to the remaining 50g of starter in your jar. Mix it all together. Replace the cover.
You’ll need to do this twice today, around 12 hours apart. While your starter will be fairly forgiving, set a reminder on your phone if you think you’ll forget it’s just like having a pet.
DAY 5:
Step 5 is to feed your starter in the same way as you did yesterday. Remove 110g of your starter and then add 50g of flour and 60g of water to the remaining 50g of starter in your jar. Mix it all together.
Replace the cover.
You’ll need to do this twice today, around 12 hours apart.
It's a good idea at this stage to pop an elastic band or rubber band around the jar you are using. Put the elastic band at the level of your starter when you feed it. This helps you to be able to see how far your starter is rising when it peaks.
DAY 6:
Step 6 is to feed your starter in the same way as you did yesterday. Remove 110g of your starter and then add 50g of flour and 60g of water to the remaining 50g of starter in your jar. Mix it all together. Replace the cover.
You’ll need to do this twice today, around 12 hours apart.
DAY 7:
YAY! Your sourdough starter is a whole week old. Keep feeding twice a day as you have been for at least 14 days.
Now I know you want to get to baking bread … but just remember that the most important thing about this whole process is time.
Your starter might be ready, but chances are it will need a bit longer to mature - generally 14 days.
You need to keep feeding your starter the same way as you have been, twice a day (discarding before you feed) until it's consistently doubling within around 2-6 hours after you've fed it.
Once it's consistently doubling after every feed you can try and bake with it. Your starter will keep maturing as you use it.
For more information on how to know when your starter is ready, go here.
How Do I Know When My Rye Sourdough Starter Is Ready To Bake With?
Sourdough starter, no matter what flour you use, takes at least 14 days to become active and will take around 3 to 4 months to become mature. You can bake with it after 14 days, however, your bread may not turn out as good as you hope until your starter is fully mature and active - around 3 to 4 months. Here are some important points in relation to your sourdough starter's readiness:
- You can start using the discard from your sourdough starter after 7 days. You might find this information on sourdough discard handy.
- Your starter is considered viable at 14 days, however it won't make great bread until around 3 to 4 months. Once you get to 14 days, you should continue to feed your rye sourdough starter twice a day until it's considered mature. Then you can move onto the maintenance phase and feed your sourdough starter like this.
- The float test is unreliable - you should use time and visual cues to check your sourdough starter's readiness.
For more information on sourdough starter readiness, check out this complete guide to understanding when your sourdough starter is ready to bake with.
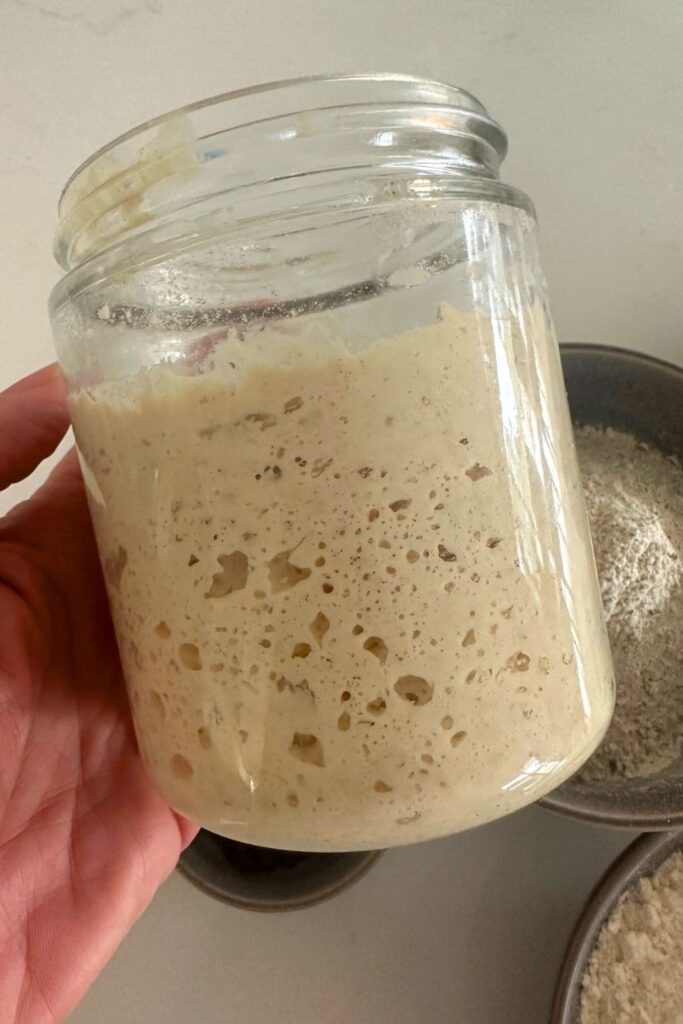
Common Problems with Rye Sourdough Starter
I have been playing with my rye sourdough starter for over a year now and have made many observations. I love experimenting with sourdough starters so that I can share my findings with you! Here are some of the problems I observed while creating, maintaining and using a rye sourdough starter:
- A rye sourdough starter can be more susceptible to mold than a starter made with a blend of flours or straight bread flour. Mold may grow more easily on the sides of the jar. For this reason it's imperative to keep the jar clean (you don't necessarily have to change jars, but keeping the rim and sides clean is important). You can read more about cleaning sourdough starter jars here.
- While rye flour can strengthen a sourdough starter because of the different yeasts present in the flour, it can also mean that it needs to be fed more often. I discovered that my rye sourdough starter couldn't survive as long on the counter without a feed like my basic, all purpose sourdough starter. This may not be an issue until your starter is more mature and you want to start feeding it once a day.
- Rye flour, particularly light rye flour, can appear pink in some lights. This can be difficult because pink streaks can indicate dangerous bacteria present in your starter which would require it to be tossed. The only way to get around this is to get to know your starter really well and observe other markers like smell, rise and texture to judge the health of your rye sourdough starter. You can read more about mold and bacteria in sourdough starters here.
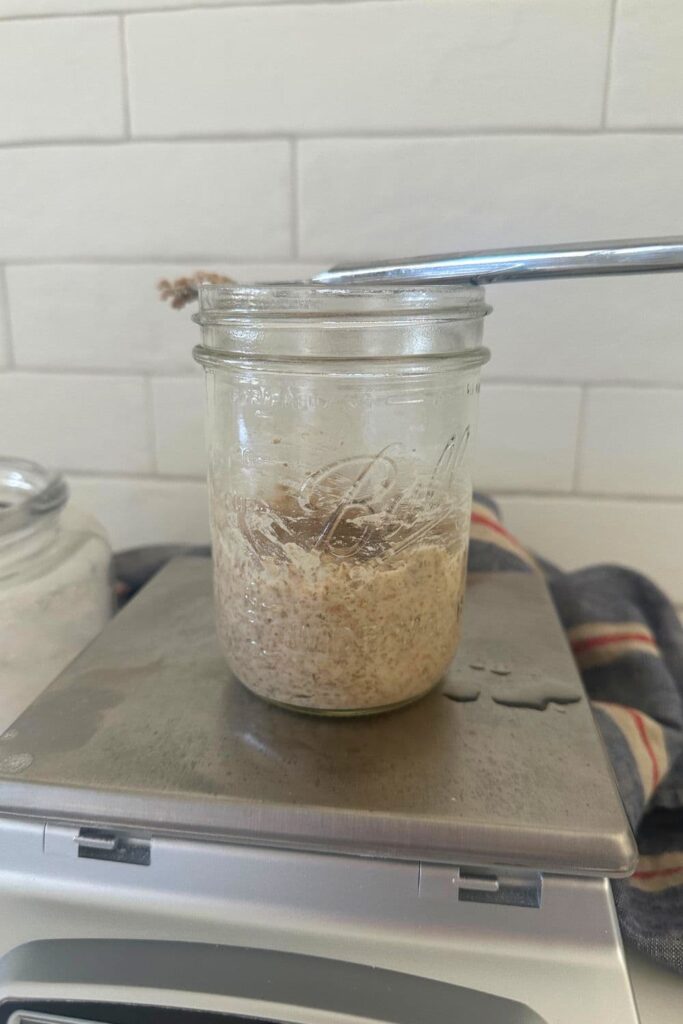
Can I Use Rye Sourdough Starter In Any Sourdough Recipe ... Or Can I Only Bake with Rye Flour?
You can use your rye sourdough starter in any sourdough recipe you like. You don't have to stick to rye flour based recipes. Your rye sourdough starter will work with bread flour, all purpose flour and in any sourdough bread recipes or sourdough discard recipes.
One thing to be aware of, however, is that because rye flour has different properties to using a higher gluten flour like bread flour, you may need to adjust ingredients from time to time.
For example, if you used a rye sourdough starter in this overnight sourdough bread recipe, you may find the dough is slightly more sticky and doesn't develop gluten as easily as if you used a starter with bread flour. It's not bad, it just takes some time to get used to and adjust your technique.
Additionally, using discard from a rye sourdough starter will sometimes give you different results than if you used discard from a sourdough starter made with bread flour. The flavor can be affected too.
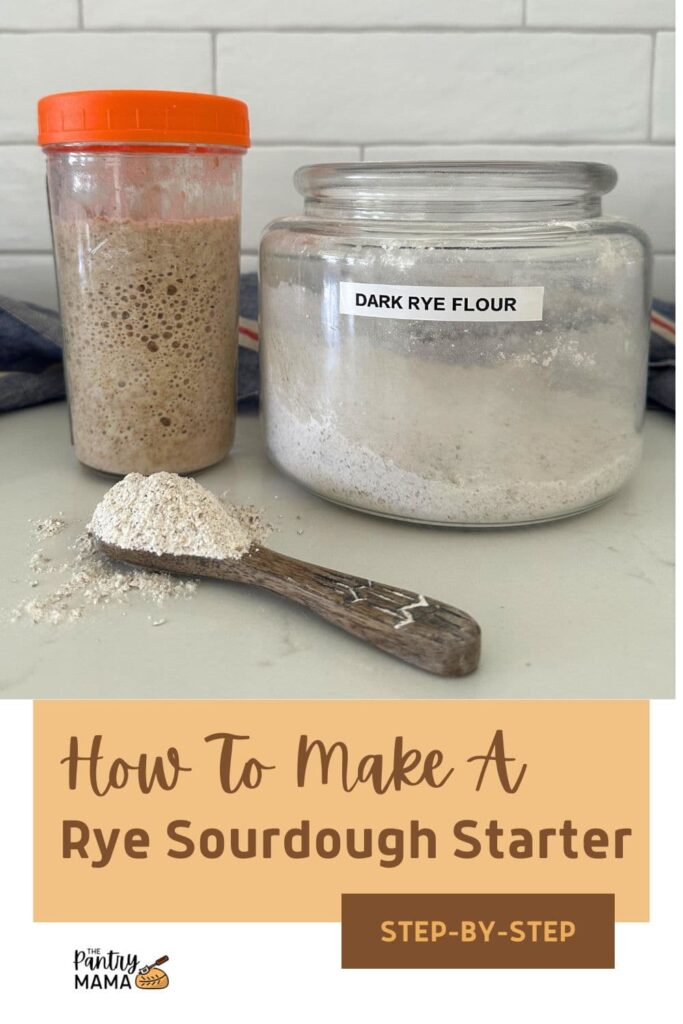
How To Make A Rye Sourdough Starter
Equipment
- Clean Jar
- Digital Scales
- Silicone Spatula
Ingredients
- 50 g Rye Flour Dark or Light Rye, whichever you prefer
- 60 g Water Filtered (see notes for increasing this amount)
Instructions
- DAY 1:All you need for today is 60g of water and 50g of flour plus a clean jar. Mix the water & flour together in the jar, pop the lid on loosely (or a piece of paper towel & elastic band). Place the starter somewhere warm for the next 24 hrs. If your house is cold, pop it near the kettle or oven to keep it warm.
- DAY 2:Once your starter is 24 hours old, you need to check on it and give it a good stir. You do not need to add anything today - just get some oxygen into your mixture and then recover and pop aside for another 24 hours.Your starter may already have some bubbles forming - this is a great sign. But it's also totally fine if it's not doing anything. Time is everything! Make sure it’s in a warm spot - you can find some ideas here.
- DAY 3:On day 3 remove 60g of your starter and then add 50g of flour and 60g of water to the remaining 50g of starter in your jar. Mix it together, being sure to get lots of oxygen into your mixture. Replace the cover and pop it away until tomorrow.See notes below for more info on using a clean jar vs same jar.Don’t worry if you keep checking it - it’s completely normal It’s good to notice how it changes in shape, size and smell over the 24 hours.At this stage it's completely normal for it to smell really bad and to have developed a layer of liquid on top (this is called hooch). It might look like the water has separated from the flour but it's just telling you that it's hungry. Stir the hooch in when you feed your starter. It's also quite normal for it to double in size. Keep going - it will be fine
- DAY 4:Step 4 is to feed your starter in the same way as you did yesterday. Remove 110g of your starter and then add 50g of flour and 60g of water to the remaining 50g of starter in your jar. Mix it all together. Replace the cover. You’ll need to do this twice today, around 12 hours apart. While your starter will be fairly forgiving, set a reminder on your phone if you think you’ll forget it’s just like having a pet.
- DAY 5:Step 5 is to feed your starter in the same way as you did yesterday. Remove 110g of your starter and then add 50g of flour and 60g of water to the remaining 50g of starter in your jar. Mix it all together. Replace the cover. You’ll need to do this twice today, around 12 hours apart. It's a good idea at this stage to pop an elastic band around the jar you are using. Put the elastic band at the level of your starter when you feed it. This helps you to be able to see how far your starter is rising when it peaks.
- DAY 6:Step 6 is to feed your starter in the same way as you did yesterday. Remove 110g of your starter and then add 50g of flour and 60g of water to the remaining 50g of starter in your jar. Mix it all together. Replace the cover. You’ll need to do this twice today, around 12 hours apart.
- DAY 7:YAY! Your sourdough starter is a whole week old. Keep feeding twice a day as you have been for at least 14 days.Now I know you want to get to baking bread … but just remember that the most important thing about this whole process is time. Your starter might be ready, but chances are it will need a bit longer to mature - generally 14 days. You need to keep feeding your starter the same way as you have been, twice a day (discarding before you feed) until it's consistently doubling within around 2-6 hours after you've fed it. Once it's consistently doubling after every feed you can try and bake with it. Your starter will keep maturing as you use it.For more information on how to know when your starter is ready, go here.
Notes
Nutrition



Very thorough and easy to follow recipe