High Hydration Sourdough Bread Recipe
This post may contain affiliate links.
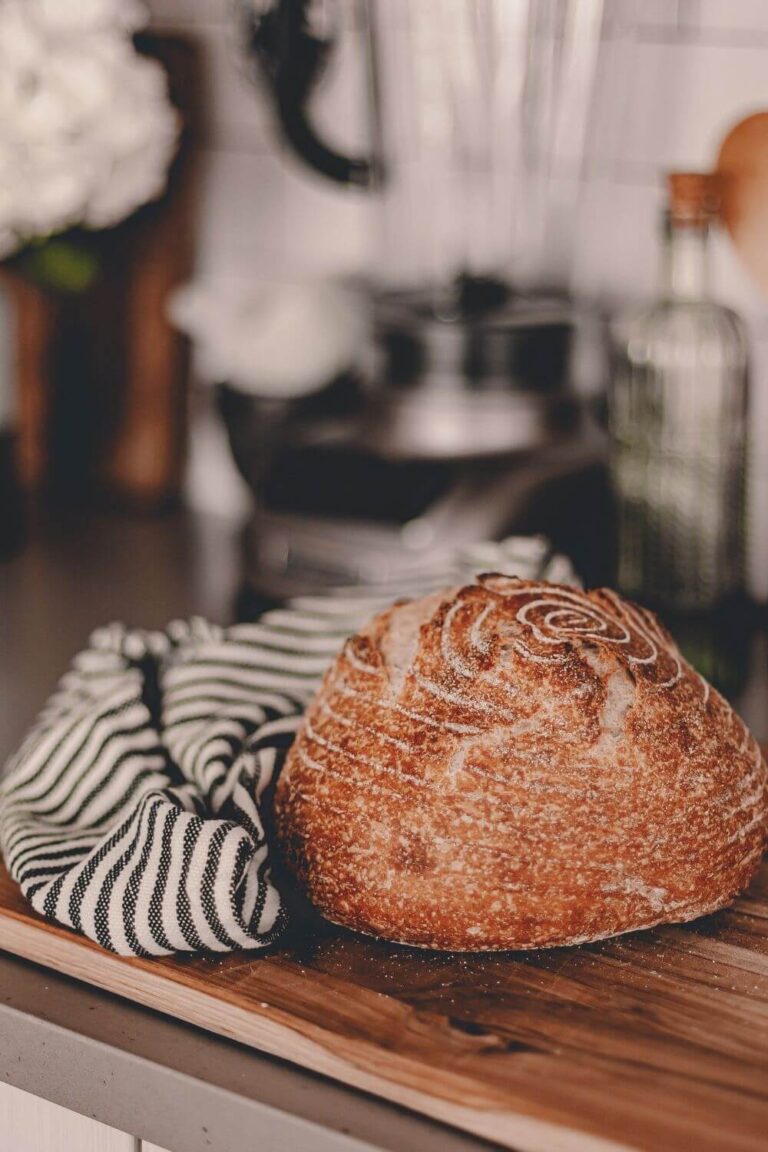
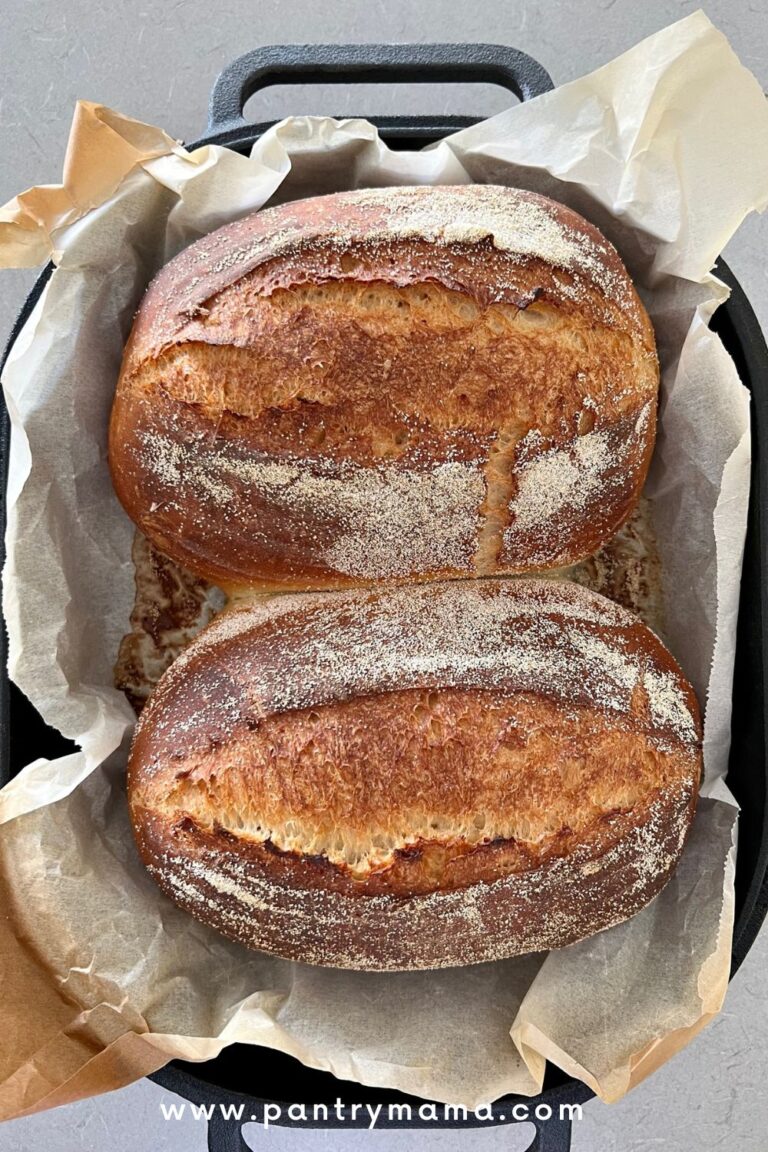
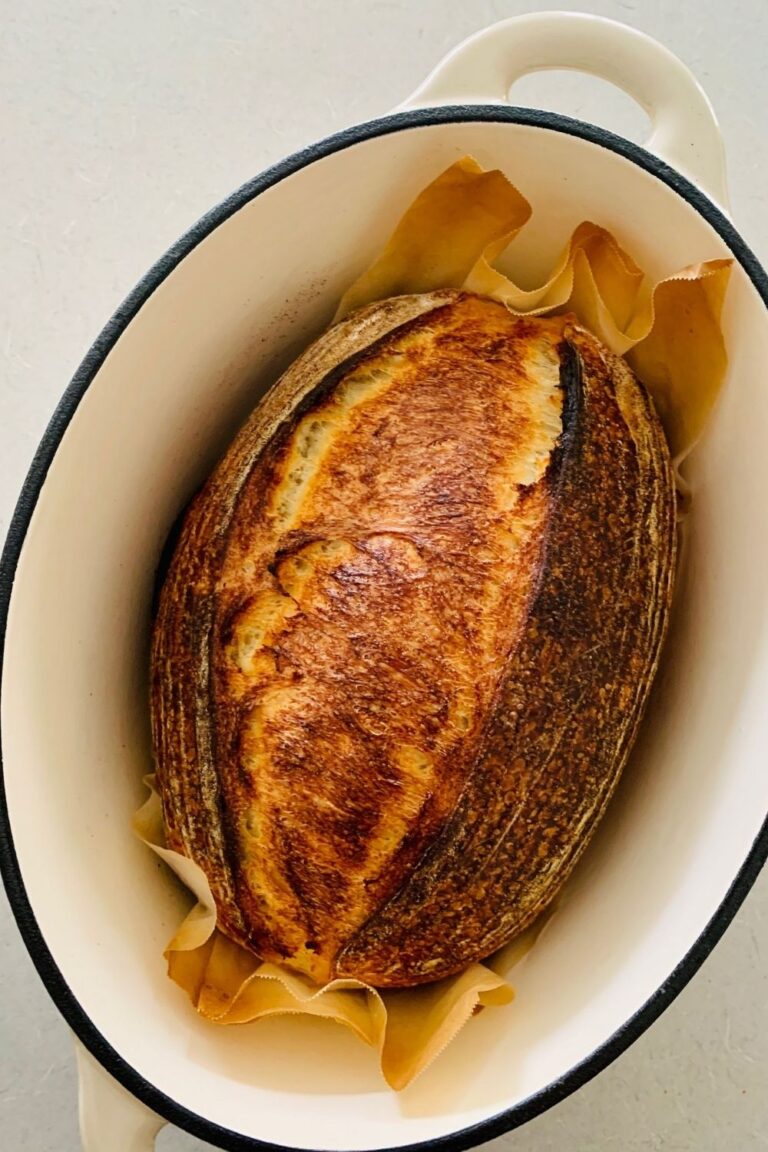
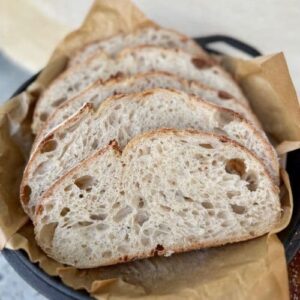
If you are wanting to challenge yourself with a high hydration sourdough bread recipe, then you will love this one! This high hydration sourdough bread recipe is a masterpiece of fermentation that promises a light and open crumb, encased in a crisp, golden crust.
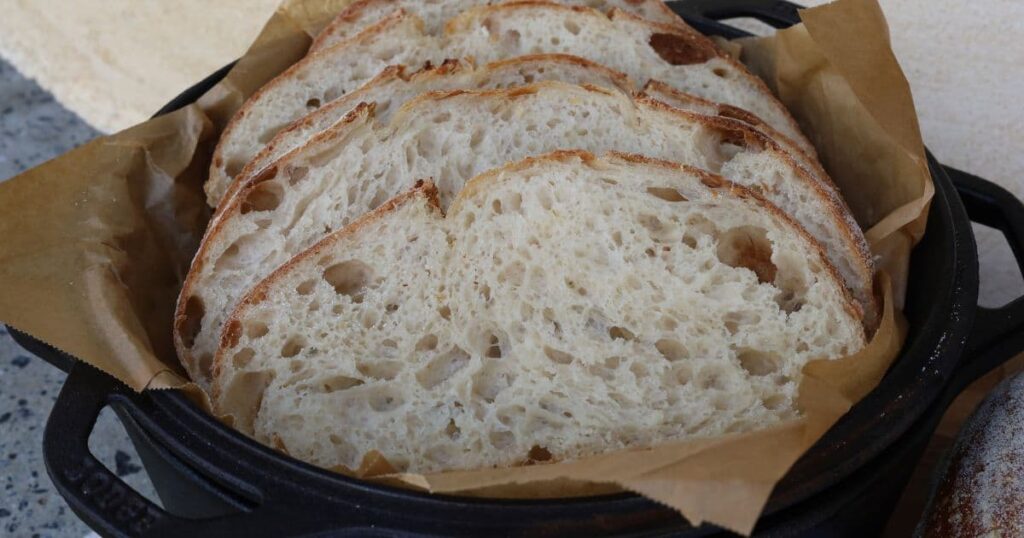
This recipe sits at 80% hydration, which is quite a bit higher than my regular simple sourdough loaf recipe (which is perfect for beginners).
If you enjoy a little bit of a sourdough baking challenge, then why not try making these sourdough cibatta rolls, sourdough baguettes or this high hydration sourdough focaccia loaf.
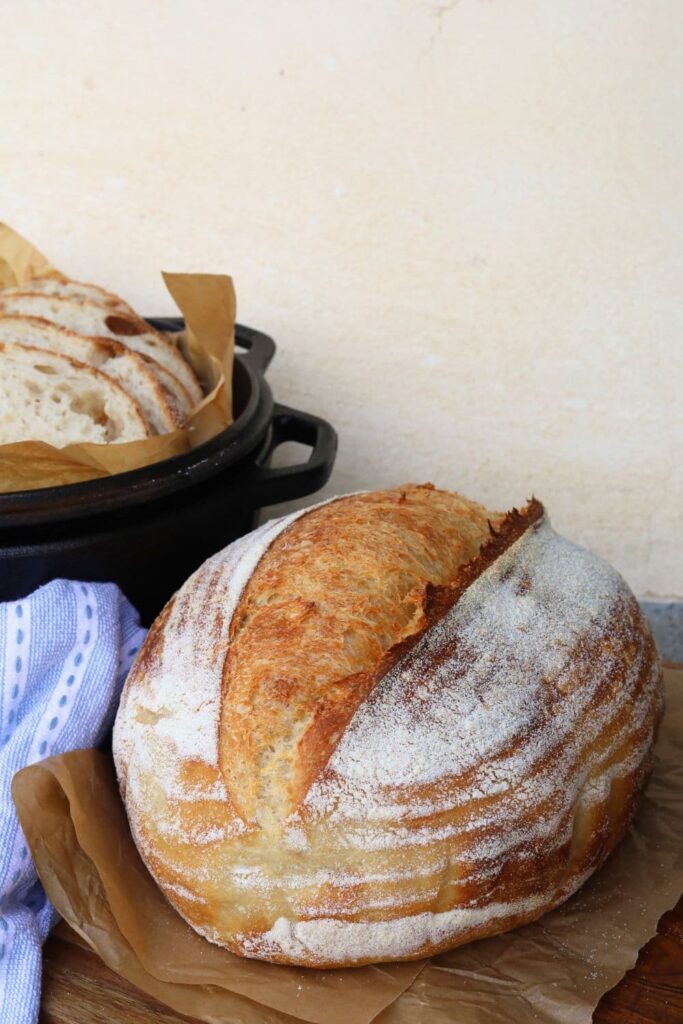
Why You'll Love This Recipe!
More of a Challenge - if you've been making a lower hydration dough for a while, it's time for a challenge! Working with high hydration sourdough is a little bit more challenging, but the tasty rewards are well worth it!
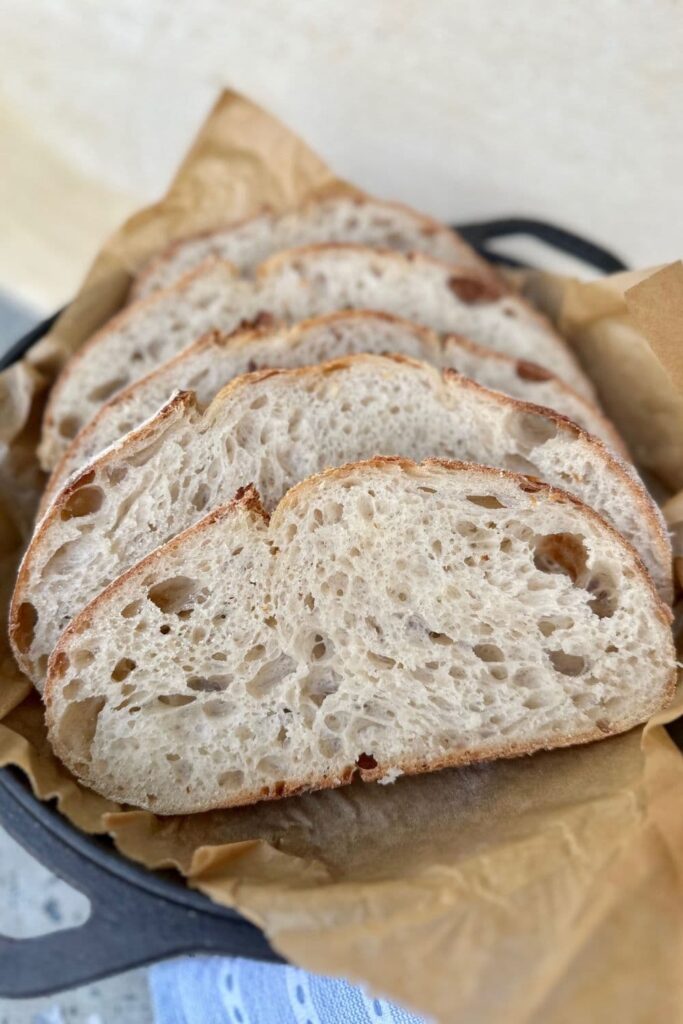
Open Crumb - if you're wanting a more open, lacy sourdough crumb, this is the recipe you need to make!
Stays Fresher Longer - this high hydration sourdough loaf contains more moisture post bake which means it won't dry out as quickly as a lower hydration sourdough. This will give you a longer shelf life on your sourdough bread. You'll find this bread recipe will still have a moist crumb after a few days of storage.
What is High Hydration Sourdough Bread?
High hydration sourdough bread refers to a sourdough bread recipe with a relatively higher ratio of water to flour. The hydration level is expressed as a percentage, representing the weight of water compared to the weight of flour in the recipe.
Typically, high hydration sourdoughs have a hydration level of 80% or higher, creating a wetter and more extensible dough. This is as opposed to more basic sourdough recipes which are generally around 65 to 70% hydration.
This increased water content results in a softer, moister crumb, a crispier crust, and a more open and airy texture in the finished bread. High hydration sourdoughs often require different handling techniques during shaping and may involve shorter fermentation periods (depending on the temperature of your kitchen and strength of your sourdough starter).
You can read more about sourdough hydration and how it's calculated here, as well as all about baker's math and percentages here.
Benefits Of Making Sourodugh Bread with Higher Hydration?
Apart from the prestige and challenge of being able to handle higher hydration sourdough loaves, there are quite a few other reasons to increase the hydration in your sourdough bread. The benefits of making a higher hydration sourdough bread recipe include:
Moist and Tender Crumb: Higher hydration levels result in a softer and more moist crumb, creating a delightful eating experience.
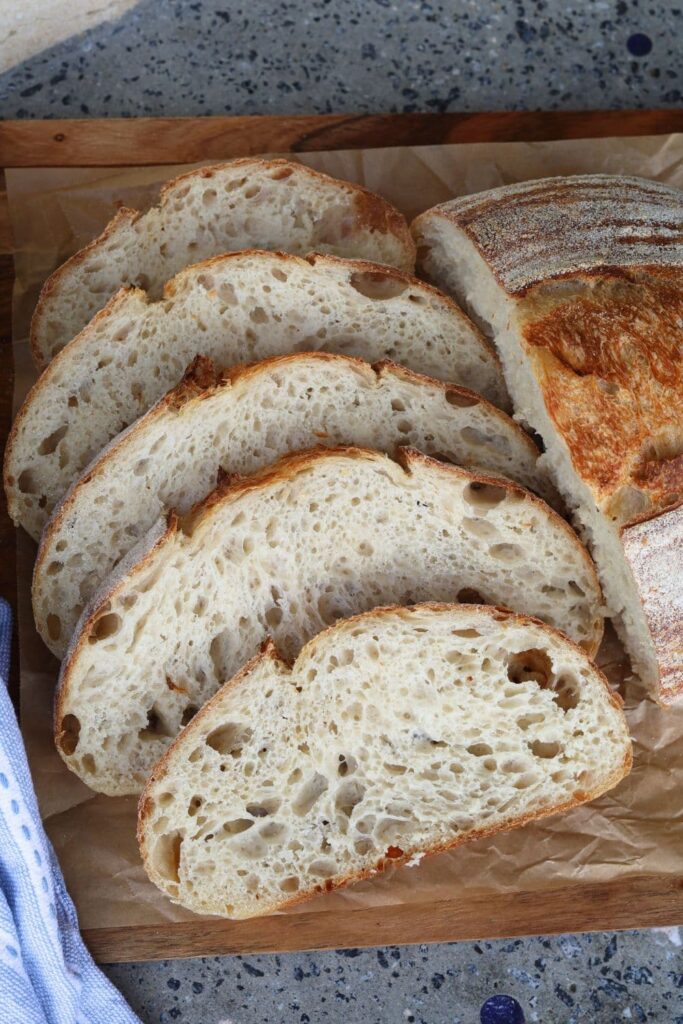
Open and Airy Texture: Increased hydration contributes to a more extensible dough, promoting the development of larger air pockets and a lighter, airier texture in the finished bread.
Crisp and Golden Crust: The additional moisture in the dough contributes to a thinner, crispier and beautifully golden crust, adding a satisfying crunch to each bite.
Artisanal Appearance: The open crumb structure and rustic appearance achieved with higher hydration contribute to a visually appealing, artisan-style loaf.
Longer Shelf Life: The additional moisture in the bread can contribute to a longer shelf life, keeping the crumb softer for an extended period. You can read more about how long sourdough bread lasts here.
Satisfaction for Sourdough Enthusiasts: For sourdough enthusiasts seeking a challenge and desiring a loaf with a distinct texture and flavor, higher hydration levels offer a rewarding baking experience.
How To Make High Hydration Sourdough Bread
This high hydration sourdough bread recipe is a great recipe to get a feel for working with wetter sourdough. It's not super high hydration, but high enough to give you some practice with a slacker, looser dough.
You can use traditional stretches and folds in this recipe, however if you'd like to try something different, you can also look at other ways to develop gluten in sourdough bread, such as coil folds.
Autolyse - Premixing The Dough
Weigh out your sourdough starter and water into a large mixing bowl.
Mix the water and starter together briefly. Then add your flour and salt and mix whole lot together to form a shaggy dough.
Cover your bowl with an elastic food cover or plastic wrap and let it sit for around 1 hour. This process is called the "autolyse" and allows your flour to soak in all the water and become hydrated.
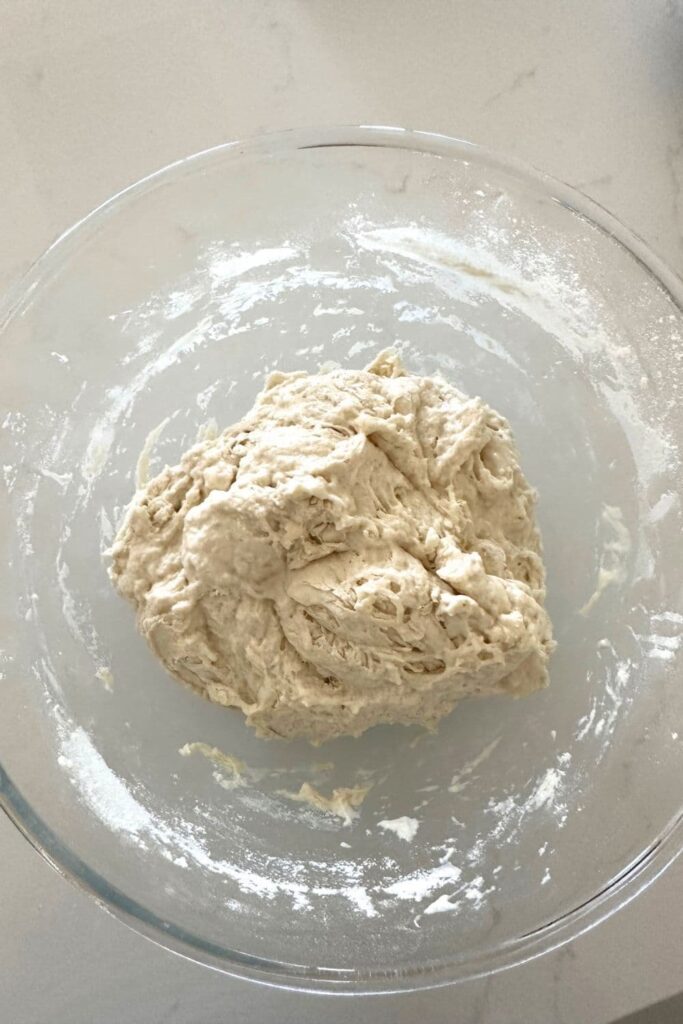
Forming Up The Dough
After the dough has been through autolyse you need to bring it together into a ball. Work your way around the bowl, grabbing the dough from the outside, stretching it up and over itself, into the centre, until a smooth ball is formed. You shouldn't need more than about 20-25 stretches to form the ball.
You'll notice that the dough is fully hydrated after soaking all the water up. It will be fairly sticky but as you bring it into a ball, it will become smoother and shinier.
Once the dough has formed into a smooth ball, pop the cover back on and let it rest for 30 minutes.
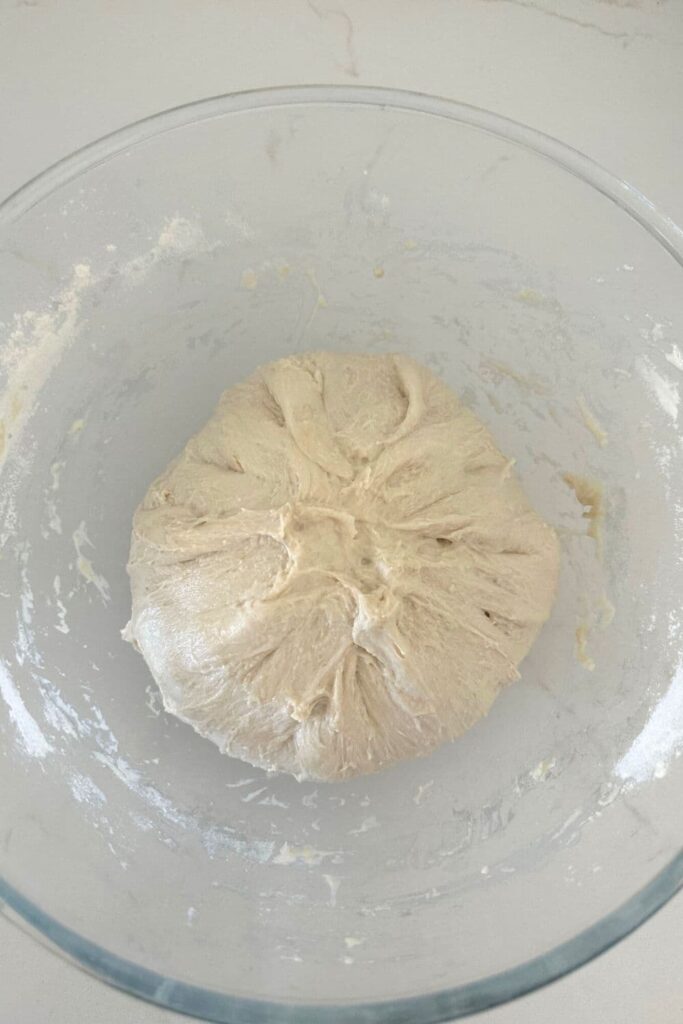
Stretch & Fold - Creating Structure
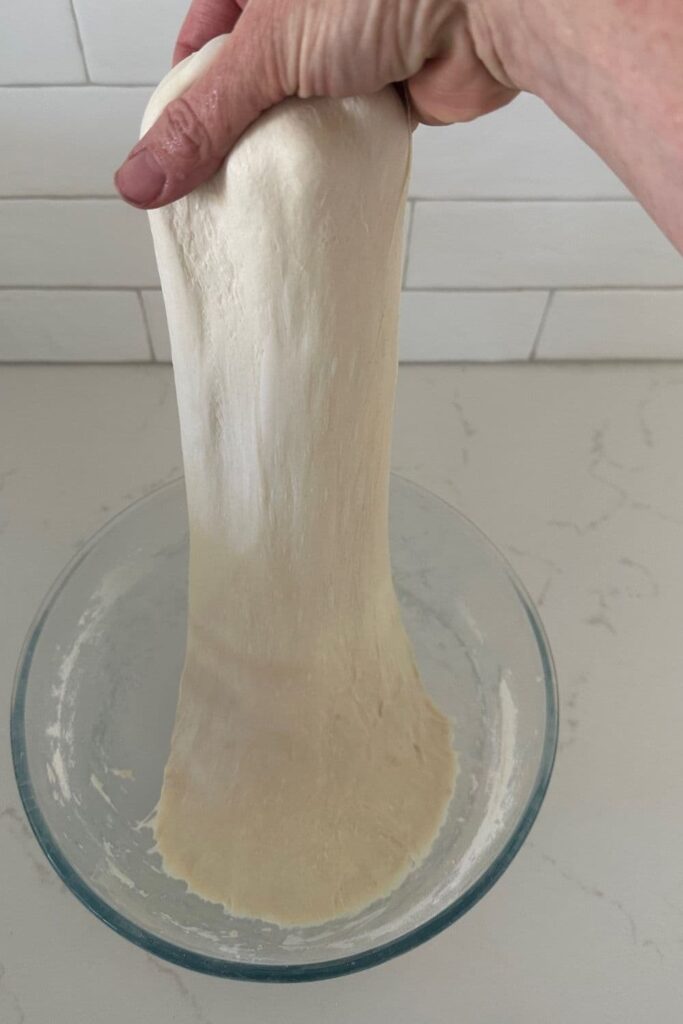
Over the next few hours you need to create some structure for your dough by "stretching and folding".
Aim to do around 4-6 sets of stretches and folds.
For each set, stretch the dough up and over itself 4 times. Leave around 15 minutes in between each set. Again you do not have to be exact with time, but you need to do at least 4 sets over 2 hours.
This is high hydration sourdough so the dough will more slack than you're used to (if you've been making sourdough bread at a lower hydration).
Bulk Ferment
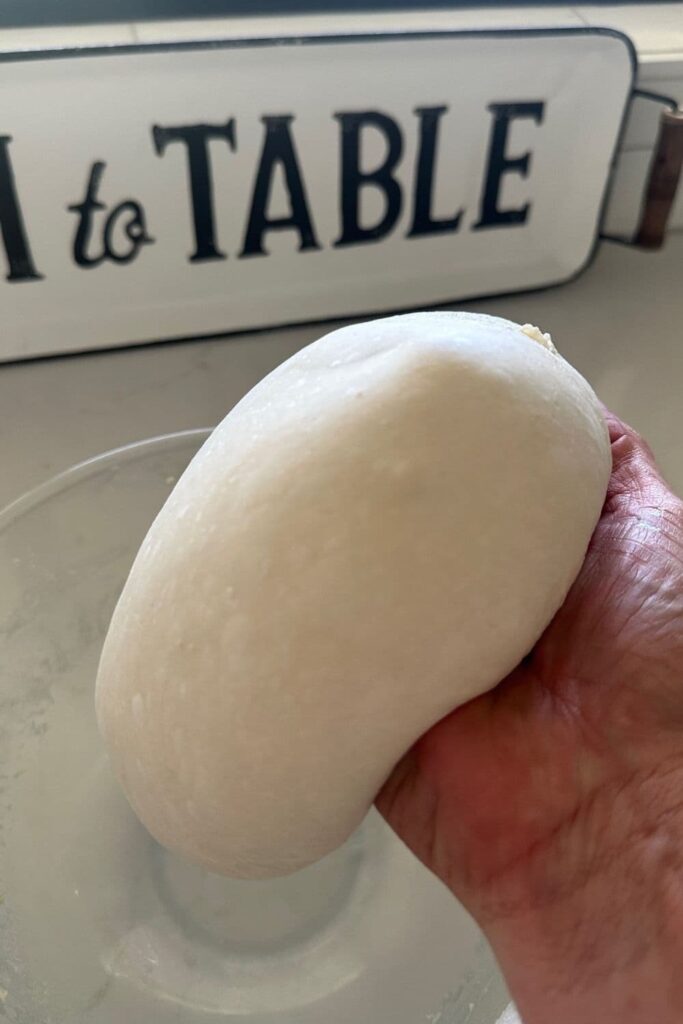
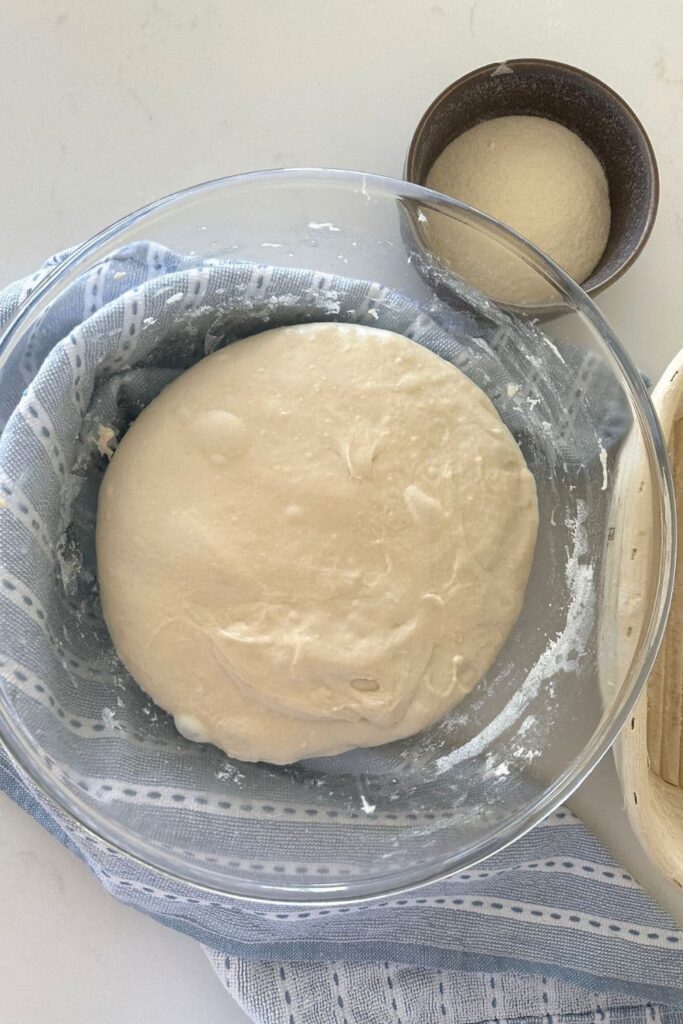
Once you've finished your stretch and folds, cover the dough with a plastic cover and allow it to ferment at room temperature until it doubles. Remember this is a high hydration dough, so it will not take as long as you might normally be familiar with. Higher hydration doughs bulk ferment a lot faster than lower hydration doughs.
You can find more information on understanding when bulk fermentation is finished here.
Shaping The Dough
Once your dough has finished its first ferment, it's time to shape it into either a boule or a batard. I find it easier to shape higher hydration dough into a batard, but you should do whatever you're comfortable with.
Use a dough scraper to gently ease the dough out of the bowl (I highly recommend using a dough scraper for high hydration sourdough bread). You want it to land upside down on your counter so that the smooth top of the dough is on the countertop and the sticky underside is facing up. This will make it easier to shape.
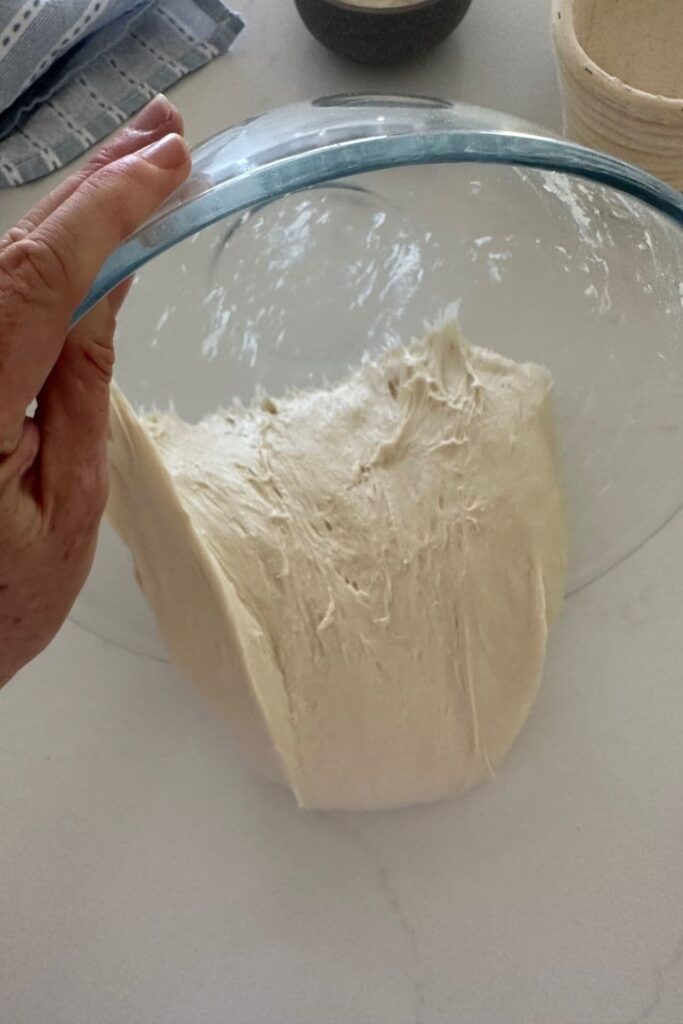
You can see a video of me shaping a sourdough batard here.
You will need a proofing basket or container to put your dough into.
Whatever you're using needs to be liberally floured with rice flour or semolina.
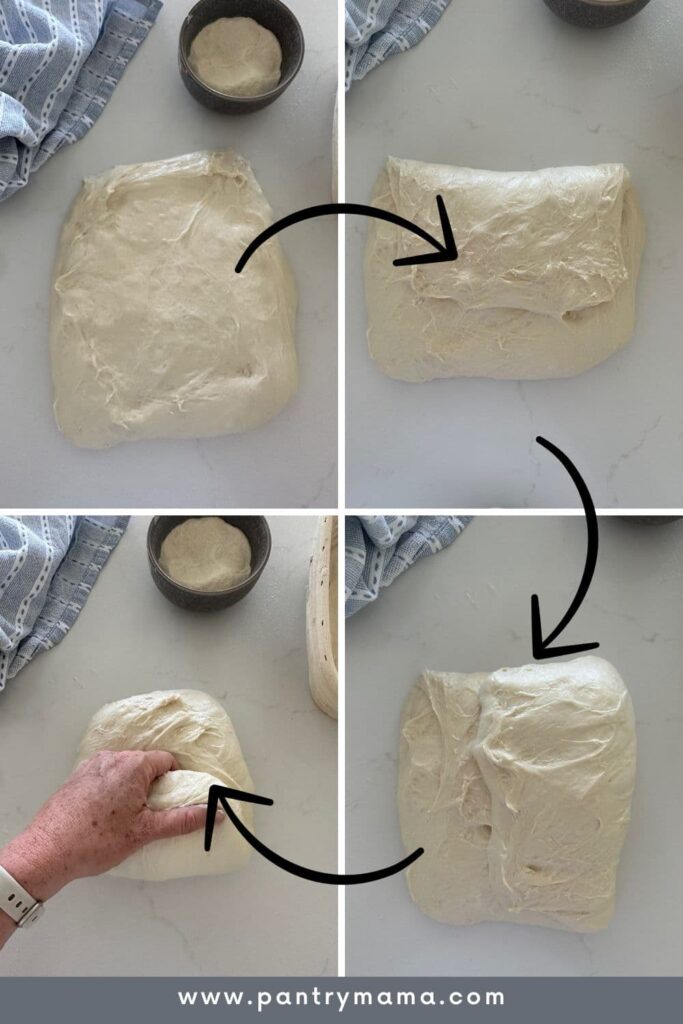
Placing Into A Proofing Container
Once the dough is shaped into a batard, place it into your proofing basket or container smooth side down, so your seam is on the top.
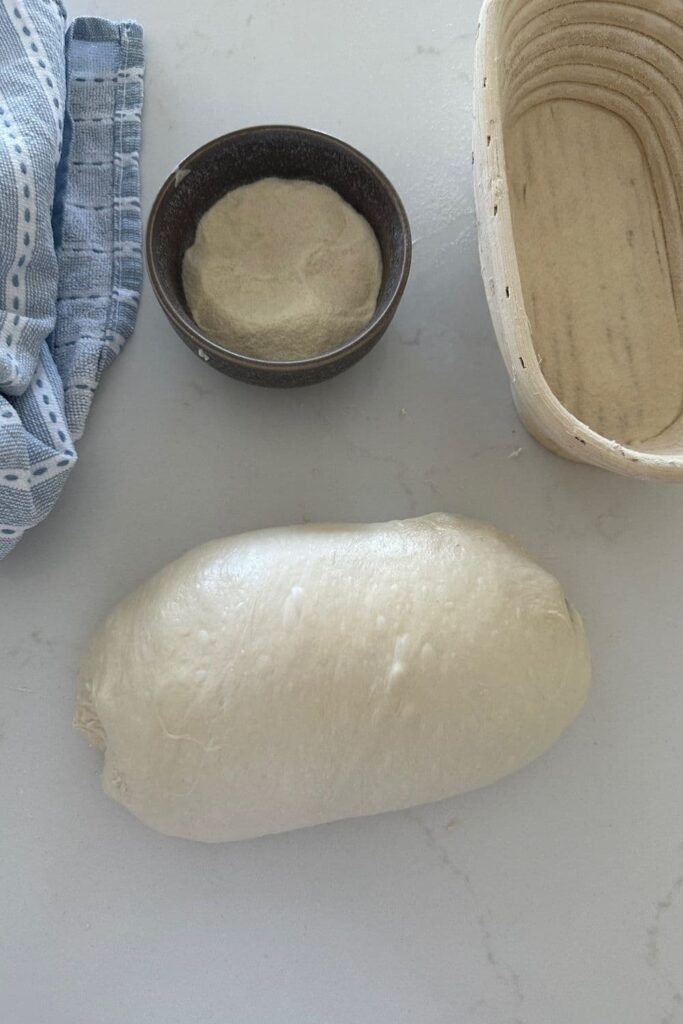
Lift your dough around the edges to pop a little more rice flour if you feel it needs it. Just try to handle the dough as little as possible and be really gentle as you really want to preserve all the gases and air bubbles that have formed during your bulk ferment.
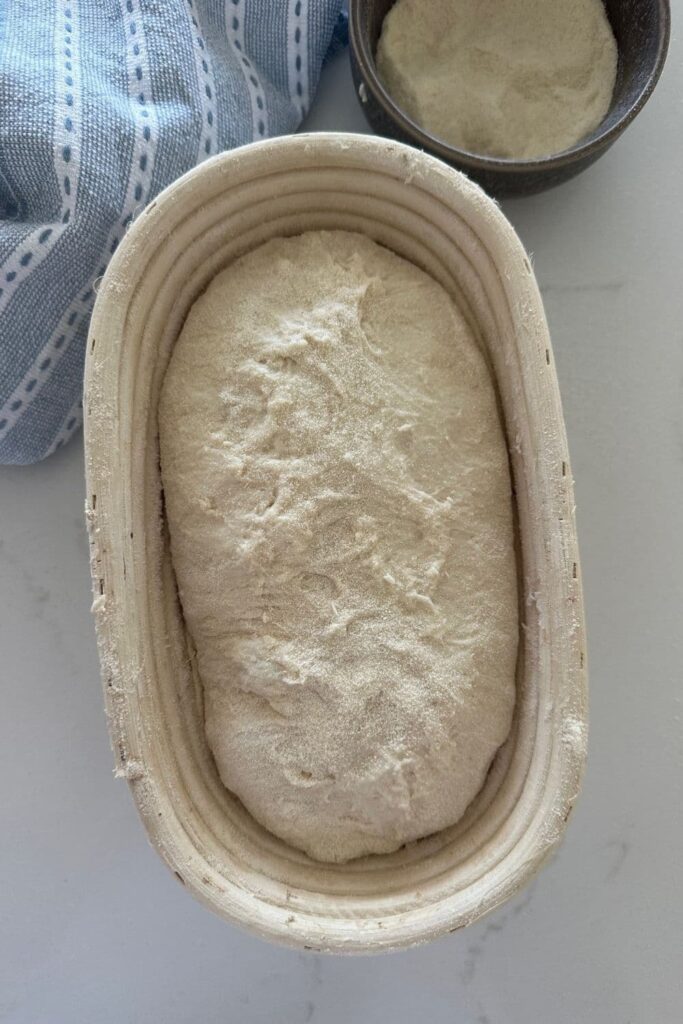
Cold Ferment (optional)
Now the dough is in its "shaping container" cover it loosely with a plastic bag and place into the fridge.
Try to leave it in the fridge for a minimum 5 hours. Ideally, you want to leave it around 12 to 24 hours for full flavor.
Preparing to Bake
Once you're ready to bake your sourdough, you'll need to preheat your oven to 230C/450F.
Place your Dutch Oven into the oven when you turn it on so it gets hot.
Leave your dough in the fridge (or counter) until the very last minute - placing a cold dough into a hot oven will give you a great "spring".
When your oven is at temperature, take your sourdough out of the fridge. Gently place it onto a piece of parchment paper or silicone sling if using.
Gently score your bread with a clean razor blade or knife. At minimum a large cross is sufficient, but you can get as artistic as you like. You can find my full guide on how to score sourdough bread here.
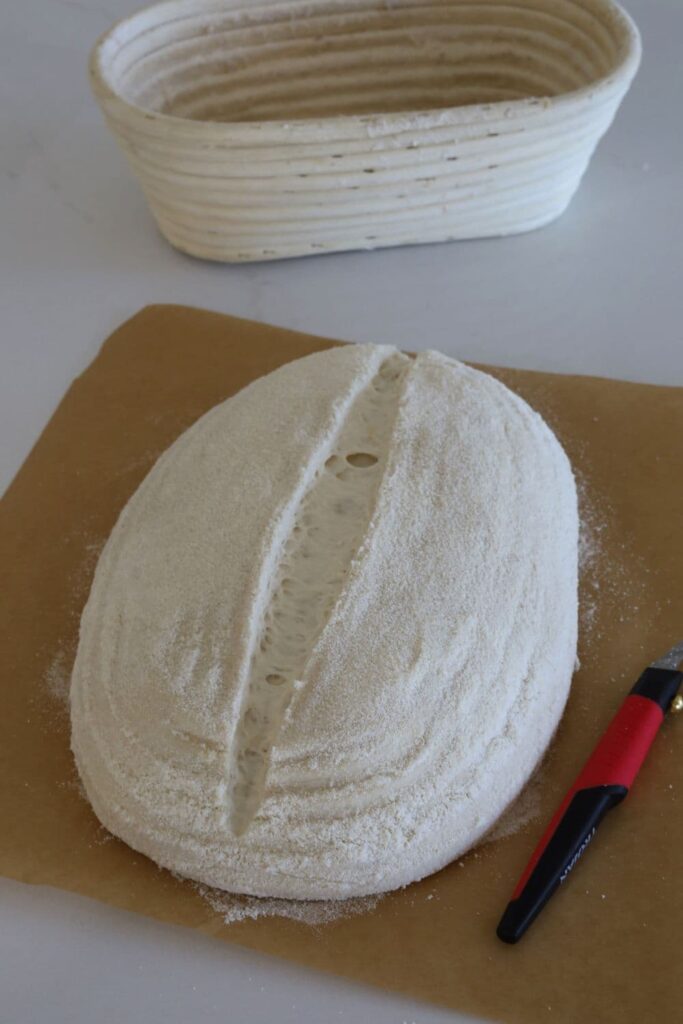
Carefully take your dutch oven out of the oven. Place the sourdough into the pot using the silicone sling or parchment paper as a handle. Put the lid on and place into the hot oven.
BAKE TIME:
40 Minutes with the lid on at 230C/450F plus
10-15 Minutes with the lid off at 210C/410F
I have increased the lid on bake time by 10 minutes (compared to my simple beginner's sourdough bread recipe) because the wetter dough needs longer to cook through.
Finishing The Bake
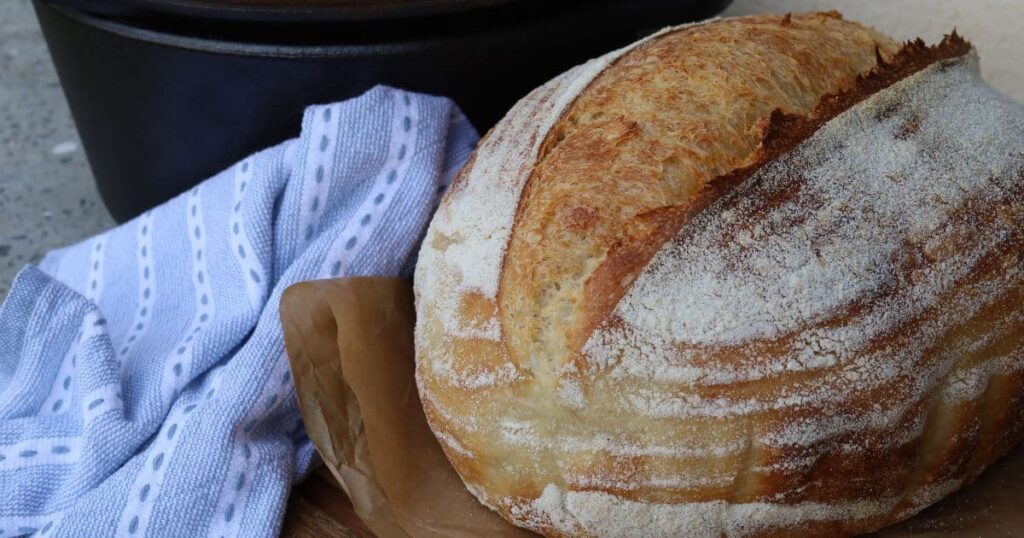
When you remove your dough from the oven, carefully remove it from the oven as soon as possible and place on a wire rack to cool.

High Hydration Sourdough Bread Recipe
Equipment
- Basic Kitchen Scale (grab them for as little as $10 here)
- Mixing Bowl
- Dutch Oven
Ingredients
- 500 g Bread Flour 100%
- 400 g Water 80%
- 100 g Sourdough Starter (active and bubbly, recently fed) 20%
- 12 g Salt 2%
Instructions
- Autolyse - Premixing The DoughWeigh out your sourdough starter and water into a large mixing bowl.Mix the water and starter together briefly. Then add your flour and salt and mix whole lot together to form a shaggy dough. Cover your bowl with an elastic food cover or plastic wrap and let it sit for around 1 hour. This process is called the "autolyse" and allows your flour to soak in all the water and become hydrated.
- Forming Up The DoughAfter the dough has been through autolyse you need to bring it together into a ball. Work your way around the bowl, grabbing the dough from the outside, stretching it up and over itself, into the centre, until a smooth ball is formed. You shouldn't need more than about 20-25 stretches to form the ball.You'll notice that the dough is fully hydrated after soaking all the water up. It will be fairly sticky but as you bring it into a ball, it will become smoother and shinier.Once the dough has formed into a smooth ball, pop the cover back on and let it rest for 30 minutes.
- Stretch & Fold - Creating StructureOver the next few hours you need to create some structure for your dough by "stretching and folding". Aim to do around 4-6 sets of stretches and folds. For each set, stretch the dough up and over itself 4 times. Leave around 15 minutes in between each set. Again you do not have to be exact with time, but you need to do at least 4 sets over 2 hours.This is high hydration sourdough so the dough will more slack than you're used to (if you've been making sourdough bread at a lower hydration).
- Bulk FermentOnce you've finished your stretch and folds, cover the dough with a plastic cover and allow it to ferment at room temperature until it doubles. Remember this is a high hydration dough, so it will not take as long as you might normally be familiar with. You can find more information on understanding when bulk fermentation is finished here.
- Shaping The DoughOnce your dough has finished its first ferment, it's time to shape it into either a boule or a batard. I find it easier to shape higher hydration dough into a batard, but you should do whatever you're comfortable with.Use a dough scraper to gently ease the dough out of the bowl (I highly recommend using a dough scraper for high hydration sourdough bread). You want it to land upside down on your counter so that the smooth top of the dough is on the countertop and the sticky underside is facing up. This will make it easier to shape.You can see a video of me shaping a sourdough batard here.You will need a proofing basket or container to put your dough into. Whatever you're using needs to be liberally floured with rice flour or semolina.
- Placing Into A Proofing ContainerOnce the dough is shaped into a batard, place it into your proofing basket or container smooth side down, so your seam is on the top.Lift your dough around the edges to pop a little more rice flour if you feel it needs it. Just try to handle the dough as little as possible and be really gentle as you really want to preserve all the gases and air bubbles that have formed during your bulk ferment.
- Cold Ferment (optional)Now the dough is in its "shaping container" cover it loosely with a plastic bag and place into the fridge. Try to leave it in the fridge for a minimum 5 hours. Ideally, you want to leave it around 12 to 24 hours for full flavor.
- Preparing to BakeOnce you're ready to bake your sourdough, you'll need to preheat your oven to 230C/450F. Place your Dutch Oven into the oven when you turn it on so it gets hot. Try to preheat for around 1 hour to ensure your oven is super hot - but you know your oven so just adjust this time if you need to.Leave your dough in the fridge (or counter) until the very last minute - placing a cold dough into a hot oven will give you a great "spring".When your oven is at temperature, take your sourdough out of the fridge. Gently place it onto a piece of parchment paper or silicone sling if using. Gently score your bread with a clean razor blade or knife. At minimum a large cross is sufficient, but you can get as artistic as you like. You can find my full guide on how to score sourdough bread here.Carefully take your dutch oven out of the oven. Place the sourdough into the pot using the silicone sling or parchment paper as a handle. Put the lid on and place into the hot oven. BAKE TIME:40 Minutes with the lid on at 230C/450F plus10-15 Minutes with the lid off at 210C/410F
- Finishing The BakeWhen you remove your dough from the oven, carefully remove it from the oven as soon as possible and place on a wire rack to cool.
Notes
- Notes on Flour: This recipe is written using strong Bread Flour. Bread flour has a higher protein content than All Purpose flour. I do not recommend using all purpose flour for this recipe. You can read more about the differences between All Purpose Flour and Bread Flour here.
- Notes on Sourdough Starter: This recipe is based on you having an active starter that you have fed a few hours before starting your bake. For info on how to make a sourdough starter, go here.
- Notes on Stretch & Folds: If you are going to do the stretch & folds on your bench top, spray your surface with water mist rather than using flour. You can leave the dough in the bowl if you want to. Wet your hands to stop the dough sticking - although it shouldn't be too sticky. It will get less sticky as you do your stretches and folds. For more information on how to do stretch and folds, go here.
- Notes on Bulk Fermentation: If your home is warm then your dough will ferment a lot faster and could be done in as little as a few hours. If it's colder, it will take longer. I recommend using this overnight sourdough bread recipe in cooler temperatures, as if it's too warm the dough will over ferment while you're sleeping and you'll wake up to a bowl of soupy dough!
You will know your dough is ready to move to the next stage when it has *just* doubled in size. It will be fairly wobbly and full of bubbles. You should be able to see large air bubbles under the surface of the dough.
You don't want to let it go any further than doubled as it will be over fermented.
If you want to do an overnight ferment, but your home is warm, consider using a little less starter (ie 25g).
Less starter means your dough will take longer to ferment and you will reduce the risk of over fermenting your dough. You'll find more information on these topics here:
When is my bulk ferment finished? What is the difference between cold ferment and bulk ferment? Why does the amount of starter matter?
- Notes on Baking: If you're worried about the base of your bread burning, place a baking sheet on shelf underneath your Dutch Oven - it works!
- If you're worried about your bread not being cooked all the way through, turn the oven off and place your dough straight onto the oven rack. This high hydration sourdough bread recipe has an extra 10 minutes baking time with the lid on (than my regular sourdough bread recipe).
Nutrition

