This post contains affiliate links. Please see our disclosure policy.
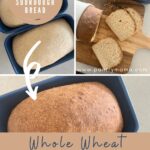
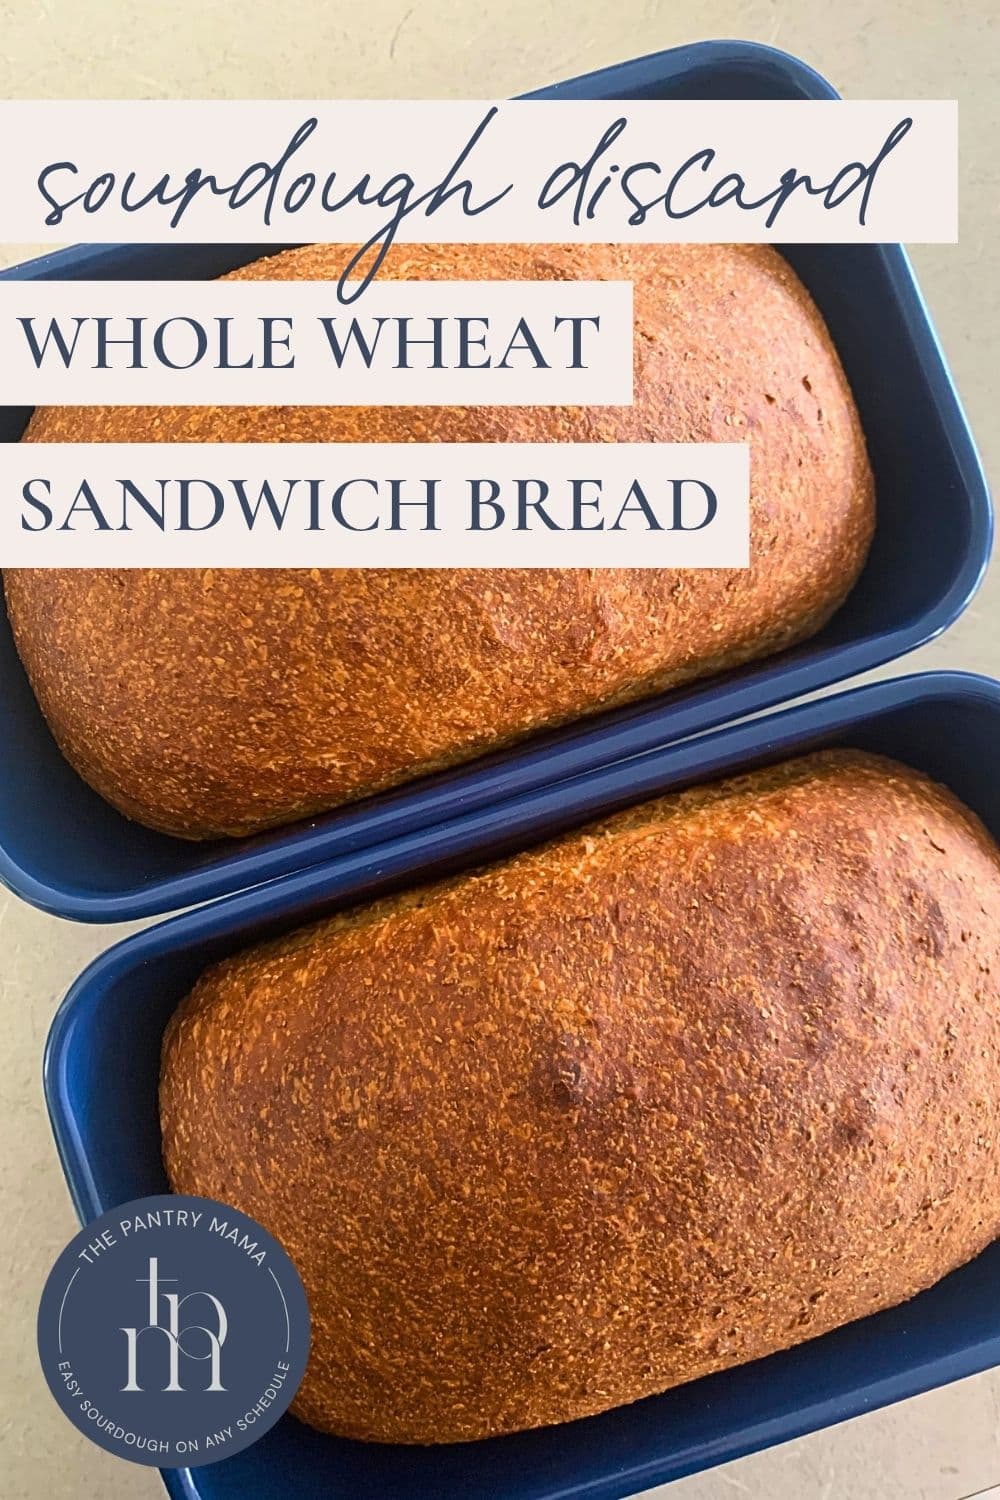
If you’re looking for a fast and easy whole wheat sourdough discard sandwich bread with a delicious flavor – you’ve found it! This easy recipe utilises nutritious whole wheat flour to create a soft loaf, perfect for sandwiches.
Why You’ll Love This Recipe!
Quick and Easy – This bread takes around 2 to 3 hours from start to finish, depending on how warm your house is. It utilises 100 grams of sourdough discard and is perfect for slathering in homemade butter!
Ingredients
- Sourdough Discard
- Warm Water
- Whole Wheat Flour
- Bread Flour or All-purpose Flour
- Salt
- Granulated Sugar – You can use honey or maple syrup if you prefer.
- Butter – Softened at room temperature. You can substitute olive oil or even avocado oil if you want to make this loaf dairy free.
- Commercial Yeast – I’ve used instant yeast to create this recipe, but you can use active dry yeast if you prefer.
How To Make Sourdough Discard Whole Wheat Sandwich Bread
In the bowl of a stand mixer, add the sourdough discard, warm water and bread flour and mix until it forms a shaggy dough. Leave the dough to rest for 30 minutes.
Now add the salt, sugar, soft butter and yeast to the bowl and knead the dough for around 3 to 6 minutes using the dough hook attachment.
You want the dough to be elastic, silky and slapping the sides of the bowl.
Once the dough is sufficiently kneaded, you’ll need to let your dough rise. You are using instant yeast as the leavening agent in this recipe, so the first rise will happen very quickly, particularly if your home is warm. Leave it for around an hour (it will take longer if your house is cooler). The dough needs to double.
While you’re waiting for the dough to double, lightly butter a loaf pan.
Kate’s Pro Tip
What Size Loaf Pan To Use?
The dimensions of the pans I’ve used are 2.75 x 4.72 x 7.87-inches (7 cm x 12 cm x 19 cm). This loaf also fits into a single loaf pan measuring 9 x 4 x 4-inches.
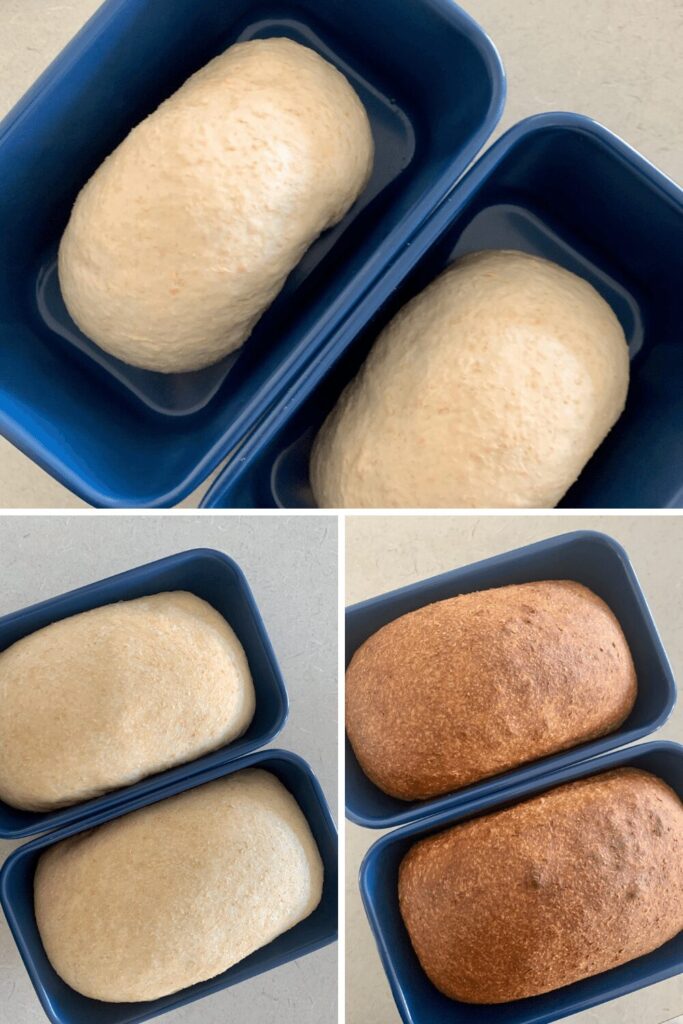
Once the dough has doubled, tip it out onto the counter top with the smooth side underneath and the sticky side on the top. Gently ease the dough out into a rectangle.
Fold each side of the dough into the middle, then roll the dough into a tight log with the seam-side underneath. Tension the top of the dough by putting your hands at the base and pulling the dough towards you, without lifting if off the countertop.
Once the dough is shaped, gently place it into your prepared loaf pan. Leave the dough to rise until it’s just above the rim of the pan. This will take around an hour, depending on the temperature of your home.
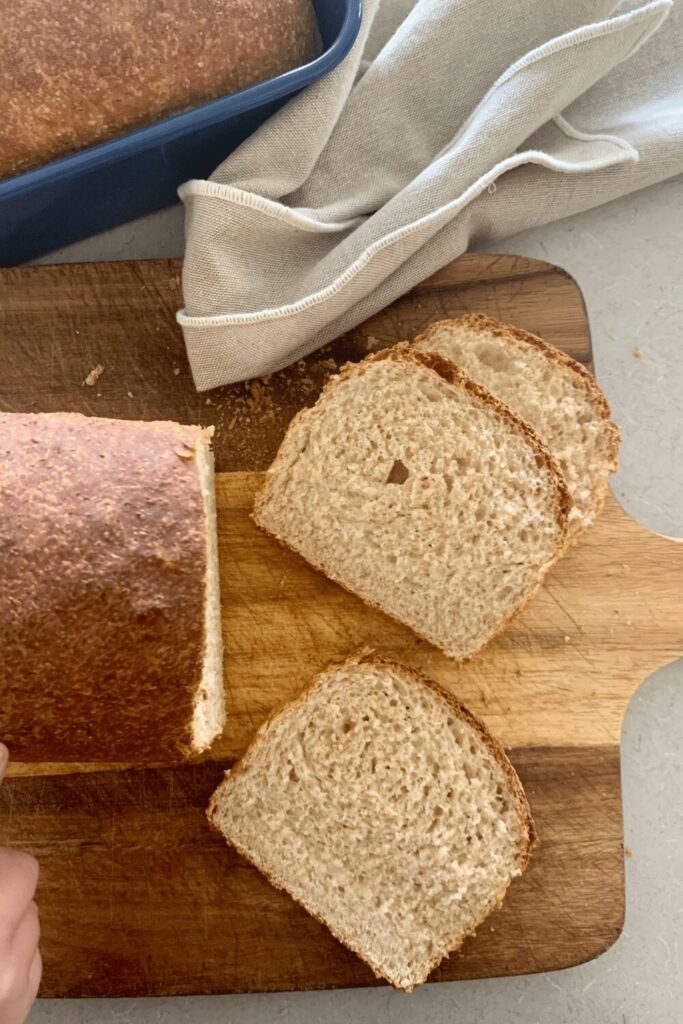
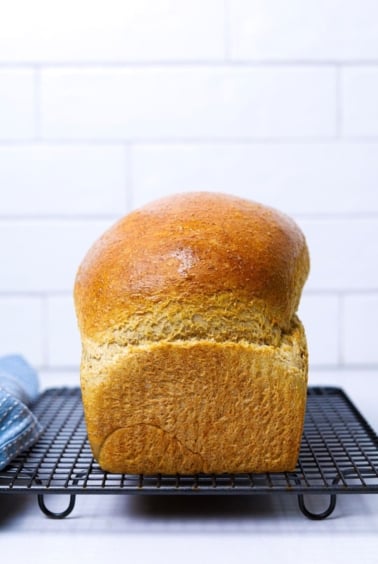
Once the dough has risen, spray the top of the loaf with some water mist and place into a preheated oven. Bake your bread at 180ºC/350ºF for around 40 to 45 minutes or until the loaf is golden brown. Remove from the loaf pan and allow to cool on a cooling rack.
DEFINITION
Whole Wheat Flour
Whole Wheat flour (or wholemeal flour in some parts of the world) is generally considered more nutritious. Whole wheat flour is different to wheat flour because the bran and germ are not removed before grinding into flour – meaning that it contains the whole wheat kernel. Because this type of flour contains more parts of the grain, it absorbs water differently than regular wheat flour. For this reason, this recipe contains a little more water than a sourdough discard sandwich loaf made with white flour.
Flavor Variations
There are lots of ways to vary the flavor of this easy whole wheat sourdough discard sandwich bread. Here are a few suggestions:
- Honey Whole Wheat – Add 40 g of honey to the recipe (add it at the beginning when you add the water). The honey will give this bread such a delicious taste – and oh the aroma that will fill your kitchen!
- Multigrain Sandwich Loaf – Add 50 to 100 g of your favorite seeds to the mixture when you add the butter, sugar and salt. Seeds like sesame, sunflower, pumpkin and flax work really well.
- Oat & Rye – Substitute 20 g of whole wheat flour with rye flour. Before you bake the bread, spray the top with water and sprinkle on a few handfuls of oats. Spray the oats again before baking to ensure they don’t burn in the oven.
How To Store and Freeze
Store at Room Temperature – I use large ziplock bags to store sliced loaves at room temperature. It lasts around 48 hours at room temperature once sliced. After that, it’s suitable for toast.
Freezer – I store unsliced loaves in large ziplock bags for convenience. I tend to slice them once thawed.
More Whole Wheat Sourdough Recipes


Whole Wheat Sourdough Discard Sandwich Loaf Recipe
Equipment
- Stand Mixer
- Digital Scales
- Bread Pan
Ingredients
- 100 g Sourdough Discard , unfed sourdough starter
- 265 g Water
- 400 g Whole Wheat Flour
- 100 g Bread Flour, or All-purpose Flour
- 10 g Salt
- 20 g Sugar
- 60 g Butter, room temperature
- 7 g Instant Yeast
Instructions
- Combine the sourdough discard, water and flour into the bowl of your stand mixer or Thermomix and mix until it forms a shaggy dough (around 30 seconds will do it). Leave the dough to rest for 30 minutes.See recipe notes for using a stand mixer vs hand kneading.
- Now add the salt, sugar, butter and yeast to the bowl and knead the dough for around 3 to 6 minutes. You want the dough to be elastic, silky and slapping the sides of the bowl. Just keep the mixer going until you achieve this. If you are using a stand mixer you'll need to use your dough hook attachment for this step.
- Now you need to let your dough rise. You are using instant yeast as the leavening agent in this recipe, rather than sourdough/wild yeast, so it will rise very quickly, particularly if your home is warm. Leave it for around an hour (it will take longer if your house is cooler). You want it to double.
- While you're waiting for the dough to double, lightly butter a sandwich loaf or pullman pan so it's ready to go when the dough is shaped.
- Once the dough has doubled, tip it out onto the counter top with the smooth side underneath and the sticky side on the top. Gently ease the dough out into a rectangle. It should be quite easy to do this as the dough is very elastic.
- Now you want to shape your dough into a sandwich loaf. This is fairly easy. Make sure that the short side of the rectangle is in front of you. Fold each side of the dough into the middle, then roll the dough into a tight log with the seam underneath. Tighten the top of the dough by putting your hands at the base and pulling the dough towards you, without lifting if off the countertop.
- Once the dough is shaped, gently place it into the buttered loaf tin. Leave the dough to rise until it's just above the rim of the tin. This will take around an hour, depending on the temperature of your home.
- Once the dough has risen, you'll need to bake your loaf. Turn your oven on and set the temperature to around 180ºC/350ºF. Let it warm for around 10 minutes. Spray the top of your dough with some water mist and place into the oven. Make sure that there's plenty of room for it to grow in the oven as it will generally keep rising.
- Bake your bread at 180ºC/350ºF for around 40 to 45 minutes or until the loaf is golden brown.
- Remove from the loaf tin and allow to cool on a wire rack.
Notes
Nutrition
Nutrition information is automatically calculated, so should only be used as an approximation.
Like this? Rate and comment below!


I love that you gave all the options and when to add them. I just made this and added about 60g of seeds soaked overnight. It made the dough much wetter though I tried holding back some of the water at the beginning mix with flour, however it was too dry to mix so ended up adding all the water. Then when i added soaked seed, it was too wet and I had to add a couple tablespoons of flour after the first 30minute rest. This resulted in having to knead longer, partly by hand then mixer but it finally got elastic and held together. The rising took acouple of hours due to it being cold here. I put it in the oven with light on and that speeded things up. Now it’s baking and looking great!
Hi, have made bread for years, and have made this recipe successfully in the past. Dough raises nicely, put in preheated oven but the last couple of loaves have been flat, no dome, no oven bouncg, just even or a little above pan. I don’t know whay I am doing now that would have changed. Any help appreciated
Do I cover the dough with cling film for the second rise in the bread tin?
I’ve never found a decent video of someone showing the process of WHOLE WHEAT sourdough discard bread. My dough never looks like other doughs, before or after kneading (I hand knead, as do not have a proper mixer). The first dough mixture is always really dry. The second mixture (after adding butter) feels to wet, and greasy from the butter. When it’s time to knead, I can’t tell if I’m over kneading or under kneading, OR if the reason my bread is never “fluffy” after baking is because my starter is also made using whole meal flour. Would you be interested in making a video of this recipe, showing exactly what the dough should look like and how we should test it to determine if it’s ready for the first rise?
Easy to follow instructions that resulted in delicious bread! I used some rye flour as suggested in the notes. I’ll definitely be making it again.
Love to hear that, Sarah!
I have made this bread a couple of times now and it comes out perfect every time…same with the white discard sandwich loaf.
I do add the honey and 100g of seeds, so yummy!
I have not found there to be a difference between adding the butter, salt, sugar and yeast before or after the autolyzing. How important would you say it is to wait to add these ingredients?
It’s really up to you. I prefer to give the flour some time to hydrate, particularly because it is whole wheat flour, but if you find there’s no difference for your flour then it’s fine to add them all at once 🙂
I’m going to try your recipe, but I just wish it weren’t in grams.
I’m old school, and changing the recipes isn’t my favorite thing.
I know it might seem overwhelming, but using a scale is so much easier than using volume measurements! This will help you understand why :-).
Hi! New here but hooked on your discard recipes! I’m wondering about rubbing the top of the loaf with olive oil rather than misting with water. Have you tried and do you have thoughts? Thank you!
You can absolutely do this 🙂
I love making the discard recipes because of the time saving, but I do like the idea of using a fully active starter. Could you use an active starter for this recipe and not add any yeast? Or perhaps reduce the amount of added yeast?
Absolutely you can do that 🙂 I’ve also got a sourdough whole wheat sandwich loaf with no added yeast too 🙂
If I use the honey, do I still use the white sugar or can it replace the sugar?
I would use either the honey or the sugar 🙂
In the discard whole meal sandwich loaf can I substitute some of the butter with olive oil?
Yes you can, go by weight 🙂