Easy Pumpkin Sourdough Bread
This post may contain affiliate links.
Pumpkin sourdough bread - the most delicious pumpkin bread you've ever tasted!
The dough is just beautiful to work with.
This pumpkin sourdough bread would make the perfect Thanksgiving centrepiece or just a beautiful autumnal sourdough bread.
You can make sourdough pumpkin bread with canned pumpkin puree or by making your own pumpkin puree.
You'll need an active sourdough starter to make this bread.
I recommend baking this bread in a Dutch oven for the best oven spring.
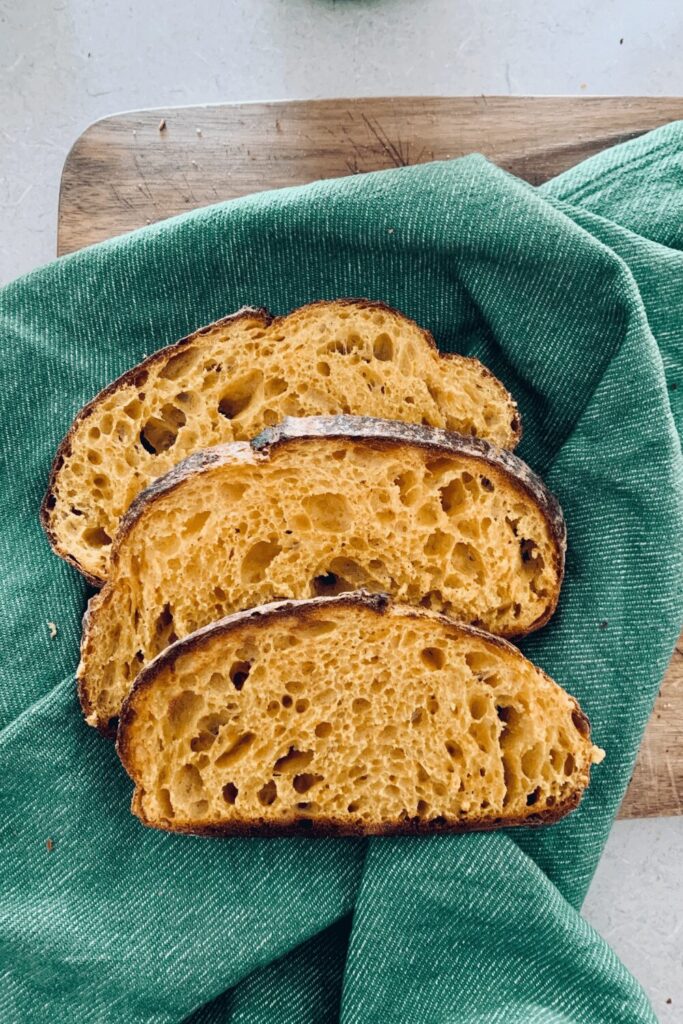
What is Pumpkin Sourdough Bread?
Pumpkin sourdough bread is sourdough that is flavored with pumpkin. You can use either canned puree or a pumpkin puree made from fresh pumpkins.
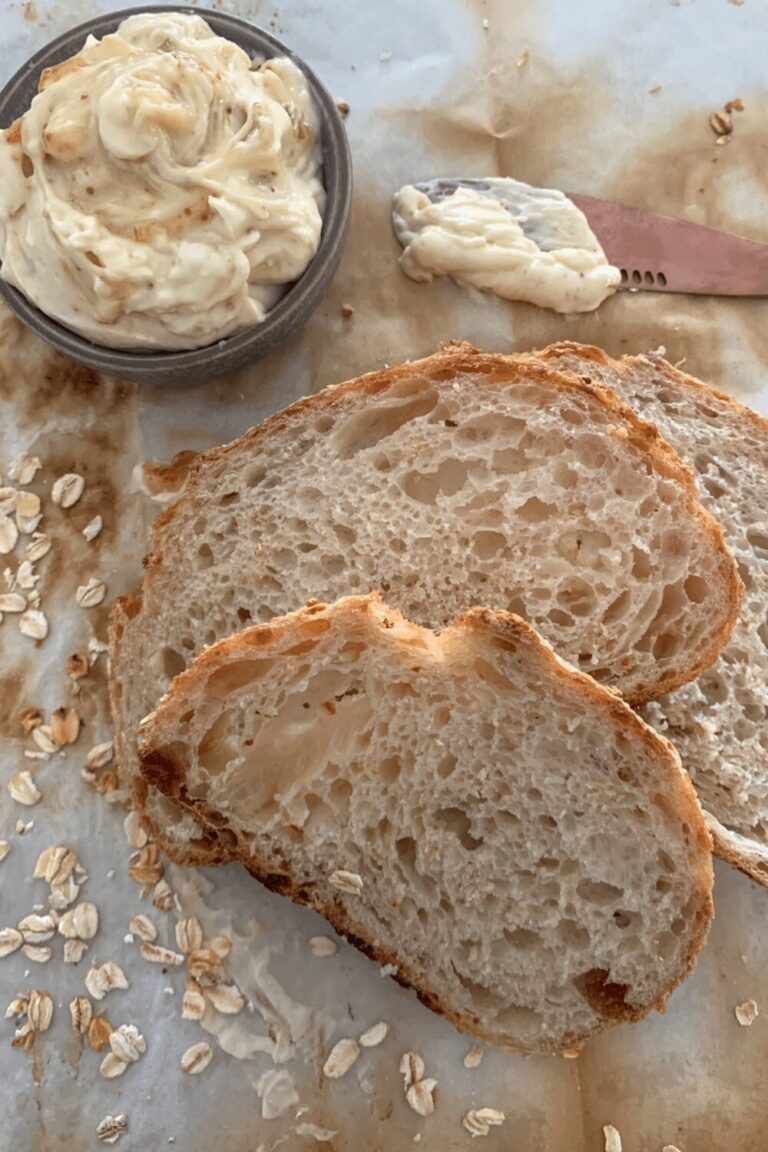
This bread has a super soft crumb and a delicate crisp crust - the honey and pumpkin enrich this dough making it's texture quite different to regular sourdough bread.
And don't even get me started on the amazing color!
Because of the liquid content in pumpkin puree, this sourdough bread is fairly high in hydration - but don't let that put you off.
You'll find a whole collection of sourdough pumpkin recipes here.
Choosing A Pumpkin Puree
I have chosen to use a homemade pumpkin puree. We grow pumpkins so I need to use them up ... plus there is no option to buy canned pumpkin puree where I live.
If you are able to purchase it though, canned pumpkin will work just fine (and is a much more convenient option to making your own). It also contains slightly less water than home made puree which can make the dough easier to work with.
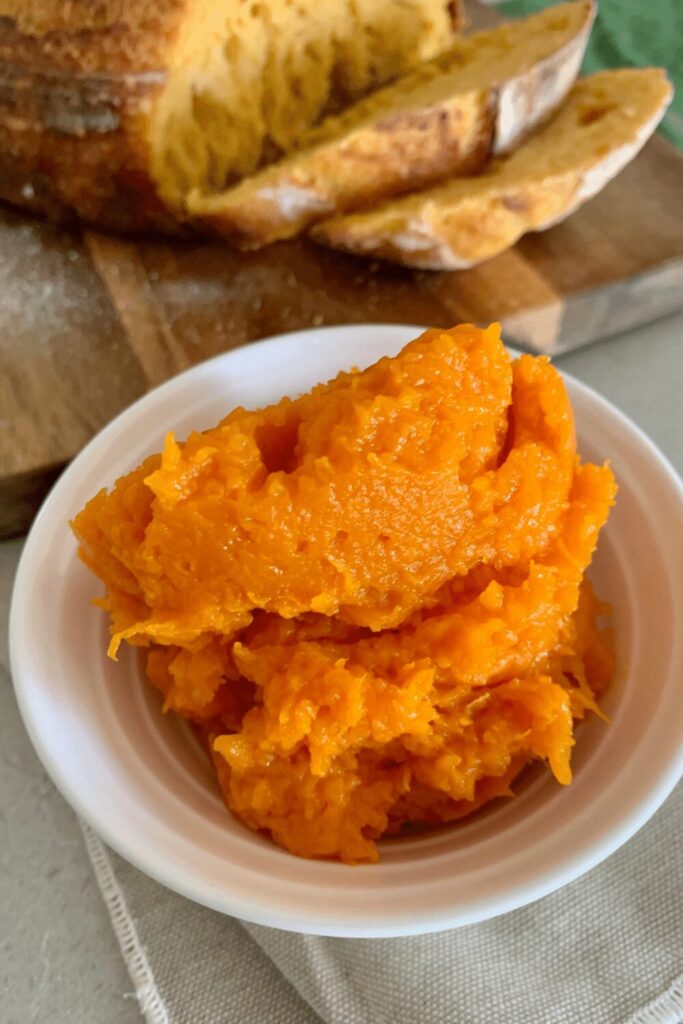
If you are going to make your own pumpkin puree, try not to puree it too much so that it becomes too liquid. Cook it down, drain off excess liquid and mash it as much as you can.
Then, let it cool before placing into the fridge. If you cover it when it's hot, it will produce condensation which will add to the liquidity of your puree.
Alternatively, you could roast the pumpkin to make the puree. This will give you a more solid pumpkin puree.
Hydration of Sourdough Bread With Pumpkin
As you can imagine, pumpkin puree will increase the hydration of your dough.
I have decreased the amount of water in this recipe to account for the hydration of the pumpkin puree, however different purees will obviously increase or decrease the hydration of your dough.
My advice is to add just 280g of the water to your dough at autolyse and then, if you feel it needs extra, add up to 20g extra when you move to the next stage.
You don't want to add too much water or your dough will become too wet to handle.
With around 280g of water, plus your puree, this dough will be around 80% hydration. Don't let that frighten you.
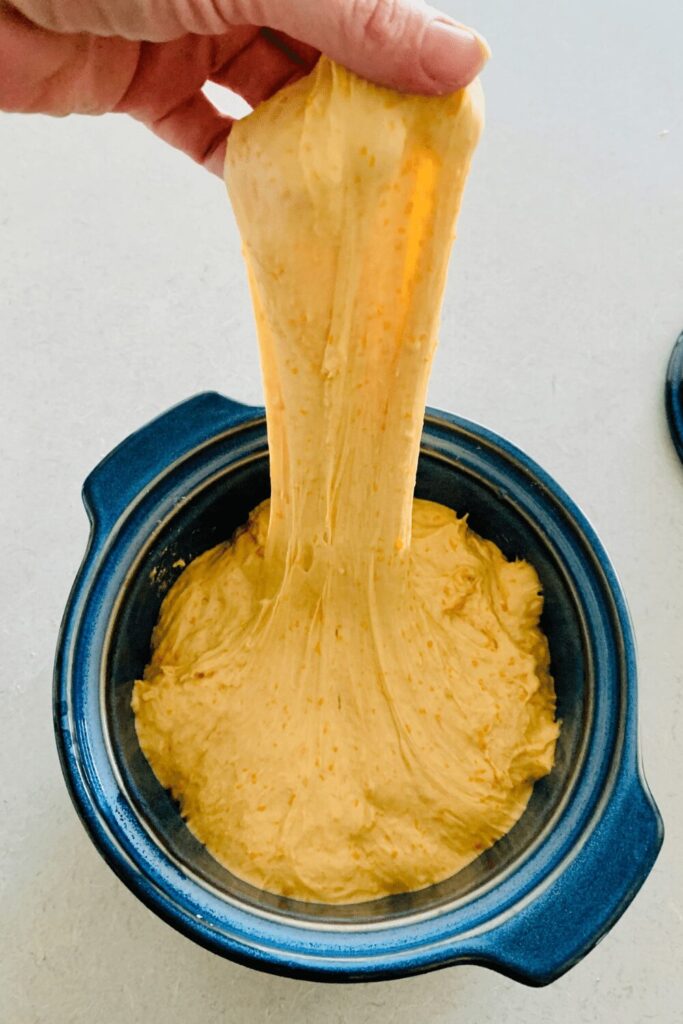
The pumpkin and honey make it a silky smooth dough to work with and you should be able to shape it fairly easily.
If you are really worried about the hydration, drop the water down to 250g at autolyse and add more if you need to.
How To Make Pumpkin Sourdough Bread
This delicious sourdough is very straight forward, despite being a higher hydration flavored dough.
Due to it's liquidity, the pumpkin puree is added at the beginning of the sourdough process and is autolysed with the flour and water.
Here's the basic outline for making sourdough bread flavored with pumpkin puree:
- Add the water, sourdough starter and honey to a bowl, stir to combine.
- Now add the pumpkin puree, flour and salt, combine to a shaggy dough.
- Autolyse the dough.
- Bring the dough together into a ball and allow to rest.
- Perform stretch and folds over 2 hours.
- Bulk ferment the dough until it has doubled.
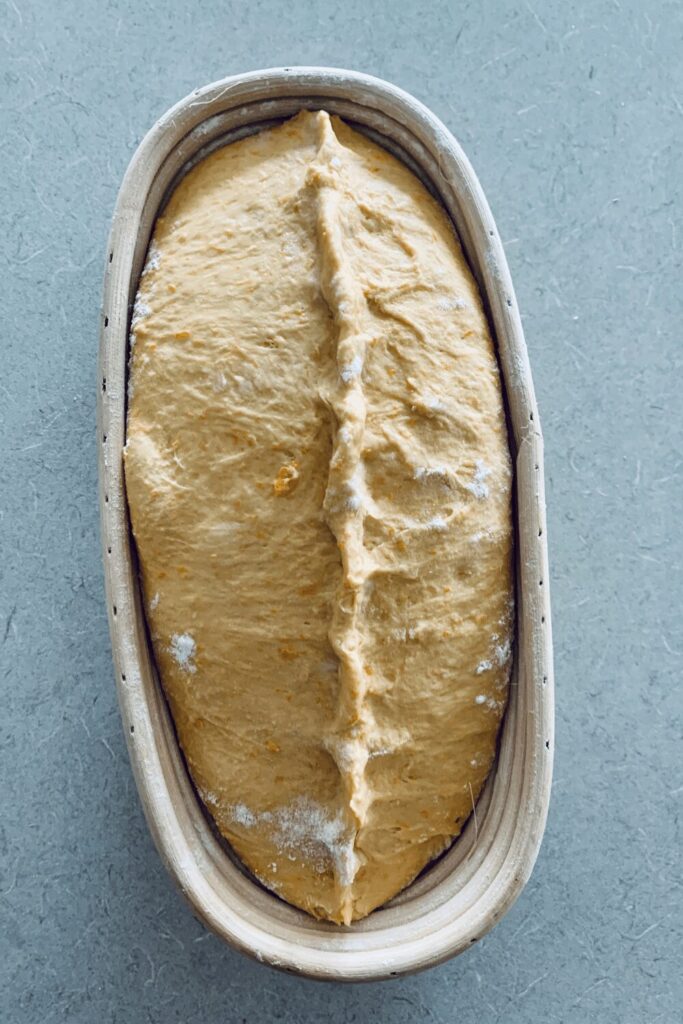
- Shape the dough and place into a banneton.
- Cold ferment the dough in the fridge.
- Score and bake!
You'll find the full ingredient list and recipe instructions further down the page.
Flavor Additions To Pumpkin Sourdough Bread
While this hearty pumpkin sourdough bread is just delicious as it is, here are a few suggestions to take your loaf to the next level!
- Line your banneton with rolled oats before you put your dough in to rest. The oats will stick to the top of your loaf and give you a beautiful oaty crust.
- Line your banneton with pepitas (pumpkin seeds) for a true fall inspired sourdough bread.
- Add some dried or fresh thyme leaves to your pumpkin sourdough bread for a herby flavor explosion!
- Why not make pumpkin pie bread and add in some fragrant spices like cinnamon, nutmeg, ginger and cloves. Can you imagine how good your kitchen would smell?! Just be careful with cinnamon as it can hinder fermentation.
The honey in this recipe adds a sweet note to this bread, but it is not overpowering and the bread can still be used for savory purposes - it makes the most amazing grilled cheese and is delicious under poached eggs.
For more info about adding honey to sourdough bread head here.
But honestly my favorite way to enjoy this one is buttered with a cup of hot tea ... preferably when all the kids are asleep!
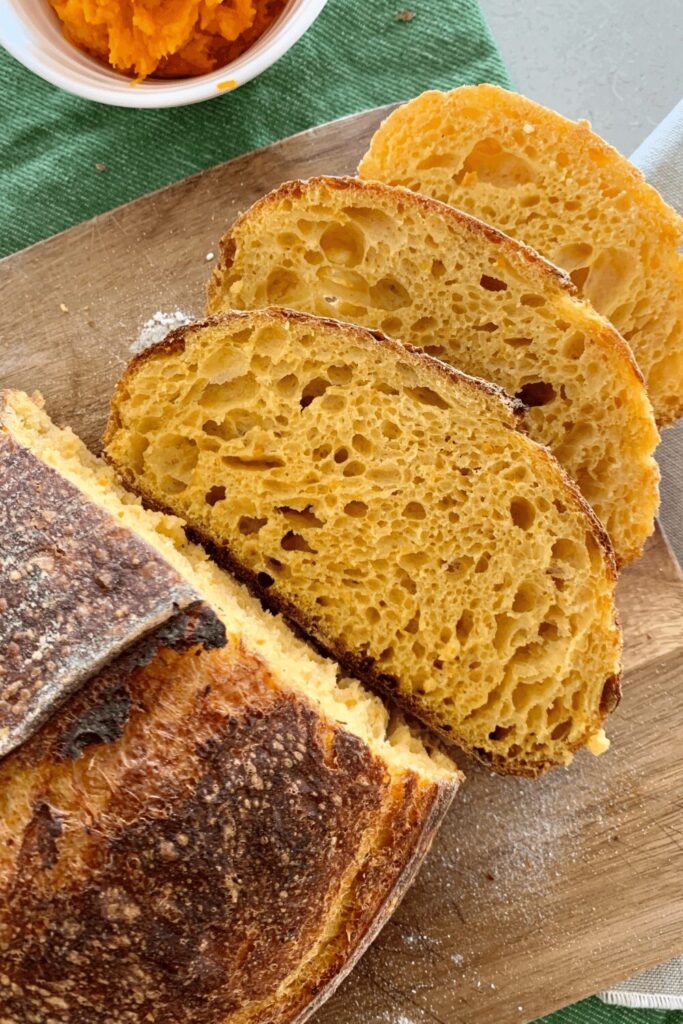
This easy pumpkin sourdough bread would make the most beautiful Thanksgiving sourdough bread and would be a delicious addition to your Thanksgiving table. It lends itself to anything around autumn or fall.
Shaping Pumpkin Sourdough Bread
Many people like to make this sourdough bread into the actual shape of a pumpkin. I'm not one of those people.
I prefer the practicality of a batard for slicing and toasting and find that we eat a lot more of the bread when it is shaped in this way. But if pumpkin shaped sourdough is your thing, I say go for it!
You'll find my batard shaping video here.
For something festive, perhaps the centre of your Thanksgiving table, you could use a couronne banneton to shape your pumpkin sourdough bread. This will give you a beautiful wreath shaped pumpkin bread.
Further Reading
If you love this recipe, you might also enjoy these ideas:
- Check out the best sourdough recipes for Thanksgiving here.
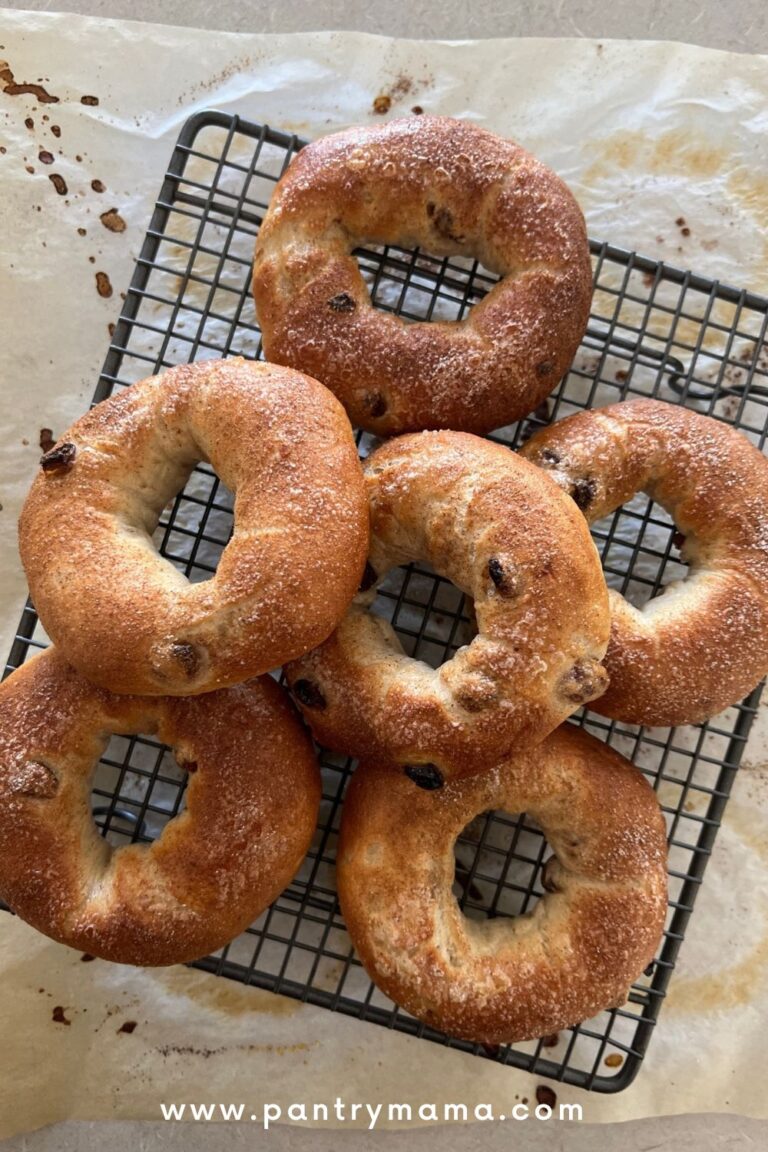
- Pumpkin Sourdough Bagels or Sourdough Pumpkin Waffles.
- Try these delicious Pumpkin Cinnamon Sourdough Rolls - they are all kinds of good!
- These pumpkin sourdough muffins are moist, tender and delicious!
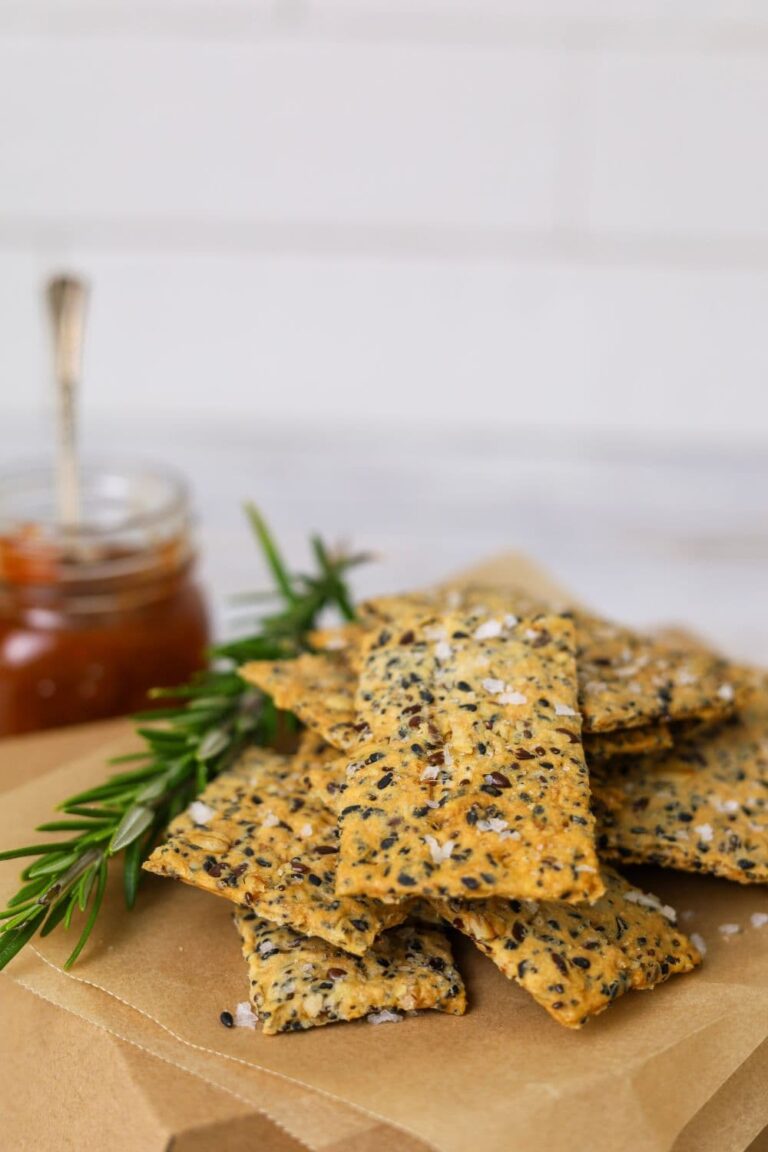
- Sourdough pumpkin crackers are sooooo good!
- Looking for more flavor inspiration? You'll find a tonne of flavored sourdough ideas here.

Pumpkin Sourdough Bread
Equipment
- Mixing Bowl
- Banneton
- Dutch Oven
Ingredients
- 100 g Sourdough Starter (fed and bubbly)
- 200 g Pumpkin Puree (homemade or canned)
- 500 g Bread Flour
- 280 g Water (with a little extra on hand just in case)
- 20 g Raw, unprocessed honey
- 10 g Salt
Instructions
- Autolyse: Weigh out your starter, water and honey in a glass or ceramic bowl. Mix them together so that the honey is dissolved in the water (or at least really well distributed).Then add your flour, pumpkin puree and salt and mix altogether with the end of a wooden spoon. The dough will be fairly shaggy and only just brought together.Cover your bowl with cling film or a damp tea towel and let it sit for around 1 hour.
- Forming Up Your Dough: Work your way around the bowl, grabbing the dough from the outside, stretching it up and over itself until a smooth ball is formed. You shouldn't need more than about 20-25 folds to form the ball. Once the dough has formed into a smooth ball, pop the cling film back on and let it rest for 30 minutes.
- Stretch & Fold:At this stage, you need to create some structure to your bread and help the gluten to develop by stretching and folding the dough. Try to do around 4 sets of stretch and folds with around 15 to 30 minutes between each set.
- Bulk Ferment: Once you've finished your stretch and folds, place the cling film or damp tea towel back over your dough and let it rest and ferment. The time this takes will depend on the temperature in your home.
- Shaping Your Dough: Once your dough has finished its first ferment, it's time to give it some shape and surface tension. I think this recipe lends itself to a batard however it's completely up to you what shape you would like.Before you place your dough into your banneton, add a generous sprinkling of flour making sure you flour right up to the top of the banneton. Place your shaped dough into the banneton, seam side up. If you are using oats or seeds, place these in the banneton before you place your dough in.
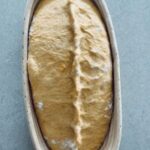
- Cold Ferment: Now your dough is in it's "shaping container" cover it loosely with a plastic bag or damp tea towel and place into the fridge. I use a large plastic bag to cover it - I just reuse it each time.Try to leave it in the fridge for a minimum 5 hours up to a maximum of around 36 hours. The longer you leave it the better your bread will be! A longer cold ferment creates beautiful blisters on your crust and a deeper sourdough flavour.
- Preparing to Bake: Once you're ready to bake your sourdough, you'll need to preheat your oven to 230C/450F. Place your Dutch Oven into the oven when you turn it on so it gets hot. Try to preheat for around 1 hour to ensure your oven is super hot - but you know your oven so just adjust this time if you need to.Leave your dough in the fridge until the very last minute - placing a cold dough into a hot oven will give you a great "spring".
- Baking Your Sourdough:Now it's time to bake!When your oven is at temperature. Take your sourdough out of the fridge. Gently place it onto a piece of baking paper.Gently score your bread with a lame, clean razor blade or knife. Carefully take your dutch oven out of the oven. Place the sourdough into the pot using the baking paper as a handle. Put the lid on and place into the hot oven. If you want to you can spritz your dough with extra water before you put the lid on.BAKE TIME:30 Minutes with the lid on at 230C/450F plus10-15 Minutes with the lid off at 210C/410FIf you're worried about the base of your bread burning, place a baking sheet on shelf underneath your Dutch Oven - it works!
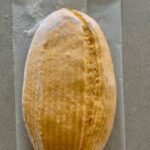
- Finishing Your Bake: When you remove your dough from the oven, carefully remove it from the dutch oven as soon as possible and place on a wire rack to cool.
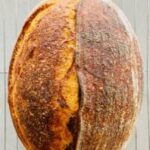
Notes
- Notes on Sourdough Starter
This recipe is based on you having an active starter that you have fed a few hours before starting your bake. For information on whether your starter is ready, go here.
- Notes on Stretch & Folds
If you are going to do the stretch & folds on your bench top, spray your surface with water mist rather than using flour. This dough can be quite wet because of the pumpkin puree but it should still workable.
- Notes on Bulk Fermentation:
If your home is warm then your dough will ferment a lot faster and could be done in as little as a few hours. If it's colder, it will take longer, possibly overnight. I would recommend that you try to do your first few bulk ferments during daylight hours so that you can watch your dough closely. Once you're more familiar with the process - and the temperature of your home - you will be able to do overnight ferments. You will know your dough is ready to move to the next stage when it has *just* doubled in size. It will be fairly wobbly and full of bubbles. You should be able to see large air bubbles under the surface of the dough. You don't want to let it go any further than doubled as it will be over fermented. If you want to do an overnight ferment, but your home is warm, consider using a little less starter (ie 25g). Less starter means your dough will take longer to ferment and you will reduce the risk of over fermenting your dough. You'll find more information on these topics here: When is my bulk ferment finished? What is the difference between cold ferment and bulk ferment? Why does the amount of starter matter? - Notes on Baking
If you're worried about the base of your bread burning, place a baking sheet on shelf underneath your Dutch Oven - it works!
If you're worried about your bread not being cooked all the way through, turn the oven off and place your dough straight onto the oven rack.
Leave the door ajar and let your bread rest there for a few hours.
Remember not to cut into your loaf too soon - you'll need to let it cool for at least a few hours (4-6 is best).
Nutrition


