Sourdough Oatmeal Bread: No Fuss Sourdough Porridge Bread
This post may contain affiliate links.
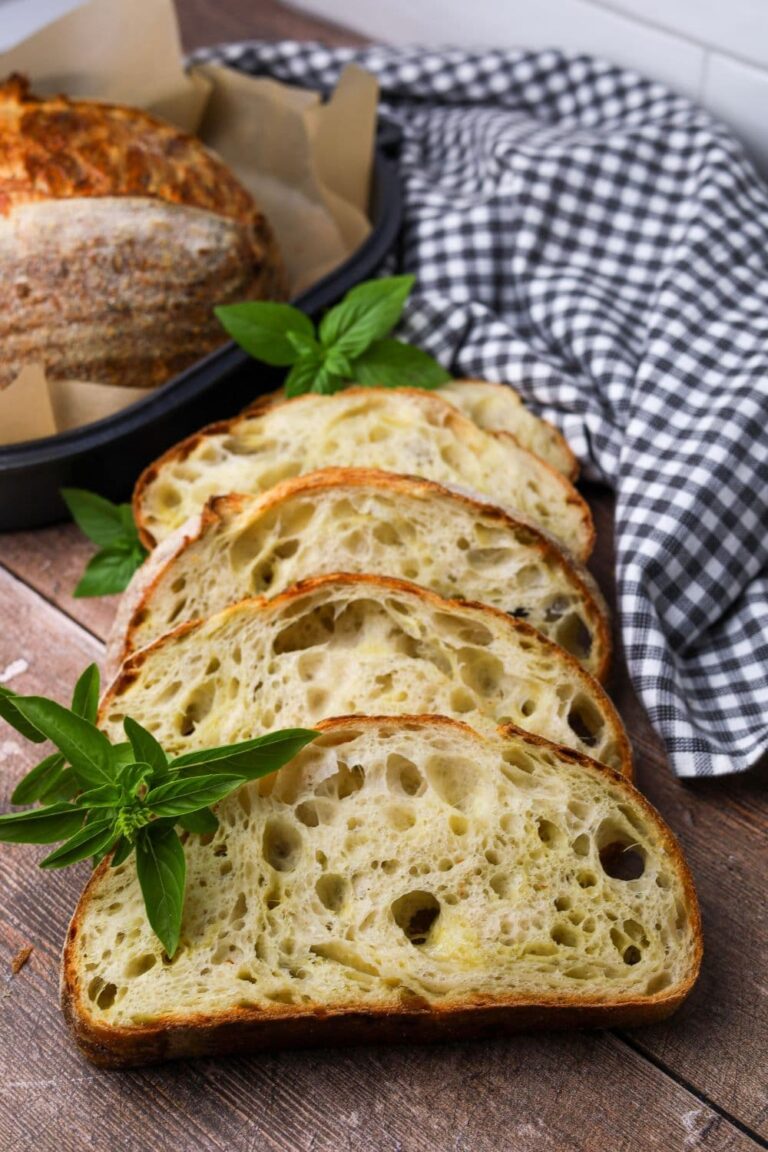
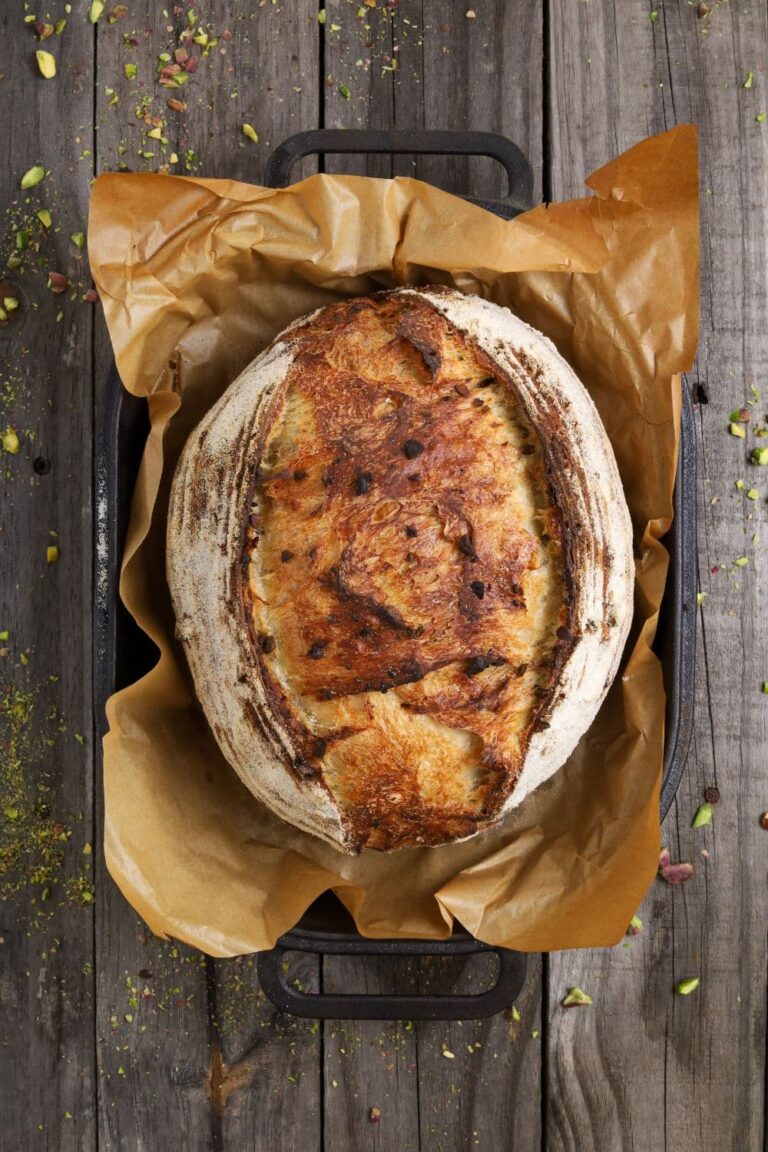
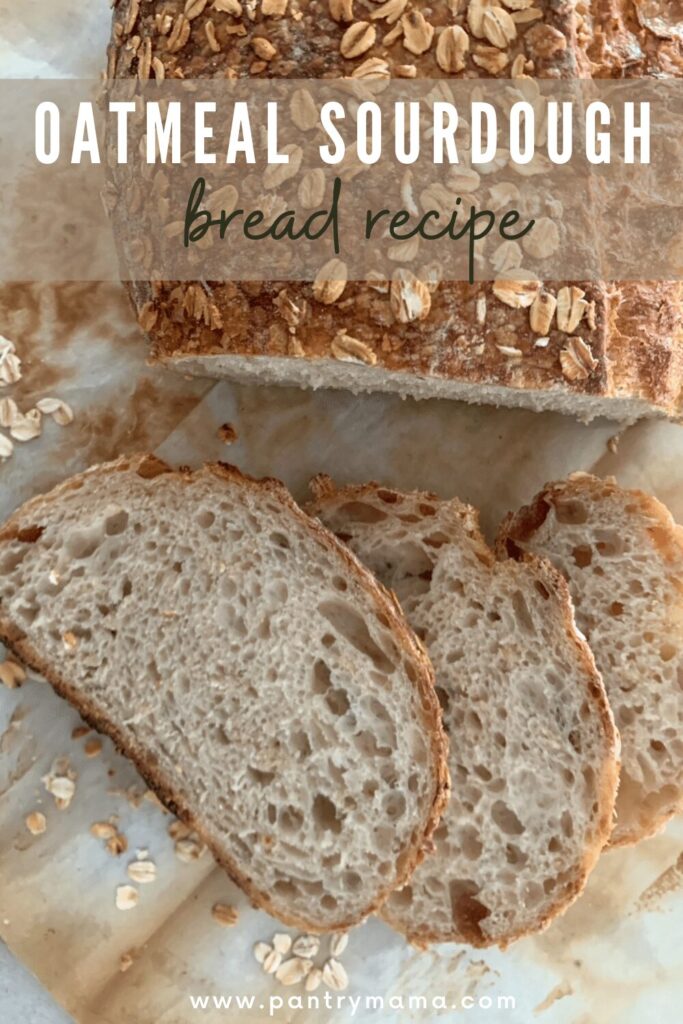
Sourdough oatmeal bread is not only super easy to make - it's super tasty too!
Perfect as a breakfast loaf, this hearty sourdough bread will have everyone asking for more.
If you have fussy kids, but want to add a little extra goodness to their daily bread, sourdough oatmeal bread is like a "white multigrain" or invisible loaf. The oatmeal is camouflaged with the "plain" white bread.
It's honestly such a delicious bread - and it really is simple to make.
What Is Sourdough Oatmeal Bread?
Sourdough oatmeal bread is sometimes referred to as sourdough porridge bread. This loaf is normally made with cooked porridge or oatmeal (rolled oats cooked or soaked in milk or water).
Due to time constraints and wanting less fuss, I have made this recipe with uncooked oats. The result is the same - a delicious, hearty loaf packed with the goodness of oats.
This recipe uses 400g of water to 500g of flour, which would seem quite high hydration (81% if using 50g of starter). However due to the addition of 100g of oats, the hydration is reduced, making the dough easier to handle.
Making sourdough porridge bread in this way saves time and still gives a delicious, soft and custardy crumb.
How To Make Sourdough Oatmeal Bread?
If you are well versed in making simple sourdough bread, you will easily be able to make this sourdough oatmeal bread.
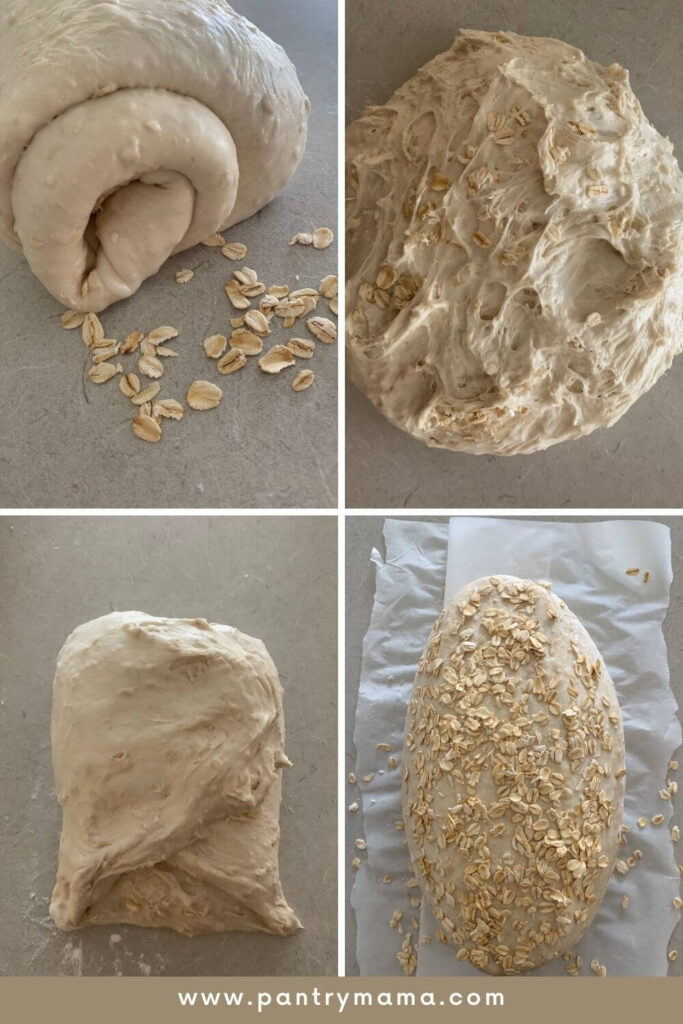
It requires adding oats at different stages of the bake - including autolyse, stretch and fold and shaping.
While I'm a big advocate of stretch and fold, I believe that laminating the oats in this recipe make a difference and result in a better texture to the oatmeal sourdough. However, if you aren't comfortable with laminating, you can of course add them by stretching and folding.
The basic process for making sourdough oatmeal bread is:
- Use a food processor to chop some rolled oats into a finer "oatmeal".
- Autolyse the sourdough starter, water, oatmeal, flour and salt.
- Add additional whole oats via stretches and folds or lamination.
- Bulk ferment the dough.
- Shape the dough, adding oats to the banneton before placing the dough inside.
- Cold ferment the dough.
- Score and bake!

What Is Lamination?
Lamination is a term you may have come across when reading about sourdough bread making.
It refers to stretching the dough out on a flat surface so that the dough is thin and elastic. When the dough is stretched out flat, you can add fillings and then roll the dough back up into a ball.
This method helps to strengthen the gluten network, resulting in a light, airy crumb for this oatmeal sourdough bread.
For more sourdough terms and their explanation, check out this extensive sourdough glossary.
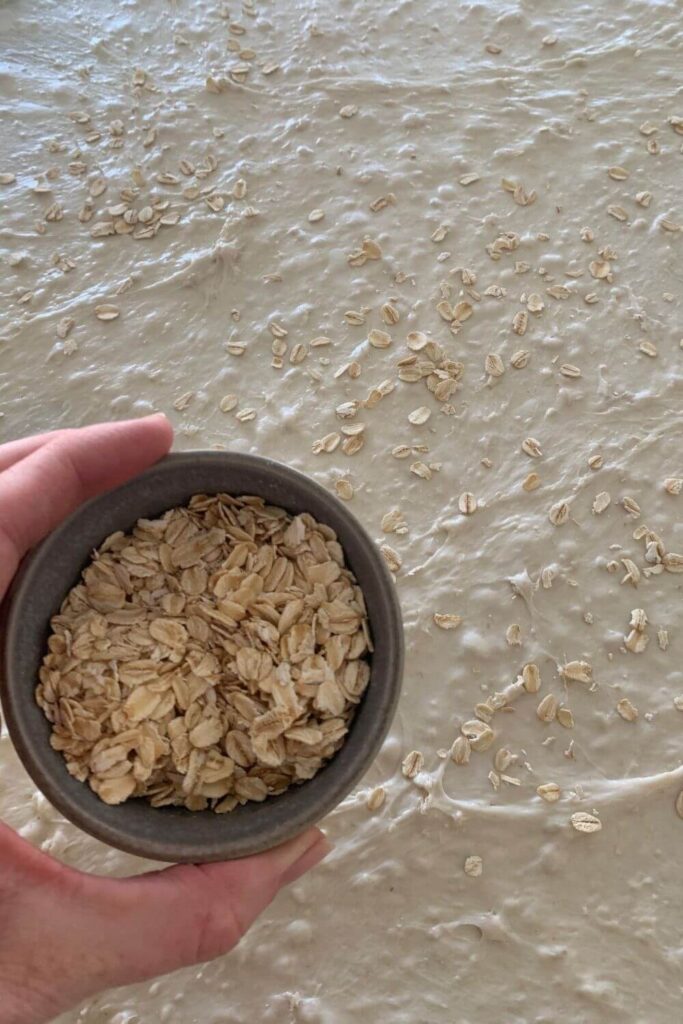
When laminating the rolled oats, stretch out the dough and lightly spray the dough surface with water. An atomiser works best for this and creates a super fine mist.
Sprinkle the rolled oats over the water misted dough and then fold back up ready to complete bulk fermentation.
Tips for Making Sourdough Oatmeal Bread
Here are some tips for making the best sourdough oatmeal bread.
- Don't be tempted to reduce the amount of water. This hydration level is necessary for the oats. Without the extra water the bread will be dry and stodgy and you may have a hard time stretching and folding the dough.
- If you are going to stretch and fold the oats instead of laminate them, I recommend still spraying some water on the oats as you add them.
- Use the best quality rolled oats you can find. Do not use steel cut oats, extra thick oats or instant oats. These are the rolled oats I recommend.
- This recipe is made using bread flour - I do not recommend substituting all purpose flour.
- If you are mixing this sourdough in a Thermomix, you do not need to process the oats in a food processor first. Kneading the dough will chop the oats sufficiently.
Flavor Variations
While this sourdough oatmeal bread is just lovely as it is, there are a few ways you can mix it up to make something a little different.
Here are a few flavor variations you might enjoy:
- Try adding some chopped dried fruit like apricots or cranberries - around 75g is nice. This dried fruit can be added with the whole rolled oats during stretch and fold or lamination.
- Add some shredded coconut to the dough along with the rolled oats during stretch and fold and then add a little to the banneton before placing the dough inside.
- Add 30 to 40g of maple syrup to the water when you autolyse the dough - you'll get a delightful maple oatmeal loaf perfect for breakfast.
How To Serve Sourdough Oatmeal Bread
Sourdough oatmeal bread can be served any time - but you can take it to the next level with these accompaniments and toppings.
- Serve for breakfast with a dish of whipped honey cinnamon butter and a platter of fresh fruit.
- Try serving this sourdough bread with this delicious fig cream cheese spread - it's an absolute cinch to make!
- This oatmeal bread also lends itself to savory options and is perfectly at home with poached eggs and bacon. Why not spread it with jalapeño honey butter first?
Sourdough Breakfast Ideas
This sourdough oatmeal bread is just perfect for breakfast. With the added goodness of oats, it will give you a super start to the day! But if you're looking for other sourdough recipes that are great for breakfast, you might like these ideas:
- Whole Wheat Sourdough Pancakes and Banana and Oats
- Simple Sourdough Cinnamon Muffins
- Fluffy Sourdough Discard Pancakes
- Sourdough Fruit Loaf with Cinnamon
Further Reading:
If you love this recipe, you might be interested in these ideas:
- Love oats? This honey oat sourdough bread recipe is one of the most visited on the site! And these Sourdough Anzac Biscuits are equally as delicious!
- For something a little different, why not try this coffee sourdough with maple infused dates.
- This whipped honey cinnamon butter is perfect for serving alongside this easy oatmeal sourdough bread.
Sourdough Oatmeal Bread
Equipment
- Mixing Bowl
- Banneton
- Dutch Oven
Ingredients
- 50 g Sourdough Starter Fed and Bubbly (can increase to 100g)
- 500 g Bread Flour
- 50 g Rolled Oats chopped
- 50 g Rolled Oats whole
- 400 g Water
- 10 g Salt
Optional
- 20 g Rolled Oats extra for topping if desired
Instructions
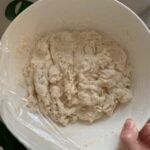
- Autolyse:Weigh out your starter and water in a glass or ceramic bowl. Mix them together so that the starter is dissolved.Then add your flour, salt and chopped rolled oats and mix altogether with the end of a wooden spoon. The dough will be fairly shaggy and only just brought together (see photo).Cover the dough with cling film or a tea towel and let it sit for around an hour.
- Forming Up Your Dough:Work your way around the bowl, grabbing the dough from the outside, stretching it up and over itself until a smooth ball is formed. You shouldn't need more than about 20-25 folds to form the ball.Once the dough has formed into a smooth ball, pop the cling film back on and let it rest for 30 minutes.
- Stretch & Fold:You need to add the whole rolled oats to your dough during the stretch and fold phase. It's very easy to do! Try to add the oats around the second or third set of stretch and folds. So do your first set of stretch and folds with the dough as is and then add the oats on the second (or third) set depending on how your dough is behaving. Try to do around 4 sets of stretch and folds with around 15 to 30 minutes between each set.Optional - you can add the wholed rolled oats via lamination if you desire (see notes for extra info)

- Bulk Ferment:Once you've finished your stretch and folds, place the cling film or damp tea towel back over your dough and let it rest and ferment. The time this takes will depend on the temperature in your home. (see notes)
- Shaping Your Dough:Once your dough has finished its first ferment, it's time to give it some shape and surface tension. I think this recipe lends itself to a batard however it's completely up to you what shape you would like.Before you place your dough into your banneton, add a generous sprinkling of rolled oats. Place your shaped dough on top of the oats, seam side up. The oats will stick to the top of your dough as it cold ferments.
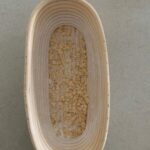
- Cold Ferment:Now your dough is in it's "shaping container" cover it loosely with a plastic bag or damp tea towel and place into the fridge. I use a large plastic bag to cover it - I just reuse it each time.Try to leave it in the fridge for a minimum 5 hours up to a maximum of around 36 hours. The longer you leave it the better your bread will be! A longer cold ferment creates beautiful blisters on your crust and a deeper sourdough flavour.
- Preparing To Bake Your Sourdough:Once you're ready to bake your sourdough, you'll need to preheat your oven to 230C/450F. Place your Dutch Oven into the oven when you turn it on so it gets hot. Try to preheat for around 1 hour to ensure your oven is super hot - but you know your oven so just adjust this time if you need to.Leave your dough in the fridge until the very last minute - placing a cold dough into a hot oven will give you a great "spring".
- Baking Your Sourdough:When your oven is at temperature. Take your sourdough out of the fridge. Gently place it onto a piece of baking paper.Gently score your bread with a lame, clean razor blade or knife. The oats will mean you can't get too artistic - a single slash or cross is perfect for this loaf.Carefully take your dutch oven out of the oven. Place the sourdough into the pot using the baking paper as a handle. Put the lid on and place into the hot oven. If you want to you can spritz your dough with extra water before you put the lid on.BAKE TIME:30 Minutes with the lid on at 230C/450F plus10-15 Minutes with the lid off at 210C/410FIf you're worried about the base of your bread burning, place a baking sheet on shelf underneath your Dutch Oven - it works!
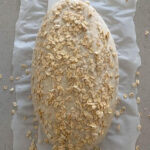
- Finishing Your Bake:When you remove your dough from the oven, carefully remove it from the dutch oven as soon as possible and place on a wire rack to cool.
Notes
- Notes on Sourdough Starter -
This recipe is based on you having an active starter that you have fed a few hours before starting your bake. For information on whether your starter is ready, go here.
- Notes on Adding Oats (Lamination)
I find I get a better result adding the oats via lamination, however it's totally ok to add them via stretch and fold. See the notes in the main blog for information on lamination in sourdough.
- Notes on Bulk Fermentation -
If your home is warm then your dough will ferment a lot faster and could be done in as little as a few hours. If it's colder, it will take longer, possibly overnight. I would recommend that you try to do your first few bulk ferments during daylight hours so that you can watch your dough closely.
Once you're more familiar with the process - and the temperature of your home - you will be able to do overnight ferments.
You will know your dough is ready to move to the next stage when it has *just* doubled in size. It will be fairly wobbly and full of bubbles. You should be able to see large air bubbles under the surface of the dough.
You don't want to let it go any further than doubled as it will be over fermented. If you want to do an overnight ferment, but your home is warm, consider using a little less starter (ie 25g).
Less starter means your dough will take longer to ferment and you will reduce the risk of over fermenting your dough. You'll find more information on these topics here: When is my bulk ferment finished? What is the difference between cold ferment and bulk ferment? Why does the amount of starter matter?
- Notes on Baking -
If you're worried about the base of your bread burning, place a baking sheet on shelf underneath your Dutch Oven - it works! If you're worried about your bread not being cooked all the way through, turn the oven off and place your dough straight onto the oven rack. Leave the door ajar and let your bread rest there for a few hours. Remember not to cut into your loaf too soon - you'll need to let it cool for at least a few hours (4-6 is best).


