
Great sourdough isn’t about buying more equipment or following complicated rules. It’s often the small changes that make the biggest difference. If you’re ready to build confidence and bake more consistently, these 10 tips will help you improve your technique, better understand your dough, and create delicious homemade bread that fits your life.
This post contains affiliate links. Please see our disclosure policy.
Table of Contents
- Wherever You Are On Your Journey
- Take Charge of Your Starter!
- Use A Scale
- Adjust The Amount of Starter You Use
- Change The Bowl You Mix Your Dough In
- Stop Obsessing Over High Hydration
- Let The Dough Double!
- Don’t Flour Your Countertop
- Rethink The Flour You Put In Your Banneton
- Try This When You Score Sourdough
- Use A Loaf Pan
- Cool Your Bread With The Door Ajar
Baking sourdough can be difficult because unlike using commercial yeast to rise the bread, you’re relying on naturally occurring wild yeasts and bacteria to do the job. These naturally occurring yeasts and bacteria don’t work as quickly as commercial yeasts – and each starter seems to have it’s own unique traits and behaviours. Learning those traits and behaviors will help to improve your sourdough bread making immensely.
Wherever You Are On Your Journey

Every single bake is an opportunity to learn something new and improve your sourdough baking skills. There’s a lesson in every loaf!
Take Charge of Your Starter!
Don’t let your starter run your life! You’re the boss! Despite what many people think, sourdough starters are actually quite resilient. You can easily manipulate your sourdough starter to be ready when you need it, rather than have it peaking when you’re ready for bed.
TAKE ACTION
To take charge of your sourdough starter today, learn how to manipulate your sourdough starter ratios so that you can make it peak when you’re ready to bake, and not the other way around.
Use A Scale
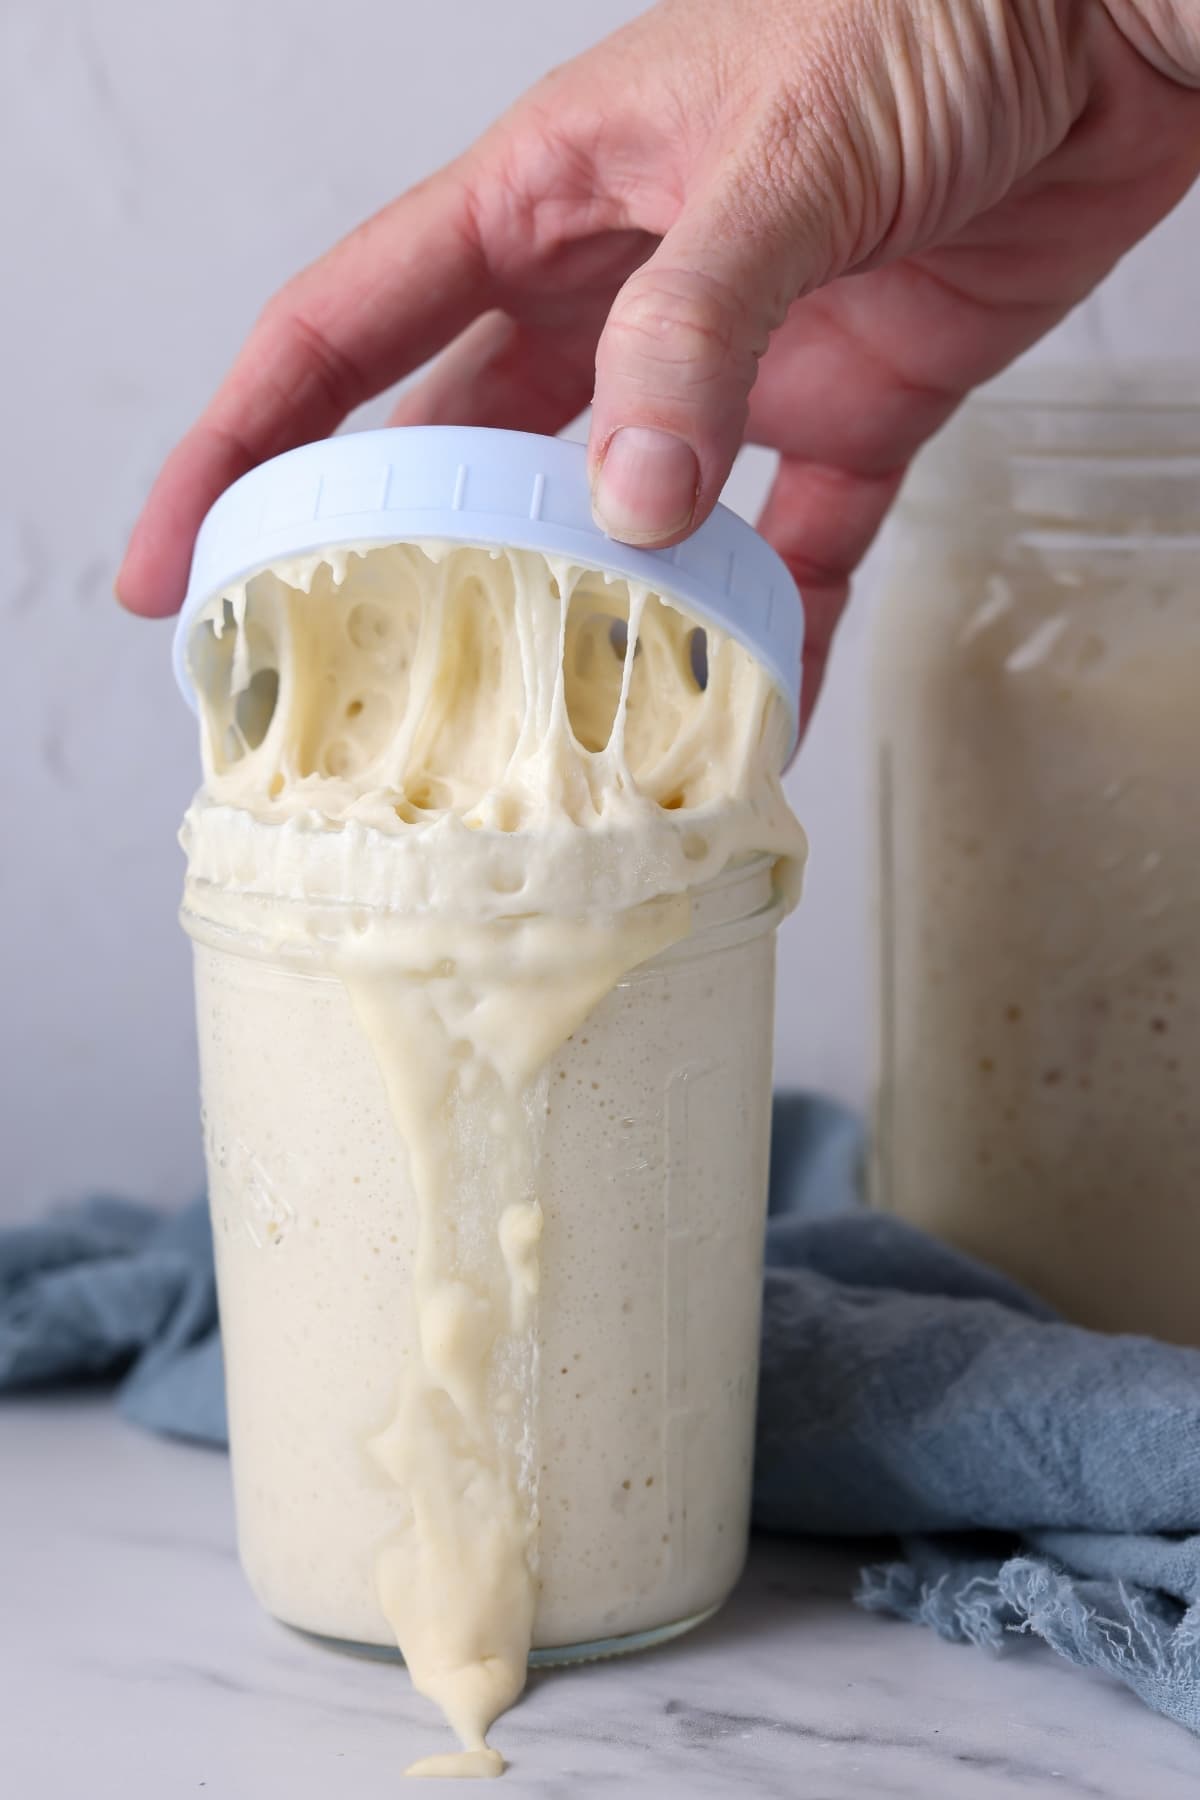
This is absolutely non negotiable! If you want better sourdough starting today, use a digital scale to measure your ingredients. Whether you’re making a sourdough starter or making sourdough bread, a scale will help you measure your ingredients accurately and consistently, giving you the highest chance of sourdough success.
TAKE ACTION
Ditch the cups and spoons and invest in a quality digital kitchen scale to measure your ingredients in grams. This will help you utilize baker’s percentages and sourdough starter ratios.
Adjust The Amount of Starter You Use
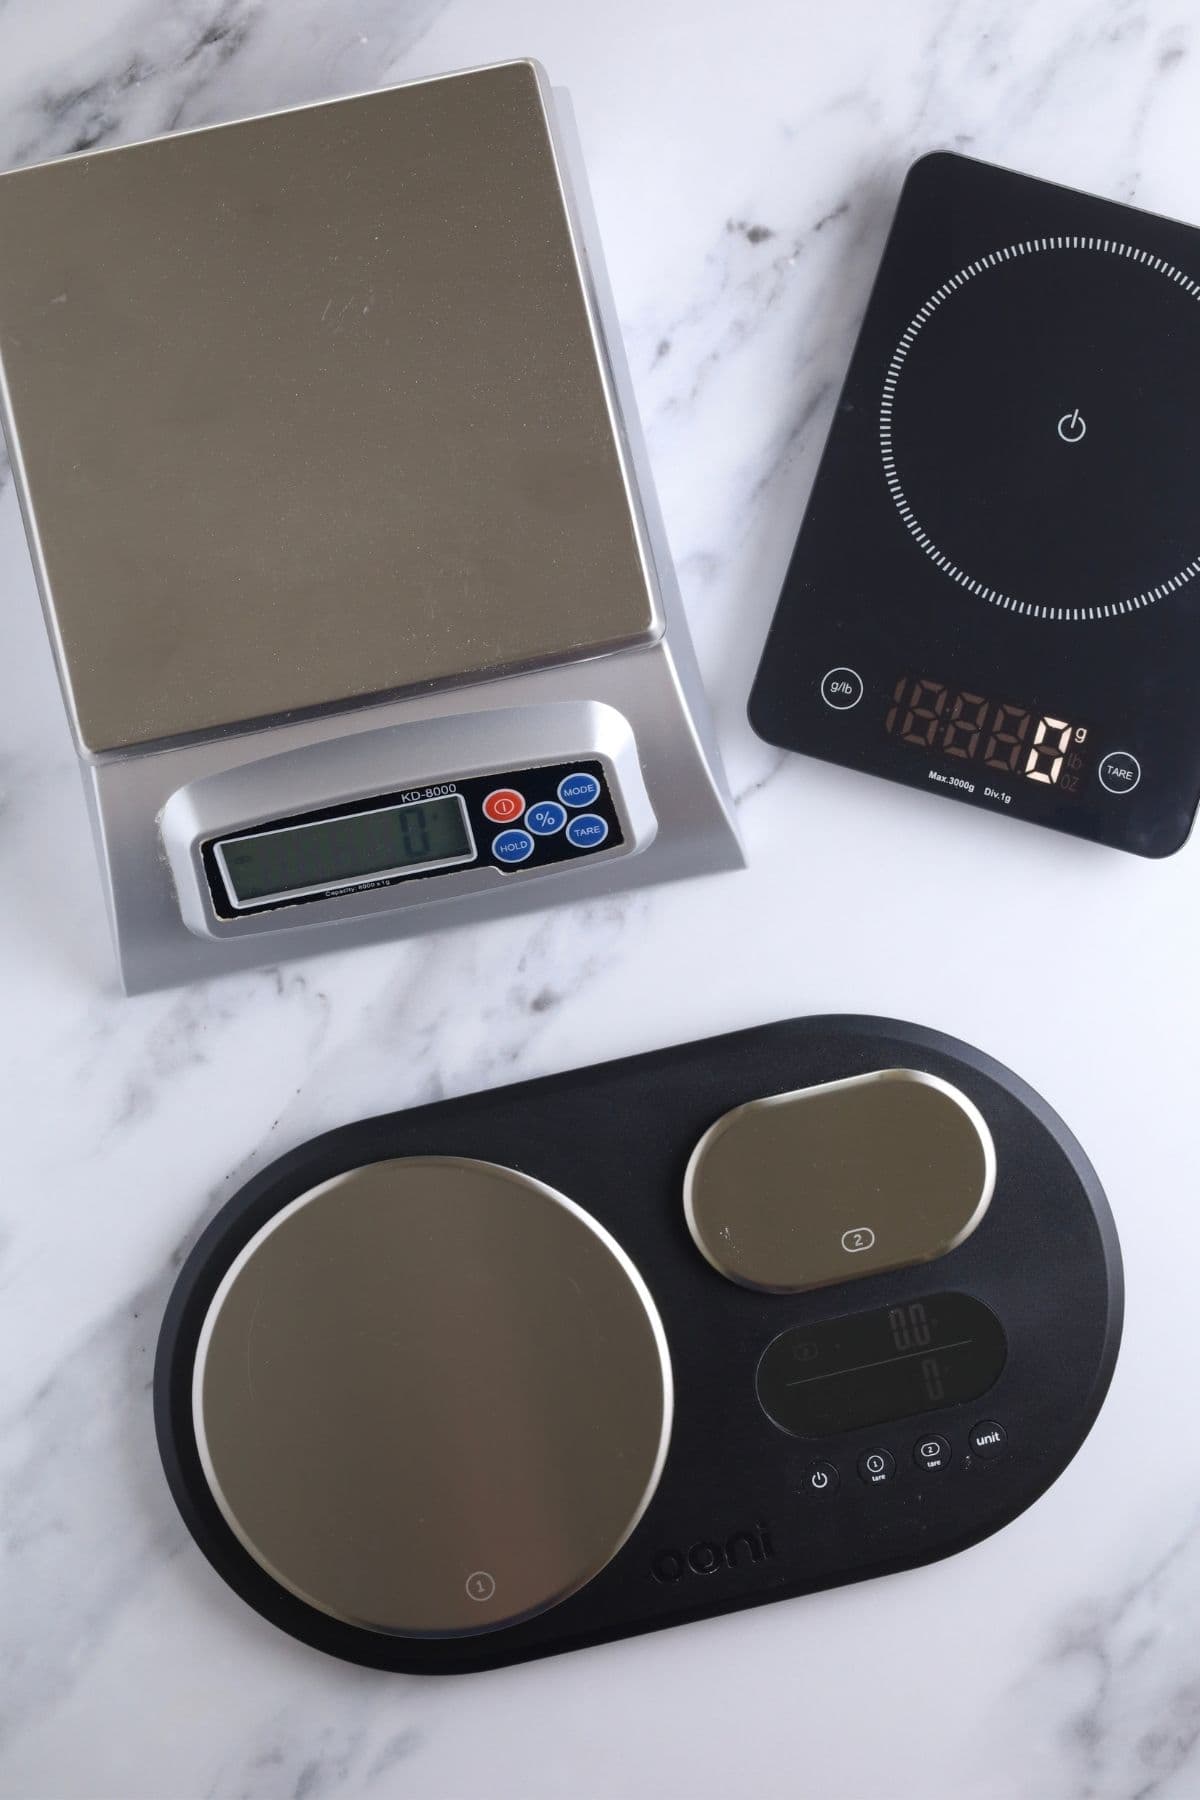
Have you noticed that some recipes have a large amount of starter, whereas others use a smaller amount? Well, that amount matters. It’s not a random number that has been plucked from thin air.
If you use a smaller amount (say 50 grams of starter to 500 grams of flour) it means your starter is 10% of the overall mix in Baker’s Percentages. If you added 200 grams of starter instead, it would be 40%. The reason it matters is that a dough with only 10% of starter will ferment more slowly than a dough with 40% of starter.
TAKE ACTION
Your sourdough starter is like the engine that gets fermentation going. So if you’re wanting a fast bulk fermentation, use more starter. If you want a longer, slower fermentation, use less starter. But remember, temperature is part of the equation too, so if it’s warm, drop the starter back a bit and if it’s cold, increase it to keep the engine revving!
Change The Bowl You Mix Your Dough In
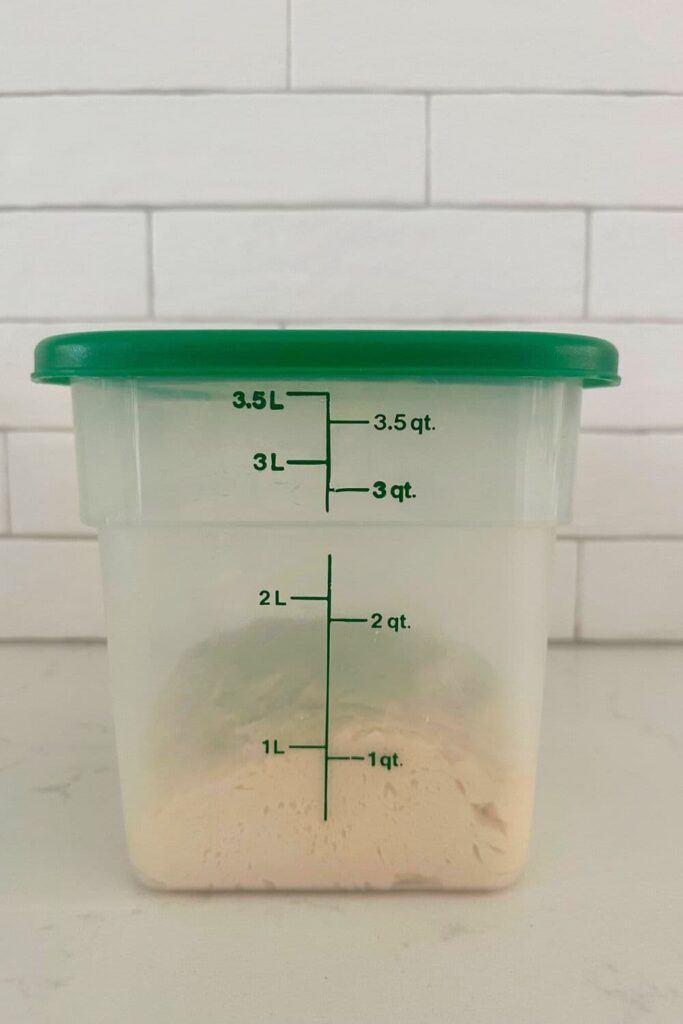
When you’re doing your initial mix and into your bulk ferment, you don’t want to place your dough into a huge bowl. Why? Because you only want the dough to double, nothing more. Even just under double if you don’t want to risk over fermentation. If you have a huge bowl, it’s much harder to tell whether your dough has doubled and your risk overproofing and losing your oven spring.
TAKE ACTION
Put your dough in a smaller bowl for bulk ferment, and you’re more likely to notice the rise. A glass mixing bowl is amazing for mixing your sourdough because it allows you to see what’s happening underneath. A cambro container is also a really handy piece of kit.
The same goes for your sourdough starter jar – putting it in a smaller jar will help you to notice the rise and fall more easily than if you use a large jar.
Stop Obsessing Over High Hydration
Stop overthinking sourdough hydration. The simple fact is, you’re the only one who knows the hydration of your dough. And quite frankly, no one cares. Using a lower hydration, means your dough will be easier to stretch and fold, and most importantly to shape. This means you’ll enjoy the process more, and most importantly, end up with a beautiful loaf after baking.
TAKE ACTION
Use a sourdough bread recipe with a lower hydration, like my sourdough recipe for beginners. It has a hydration level of around 73%, giving you a dough that’s easy to work with and shape, but still gives you a great crust and crumb.
Let The Dough Double!
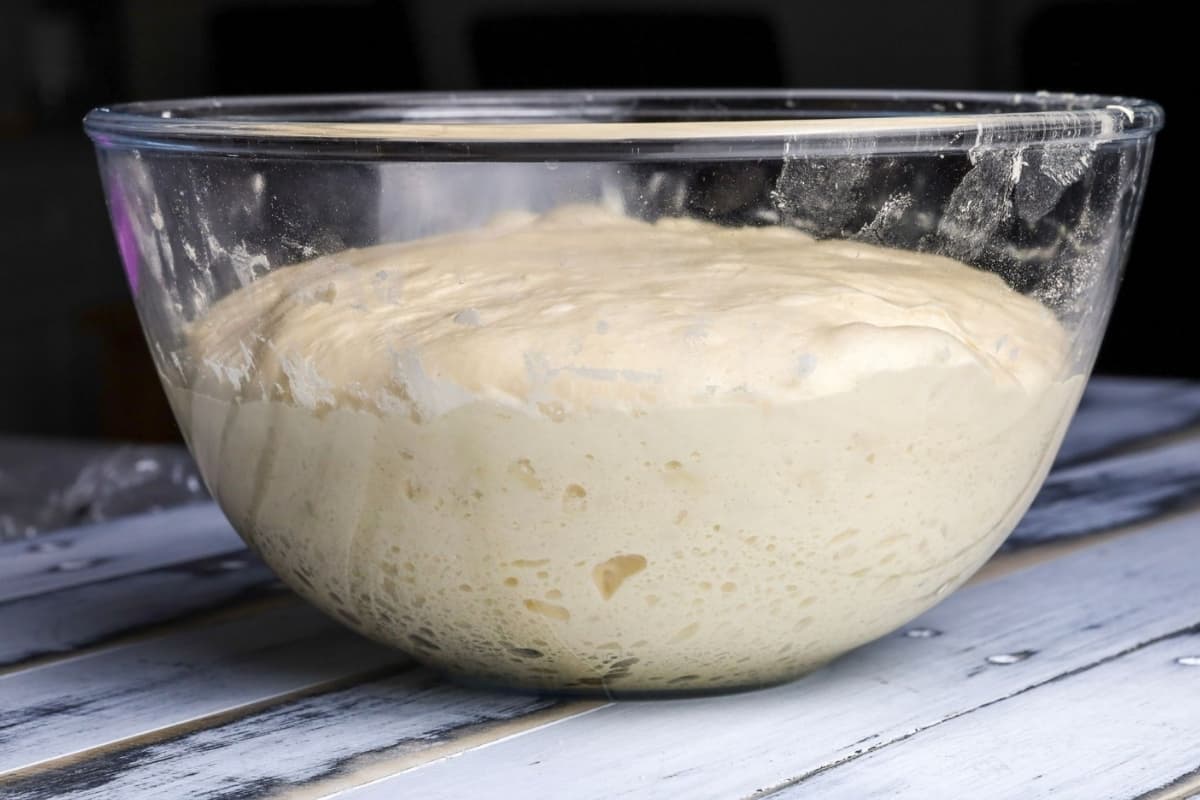
There’s so much emphasis on not over-fermenting your dough, chances are you’re actually under-fermenting your sourdough. By not allowing your dough to double during bulk fermentation, you’re not giving the wild yeast in your starter the chance to proliferate and rise your loaf.
take action
The simplest way to level up your sourdough baking is to let your dough double during bulk fermentation. Use a glass bowl or cambro container to ensure you can see exactly what’s happening and you’re not guessing. You can use these tips for understanding when bulk fermentation has finished to help guide you.

Don’t Flour Your Countertop
One of the worst things you can do when shaping sourdough is flour your countertop. Sourdough is a bit sticky, but you need to learn to use this stickiness to your advantage! If you put flour on your countertop, you won’t be able to create the tension your dough needs to spring up in the oven.
TAKE ACTION
Skip the flour when you first tip your dough onto the counter. Turn it out so the smooth top of the dough lands on the work surface and the sticky underside is facing up. This lets you tuck the sticky dough into the centre while keeping the smooth outer surface tacky enough to build good tension during shaping.
Rethink The Flour You Put In Your Banneton
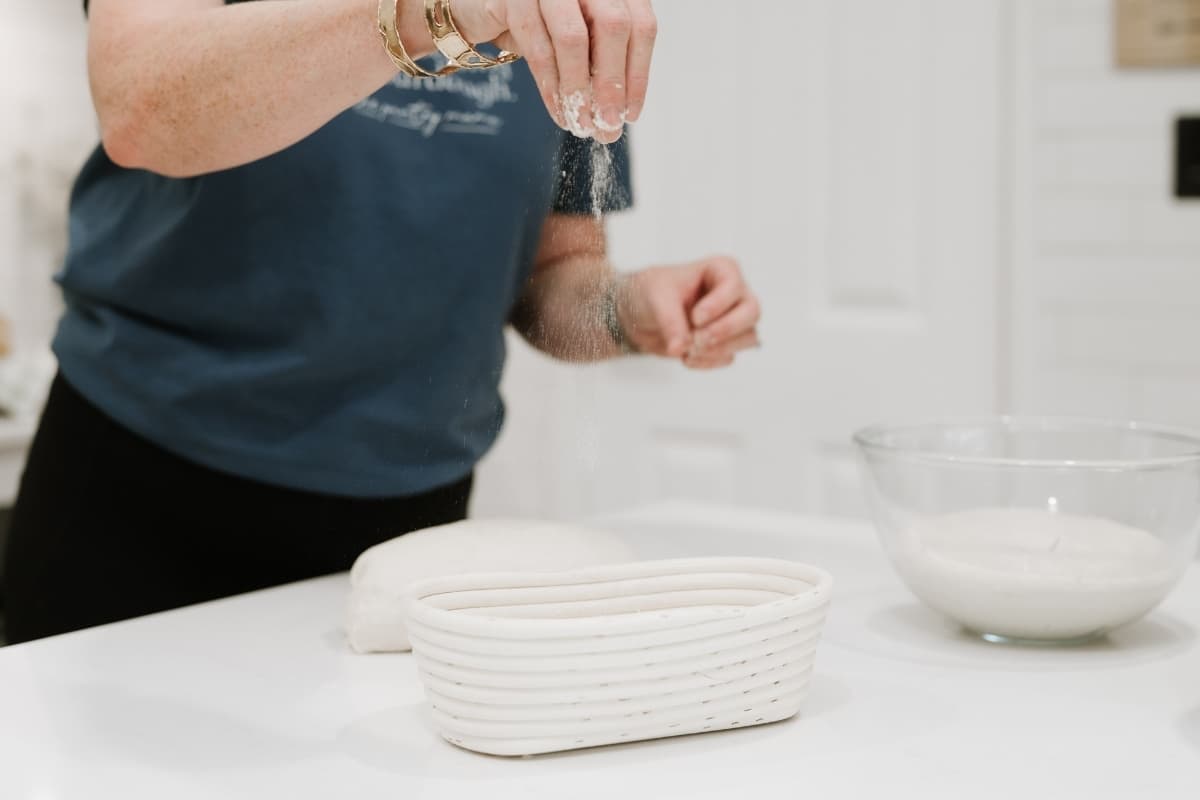
Skip the bread flour when it comes to your bannetons. Rice flour is your best friend when it comes to sourdough bread making. Why? Because rice flour does not contain any gluten, so it will not stick to your dough. It’s the perfect flour to use to line your banneton. If you’re using a flour sack towel in a bowl, rice flour is fine enough to rub right into the fabric.
Semolina is also a useful flour when baking sourdough and will prevent your dough from sticking. I actually prefer semolina over rice flour for two reasons. One, rice flour makes my hands feel strange and two, because I make so many sourdough pizza bases, I always have semolina on the counter.
TAKE ACTION
Next time you need to cold ferment your sourdough in a banneton or proofing basket, line it with rice flour or semolina and watch your dough slide out easily when it’s time to bake!
Try This When You Score Sourdough
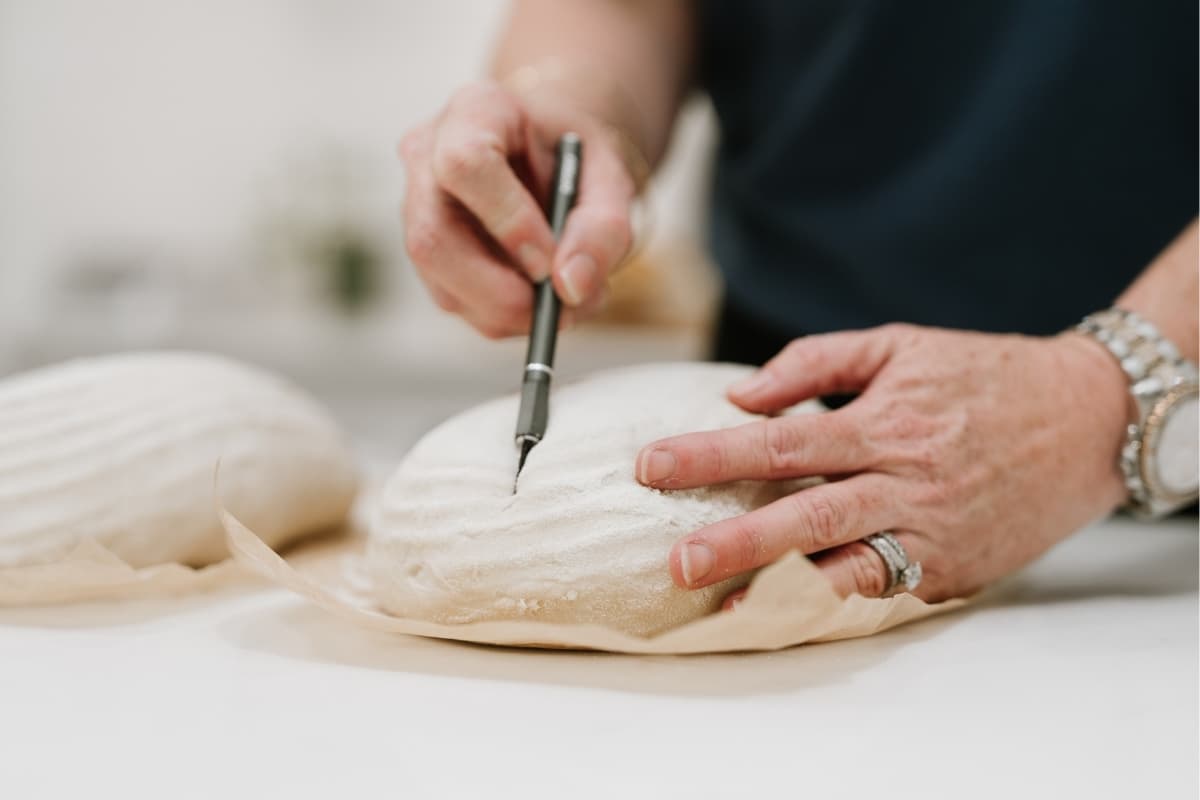
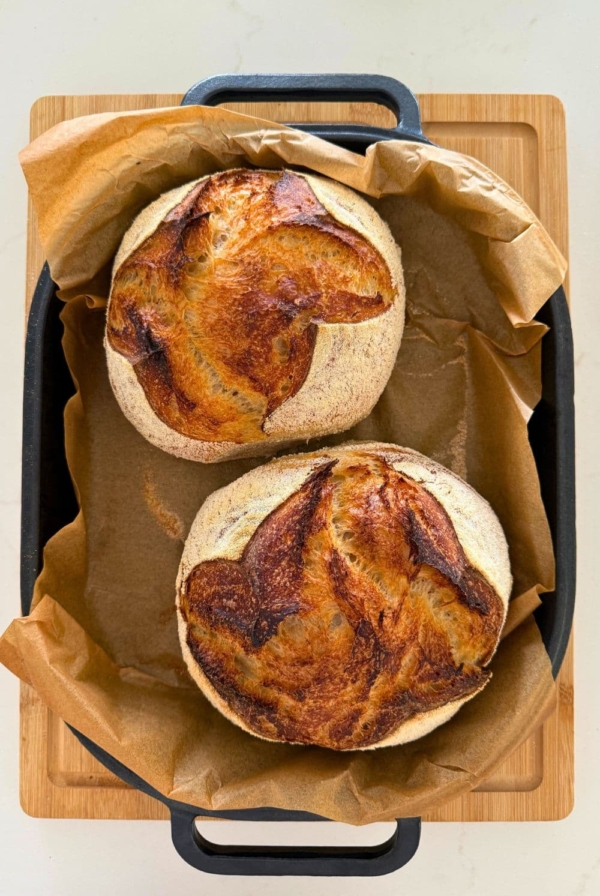
Scoring your dough is essential. It helps you to control how your dough behaves when it hits the oven and done correctly, can improve your oven spring. Decorative scoring is certainly trending right now, but for the best chance at great oven spring, it’s best to score your dough once, twice at most, with a fast, definitive score right down the middle. I call this the utility score – it’s not decorative, but it’s functional!
Correct scoring is also crucial to achieve the perfect sourdough ear. The photo below shows a double ear, created by an intentional score down the centre of the loaf.
Kate’s Pro Tip
The next time you bake a loaf, try scoring the dough right down the middle, just one simple score with a sharp blade.
Use A Loaf Pan
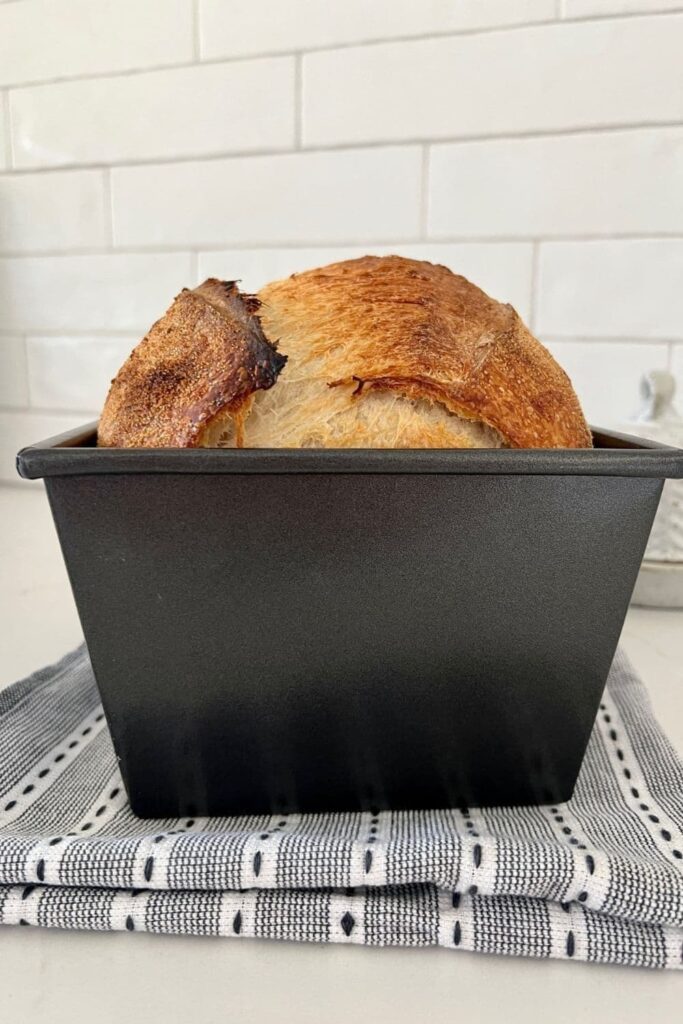
If you’re finding shaping your dough difficult, or you just want a simpler method, consider baking sourdough in a loaf pan. This also makes your sourdough much easier to slice and fit in the toaster too! Using a loaf pan is a handy solution if your sourdough is quite wet because it gives the dough support during the baking process, not just during shaping.
TAKE ACTION
Next time you have a loaf that needs extra support, lift it into a loaf pan. I recommend a 1.5 pound USA Pan. For even better oven spring, place another loaf pan on the top to act as a lid, trapping the steam like a Dutch oven would.
Cool Your Bread With The Door Ajar
It can be hard to know when your sourdough is cooked through. You can see the outside, but until you cut your sourdough, you have no idea whether it’s cooked through … and once you’ve cut it, it’s too late!
TAKE ACTION
Once your sourdough has come to the end of it’s cooking time, take it out of the Dutch Oven and turn the oven off. Pop it back into the oven on the rack and leave your oven door ajar. Try to leave it there for about an hour. Then place it on a wire rack outside the oven to cool completely before you cut it.
I hope these tips help you to improve your sourdough bread making and help you bake the sourdough of your dreams! Remember, stick to using one method of baking sourdough and don’t change more than variable at a time so you can keep track of what is actually working!









How can I get a more sour taste in my sourdough bread?
You’ll find all my best tips for creating a more sour flavor in sourdough bread here.
What are your thoughts on adding vital wheat gluten to sour dough bread. Also what are your thoughts on diastatic malt powder???
There is definitely times when vital wheat gluten is necessary – you can read my thoughts on this here.
By taking the temperature of your bread you can indeed tell when it is done. Many recipes state what the temperature should be. The range tends to be 190-205 F … depending on the bread. Whole wheat needs to be at the higher end of that range. I don’t bake all white bread very often, so I can’t comment on whether it tends to the lower end of the range. A good instant read thermometer is a wonderful tool in a kitchen, .. especially when baking.
Just yesterday I ordered an instant read digital thermometer.
My loaf bread always seemed a little gummy at the bottom. This wasn’t a big problem because I always toast my slices but with the thermometer my loaves will always come out perfect.
An instant read thermometer isn’t going to fix a gummy loaf. No matter how long you cook a loaf, if it’s gummy, this is caused by under-fermentation. You need to look at your bulk fermentation – getting this right will prevent the gumminess. I’ve written an article on why thermometers aren’t necessary 🙂
I find your website is the most useful, helpful with So many tips, especially when being a novice baker, thank you So much!
Any thoughts on adding maple sap to my sourdough starter with feeding? Would I notice a unique flavor difference?
how do you get the parchment paper not to stick to the bread?
Using better quality parchment paper really helps. Cheaper parchment paper generally always sticks x
Once again, you have saved my sourdough ass! I am NOT (most emphatically not!) a baker. So when my sourdough suddenly went off the rails after two successful years, I was lost. However, I just pulled two perfectly loaves out of the oven! All the little steps, when broken down and followed through on, really took the mystery out of the whole business. So grateful.❤️