If you want to make great sourdough bread with all purpose flour, rather than bread flour, then this recipe and all purpose flour sourdough baking guide is for you!
While I will always advocate for bread flour, sometimes it can be difficult to get hold of, I wanted to tweak my simple sourdough bread recipe to help people bake successful sourdough using all purpose flour. Wild yeast can be tricky to work with - and even more so with a lower protein flour, so I've aimed to include all the tips, tricks and handy how to's to ensure you get a loaf of incredible sourdough bread.
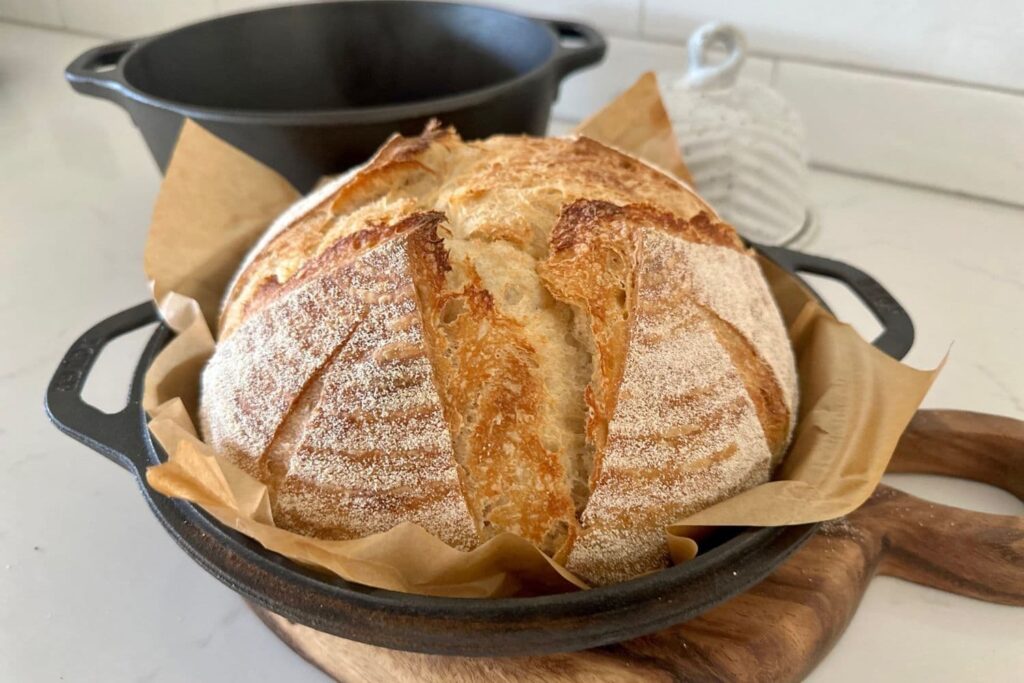
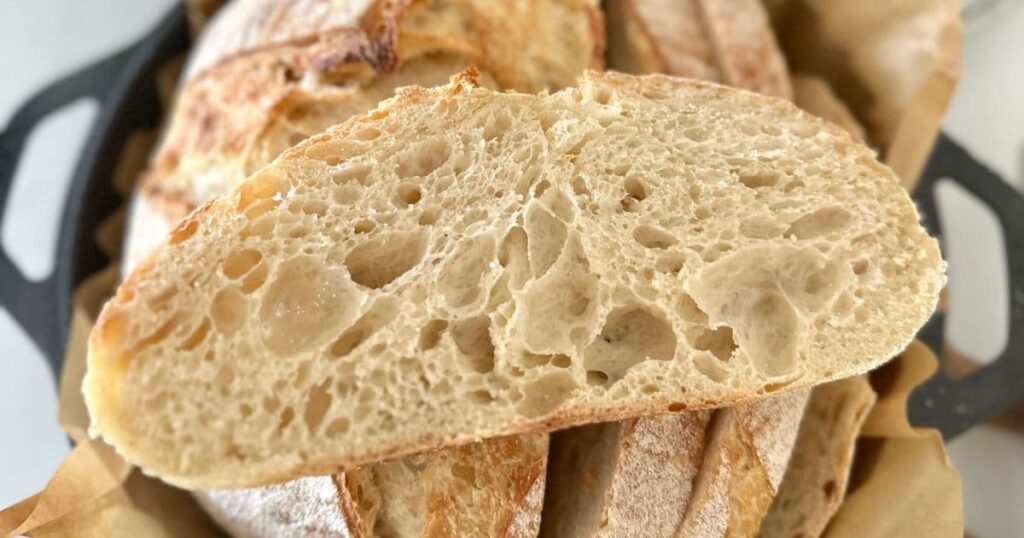
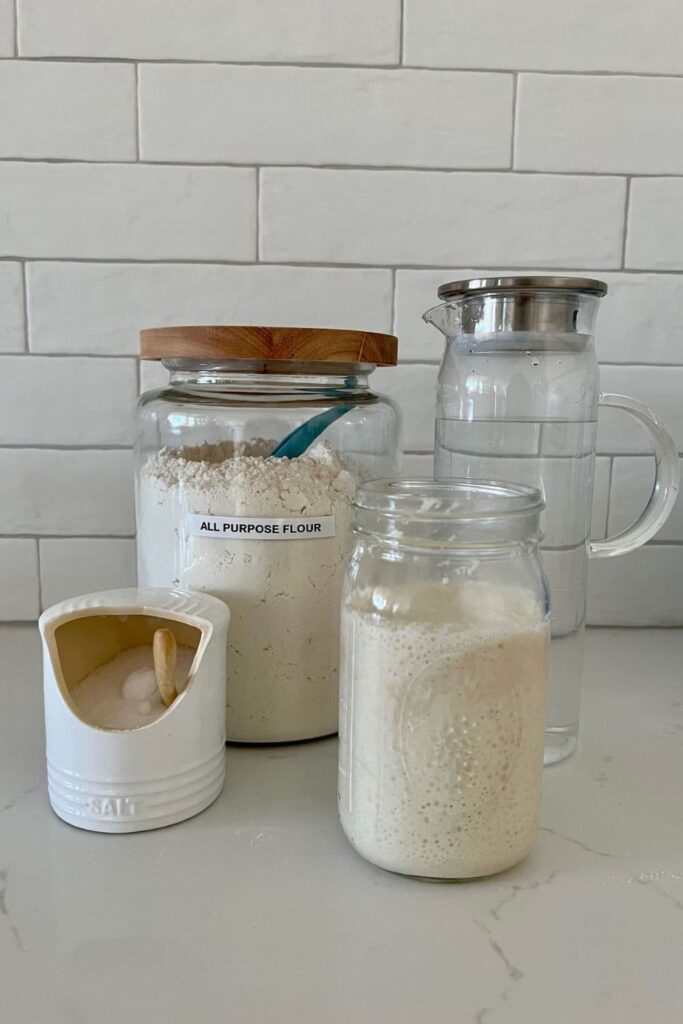
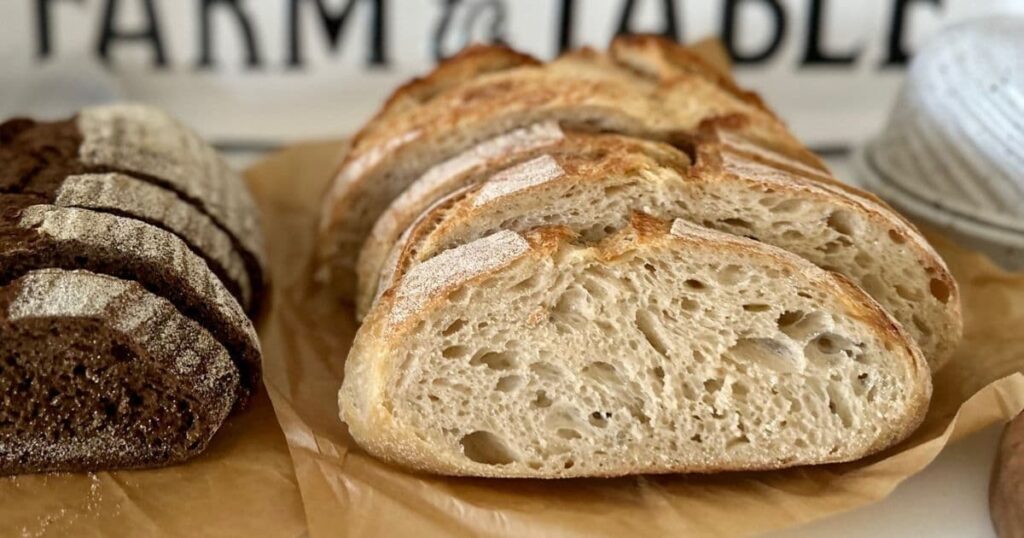
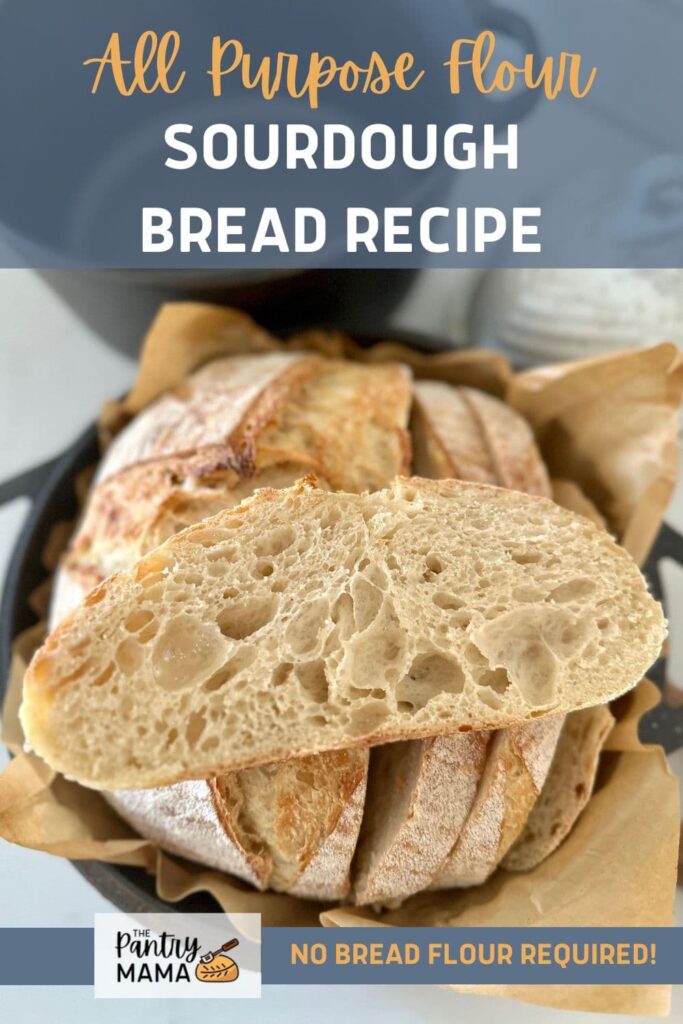
This easy recipe has been developed without using vital wheat gluten, so you can make sourdough bread using just all purpose flour, water and salt ... and of course your active sourdough starter (if you don't have one, you'll find instructions to make your own homemade sourdough starter here). This all purpose flour sourdough bread has great oven spring, a thin, crunchy crust and a light, airy soft crumb. It's the perfect loaf of sourdough ... just with all purpose flour!
If you're looking for other sourdough recipes using just all purpose flour, then you might like to try making sourdough muffins, sourdough zucchini fritters or this sourdough banana bread.
Resources For Making Sourdough Bread with All Purpose Flour
While I've included as much detail as I can in this post, you might also find these sourdough resources useful when using all purpose flour:
- Can I feed my sourdough starter different types of flour?
- How to strengthen a sourdough starter
- Bread Flour vs All Purpose Flour - What's Best for Sourdough Bread?
- Vital Wheat Gluten - What is it and how do I use it in Sourdough Bread?
- How to Develop Gluten in Sourdough Bread
All Purpose Flour vs Bread Flour - What's The Difference?
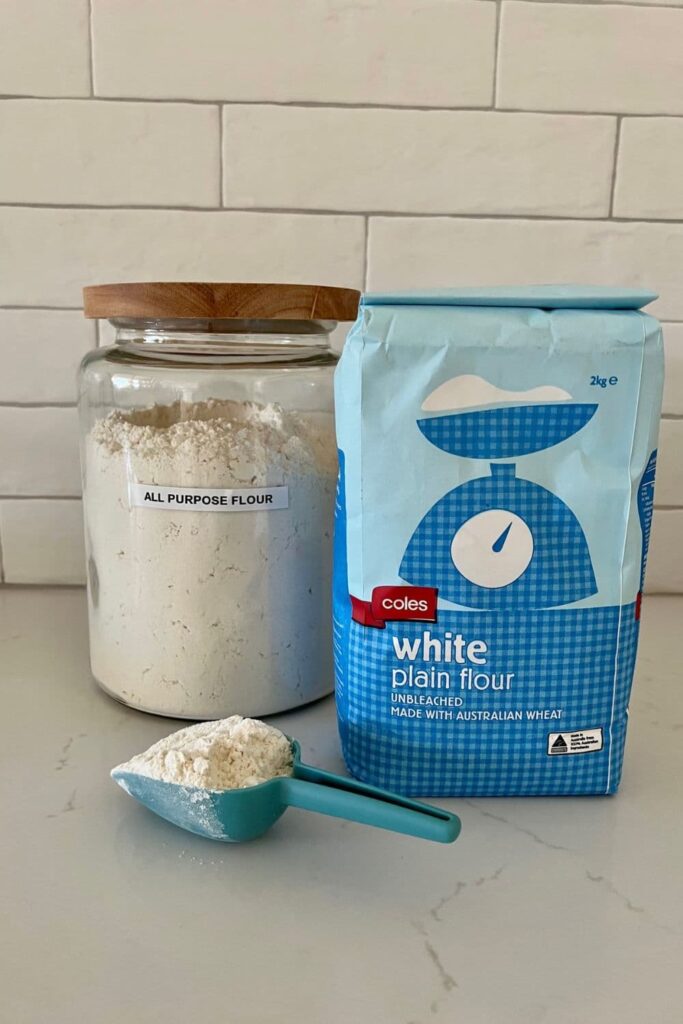
The main difference between all purpose flour and bread flour are their protein contents. Bread flour has a higher protein content, allowing gluten to form more easily. All purpose flour (also known as plain flour in the UK and Australia) has a lower protein content and is used in more "all purpose" baking. After doing a lot of research into flours across the globe, your location will dictate the protein content in the flour you're buying.
All purpose flour and bread flour are both considered white flour (as opposed to whole wheat flour). Ideally you should use unbleached flour for best results, no matter what your choice of flours for sourdough bread recipes.
In Australia, all purpose flour tends to be much lower in protein than in the US for example. These differences can produce a huge difference in the outcome of your sourdough bakes. For example, King Arthur Flour (All Purpose) in the US has a protein content of 11.7% vs White Wings All Purpose Flour in Australia which is only 9.7% protein.
It's really important to learn how to read the nutritional panel of the flours you buy and how to calculate the protein content in grams. I've written a full guide to bread flour vs all purpose flour here, including instructions on how to calculate protein in any flour you purchase.
Equipment for Making Sourdough Bread with All Purpose Flour
When baking sourdough bread with any flour, you can go as fancy or as basic as you like. If you really don't want to buy any new equipment, you might find this post on sourdough on a budget handy.
For the best results, I recommend using the following equipment for baking amazing sourdough bread with all purpose flour:
- Kitchen Scale
- Small Spatula
- Elastic Food Covers
- Banneton
- Dutch Oven
I've also put together a comprehensive list of the equipment I use to bake sourdough bread here.
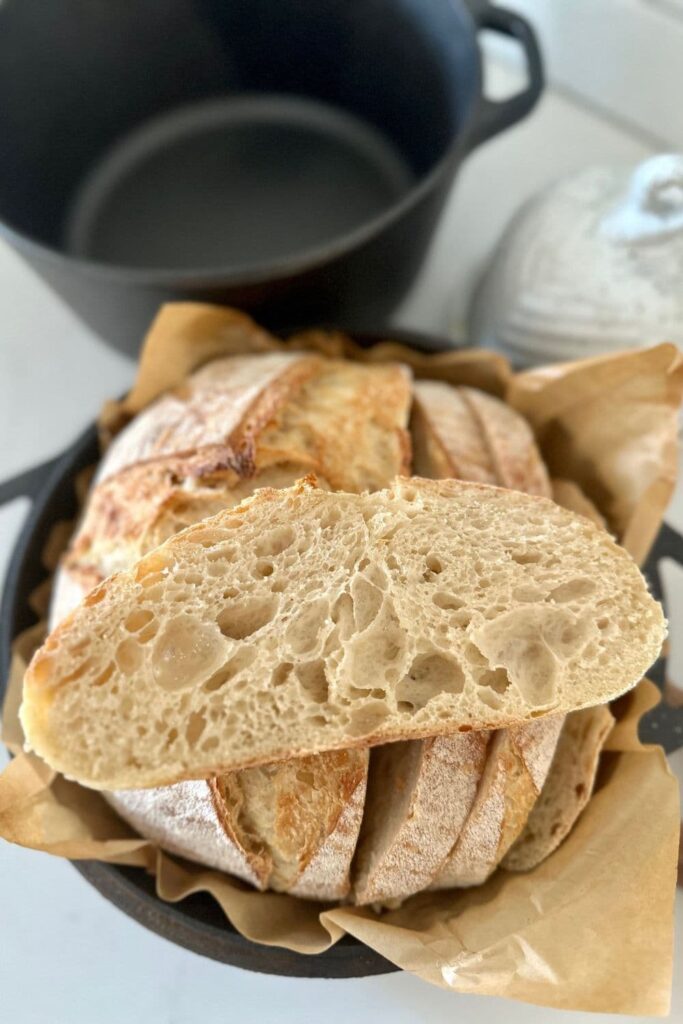
How To Use All Purpose Flour in Sourdough Bread Baking
When using all purpose flour to bake sourdough bread, there are a few things that you can do to make sure you achieve sourdough success!
- Weigh your ingredients! A good baking scale is an absolute must for great sourdough!
- Try reducing the hydration of the dough or holding back some of the water (around 50 mls) until you see how the all purpose flour handles the hydration. You can then add a little bit more if you need to. You can read about why hydration is important in sourdough here.
- Don't autolyse or fermentolyse the flour and water for very long (like you would for bread flour).
- Make a smaller loaf - sourdough can be easier to handle in a smaller batch, especially if you are just starting out.
- Add Vital Wheat Gluten to increase the protein content of the all purpose flour (see notes on this further down).
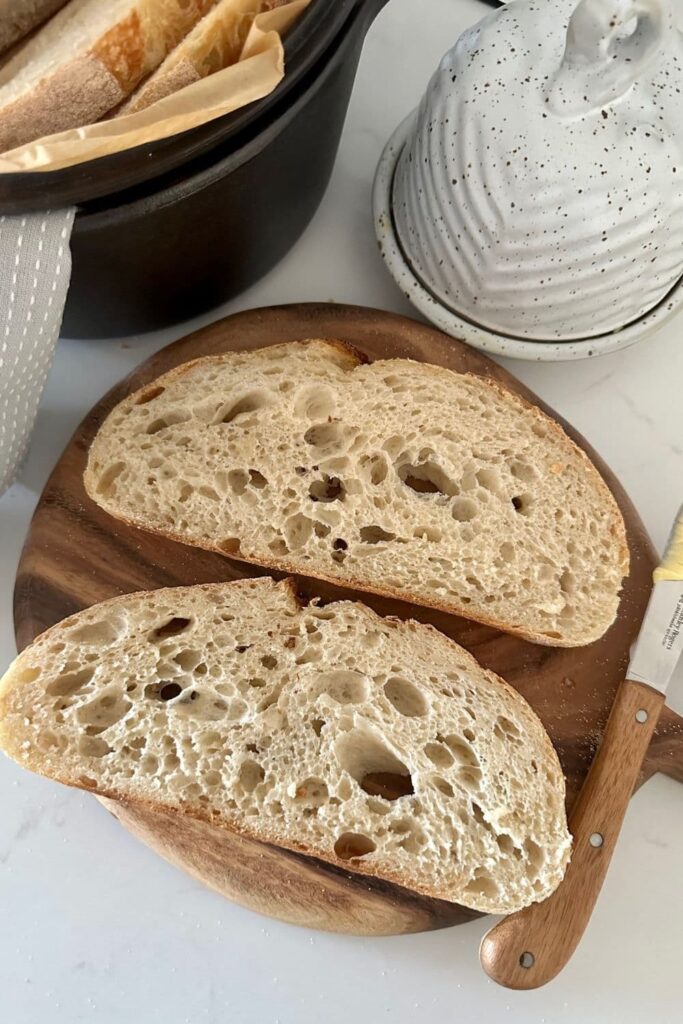
Step By Step Guide to Making Sourdough Bread with All Purpose Flour
This great recipe for making a loaf of sourdough bread with all purpose flour is based on my simple sourdough bread recipe (and full beginner's guide to sourdough). It has been adjusted to suit a lower protein flour, with the main difference being the hydration of the loaf.
You may find that you need to use different amounts of water for your particular brand of all purpose flour. The biggest tip I can give you when working with all purpose flour is to add the water cautiously - especially if it's your first loaf of all purpose flour sourdough.
This recipe has a hydration level of 63% which is quite low, but it will facilitate the fermentation process without making the dough sticky or hard to handle. You can learn more about baker's percentages in sourdough here.
Autolyse - Premixing The Dough
Weigh out your sourdough starter and water into a large bowl.
Mix the water and starter together briefly. Then add your flour and salt and mix whole lot together to form a shaggy dough.
The dough will be fairly shaggy and only just brought together.
Allow this to sit for around 10 minutes or so (remember we don't want to autolyse for too long).
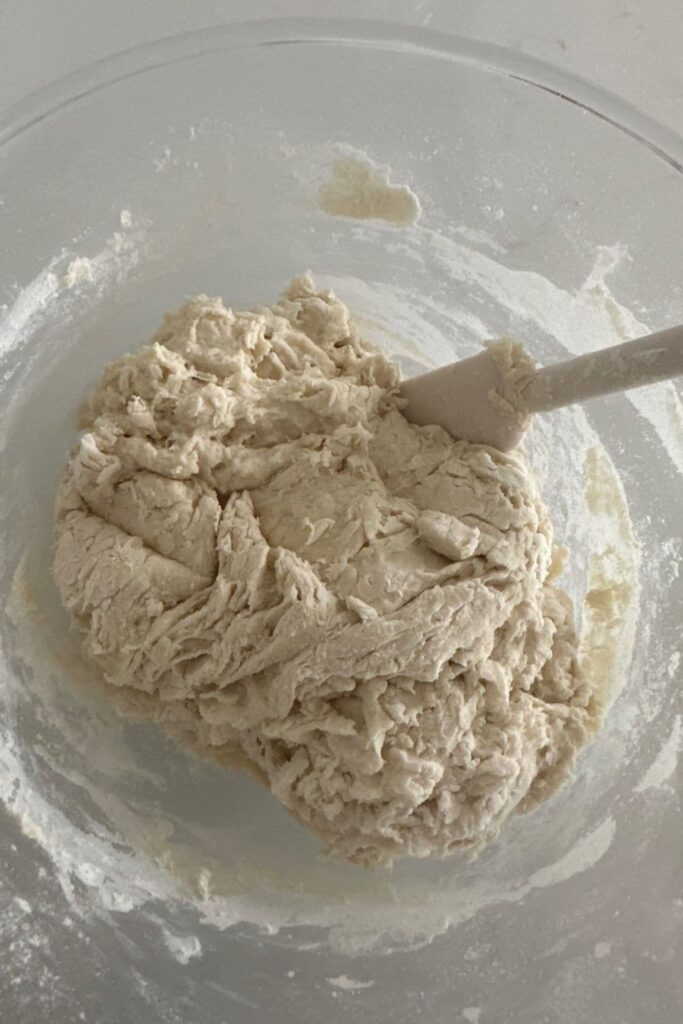
Forming Up The Dough
After the dough has been through autolyse you need to bring it together into a ball. Work your way around the bowl, grabbing the dough from the outside, stretching it up and over itself, into the centre, until a smooth ball is formed. You shouldn't need more than about 20-30 stretches to form the ball.
You'll notice that the dough is fully hydrated after soaking all the water up. It will be fairly sticky but as you bring it into a ball, it will become smoother and shinier.
Once the dough has formed into a smooth ball, pop the cling film back on and let it rest for 30 minutes.
Stretch & Fold - Creating Structure
Over the next few hours you need to create some structure for your dough by "stretching and folding".
Aim to do around 4-6 sets of stretches and folds.
For each set, stretch the dough up and over itself 4 times. Leave around 15 minutes in between each set. Again you do not have to be exact with time, but you need to do at least 4 sets over 2 hours.
You can read more about the stretching and folding process here.
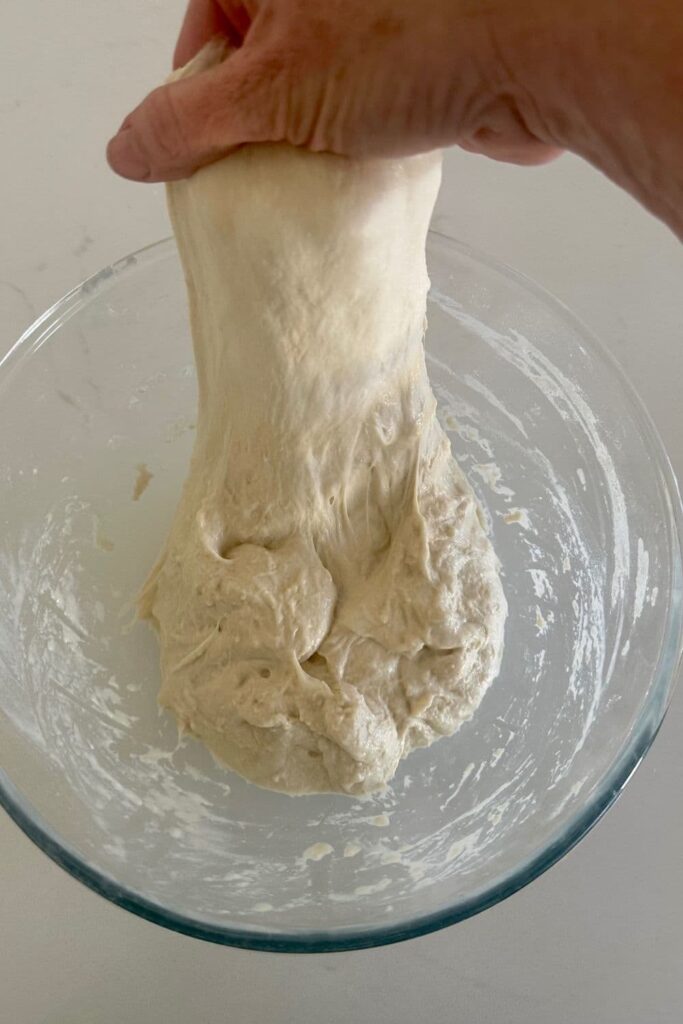
Bulk Fermentation
Once you've finished your stretch and folds, place the cling film or damp tea towel back over your dough.
Let your dough rest and ferment at room temperature (a plastic cover is a better option for this stage). This step is often called the bulk rise or bulk fermentation.
You can read about bulk fermentation here.
Shaping The Dough
Once your dough has finished it's first ferment, it's time to shape it into either a boule or a batard.
You'll need to flour your counter top with rice flour for this (we use rice flour because it has no gluten). Try to be quite sparing with the rice flour, you only need a very lightly floured surface (and as you get better, you won't need any flour at all!).
Use a silicone dough scraper to gently ease the dough out of the bowl. You want it to land upside down on your counter so that the smooth top of the dough is on the countertop and the sticky underside is facing up. This will make it easier to shape.
You can either shape your dough into a batard (oblong) or a boule (round). You'll find instructions for shaping your dough in the notes section on the recipe card or you can find a shaping video here.
You will need a banneton to put your dough into. If you do not have a banneton, then a bowl or basket lined with a floured tea towel is perfectly fine. Make sure your bowl isn't too big though, you want your dough to retain some shape.
Whatever you're using needs to be liberally floured with your rice flour. If you're using a banneton - liberally sprinkle it with rice flour. If you're using a cloth or tea towel, rub the flour into it to ensure it becomes non stick.
Placing Into A Banneton
Once the dough is shaped, place it into your banneton smooth side down, so your seam is on the top- this way the top of your dough will get the pretty lines from the banneton.
If you're using a cloth or tea towel in a bowl it's ok to put your dough with the smooth side up. Just make sure the dough is tight.
Lift your dough around the edges to pop a little more rice flour if you feel it needs it. Just try to handle the dough as little as possible and be really gentle as you really want to preserve all the gases and air bubbles that have formed during your bulk ferment.Cold Ferment
Now the dough is in its "shaping container" cover it loosely with a plastic bag or damp tea towel and place into the fridge.
I use a large plastic bag to cover it - I just reuse it each time.
Try to leave it in the fridge for a minimum 5 hours up to a maximum of around 12 hours. I find that all purpose flour can't take a really long cold ferment like bread flour can because it doesn't form as strong a gluten network as bread flour.
Preparing To Bake
Once you're ready to bake your sourdough, you'll need to preheat your oven to 230C/450F.
Place your Dutch Oven into the oven when you turn it on so it gets HOT. Try to preheat for around 1 hour to ensure your oven is super hot - but you know your oven so just adjust this time if you need to.
Leave your dough in the fridge until the very last minute - placing a cold dough into a hot oven will give you a great "spring".
Bake Time!
Now it's time to bake your homemade sourdough bread!!
When your oven is at temperature, take your sourdough out of the fridge. Gently flip it out onto a piece of parchment paper so that the seam is now underneath.
Make sure that you make the paper big enough to use the edges as a handle to lower to dough into your Dutch Oven.
Gently score your bread with a lame, clean razor blade or knife. At minimum a large cross is sufficient, but you can get as artistic as you like. You can find my full guide on how to score sourdough bread here.
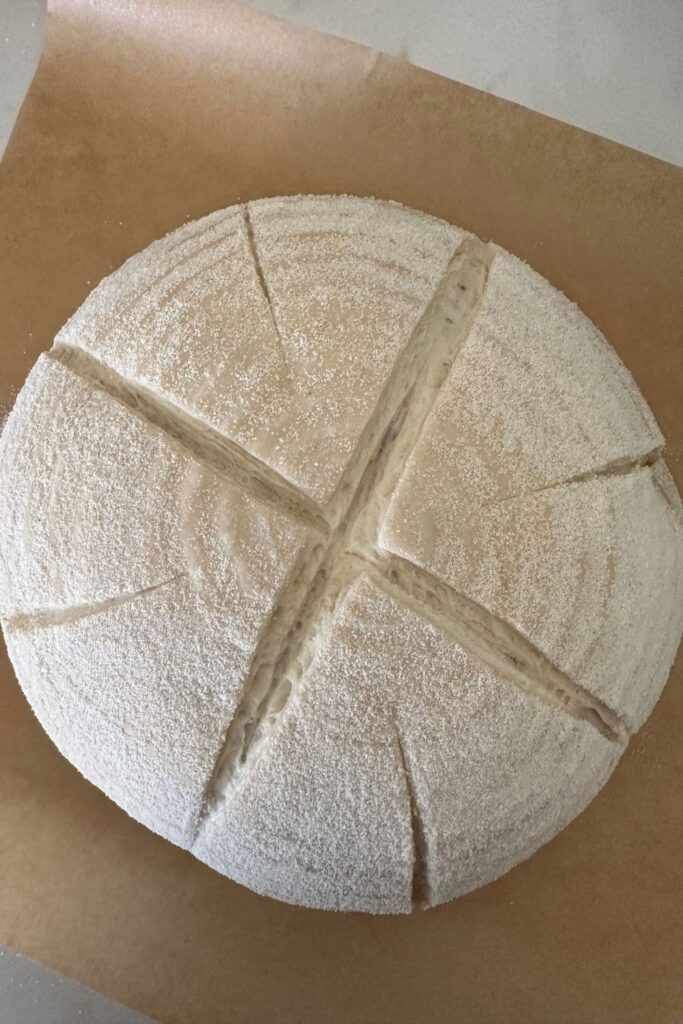
Carefully take your dutch oven out of the oven. Place the sourdough into the pot using the baking paper as a handle. Put the lid on and place into the hot oven.
If you want to you can spritz your dough with extra water before you put the lid on.
BAKE TIME:
30 Minutes with the lid on at 230C/450F plus
10-15 Minutes with the lid off at 210C/410F
Finishing The Bake
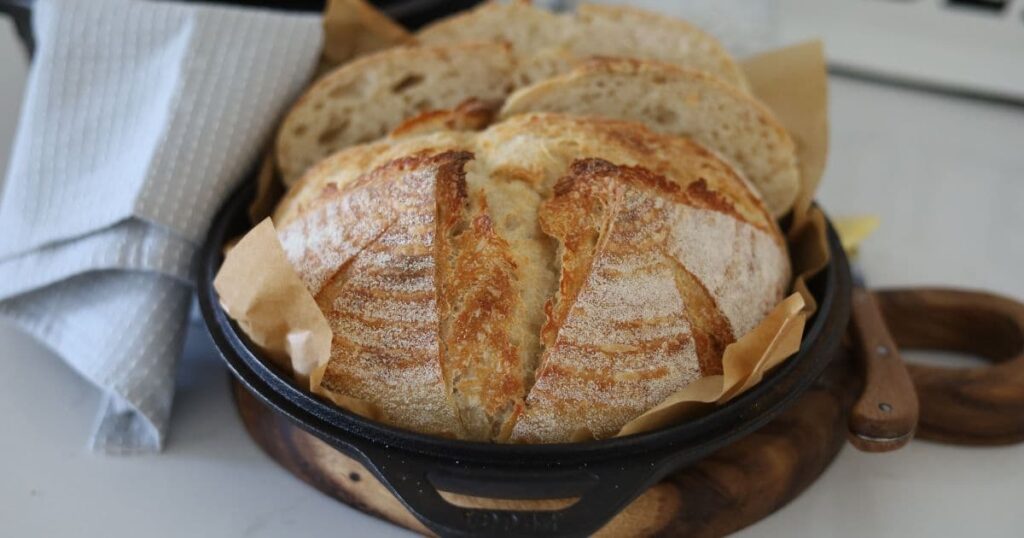
Once your all purpose sourdough bread is golden brown, remove it from the oven and then carefully remove it from the dutch oven as soon as possible and place on a cooling rack to cool for 4 to 6 hours.
Baking Schedule for All Purpose Sourdough Bread
Many people ask for the timeline that I follow when making sourdough bread, so I've included my timeline for baking sourdough bread with all purpose flour.
Remember that everything with sourdough is negotiable, with a few tweaks. If you would like to build your own schedule for baking sourdough bread, you might find this post on sourdough timelines helpful.
DAY 1
3.00 pm - Feed sourdough starter
7.00 pm - Premix and Autolyse
7.10 pm - Form into a smooth ball. Rest for 30 minutes.
7.40 pm - Perform 4-6 sets of stretch & folds over next 2 hours.
9.40 pm - Cover and leave on bench overnight for bulk ferment if temp right.
DAY 2
6.00 am - The next morning, shape & lift into banneton/bowl & into the fridge.
12.00 pm - Bake in a hot oven
7.00 pm - Enjoy all purpose sourdough bread with dinner!
You'll also find many sourdough baking timelines in my ebook "Scheduling Sourdough".
Is Vital Wheat Gluten Necessary for All Purpose Flour?
Vital wheat gluten is handy if you want to bake a higher hydration loaf, or turn your all purpose flour into bread flour for more predictable results.
This recipe for all purpose flour sourdough bread has been written for all purpose flour WITHOUT vital wheat gluten, so you don't have to worry about finding this ingredient if you don't want to.
You can read about vital wheat gluten in sourdough bread here in more detail.
Frequently Asked Questions
All purpose flour has a lower protein content than bread flour, so it will make a softer loaf. When handled correctly though, you can still achieve a crispy, crackly crust with that sourdough chew!
If you have some all purpose flour that you want to turn into bread flour, you will need to add 10g to 15g of vital wheat gluten for every 500g of all purpose flour, so around 2%.
A pre shape isn't a necessary step when making sourdough bread, however, when using all purpose flour it can be helpful to lightly pre shape the dough on the counter and then leave it for 30 minutes before you do the final shaping.
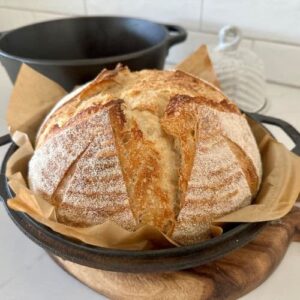
All Purpose Flour Sourdough Bread Recipe
Equipment
- Mixing Bowl
- Digital Scales
- Banneton (size guide for bannetons)
- Dutch Oven (size guide for Dutch Ovens)
Ingredients
- 520 g All Purpose Flour
- 320 g Water
- 50 g Sourdough Starter
- 10 g Salt
Instructions
- Autolyse - Premixing The DoughWeigh out your sourdough starter and water into a large ceramic or glass bowl. Glass is always good as you can see what's happening underneath your dough. This recipe is based on you having an active starter that you have fed a few hours before starting your bake.Mix the water and starter together briefly. Then add your flour and salt and mix whole lot together to form a shaggy dough. I find a dough scraper the easiest way to mix it as you can keep the sides of bowl clean.The dough will be fairly shaggy and only just brought together.
- Cover your bowl with cling film or a damp tea towel and let it sit for around 10 minutes. This process is called the "autolyse" and allows your flour to soak in all the water and become hydrated.
- Forming Up The DoughAfter the dough has been through autolyse you need to bring it together into a ball. Work your way around the bowl, grabbing the dough from the outside, stretching it up and over itself, into the centre, until a smooth ball is formed. You shouldn't need more than about 20-30 stretches to form the ball. You'll notice that the dough is fully hydrated after soaking all the water up. It will be fairly sticky but as you bring it into a ball, it will become smoother and shinier.
- Once the dough has formed into a smooth ball, pop the cling film back on and let it rest for 30 minutes.
- Stretch & Fold - Creating StructureOver the next few hours you need to create some structure for your dough by "stretching and folding". Aim to do around 4-6 sets of stretches and folds. For each set, stretch the dough up and over itself 4 times. Leave around 15 minutes in between each set. Again you do not have to be exact with time, but you need to do at least 4 sets over 2 hours.
- Bulk FermentOnce you've finished your stretch and folds, place the cling film or damp tea towel back over your dough and let it rest and ferment (a plastic cover is a better option for this stage).See notes below for more info on this step.
- Shaping The DoughOnce your dough has finished it's first ferment, it's time to shape it into either a boule or a batard. You'll need to flour your counter top with rice flour for this (we use rice flour because it has no gluten but semolina is also a great option). Try to be quite sparing with the rice flour, you only need a very light dusting.Use a silicone dough scraper to gently ease the dough out of the bowl. You want it to land upside down on your counter so that the smooth top of the dough is on the countertop and the sticky underside is facing up. This will make it easier to shape.You can either shape your dough into a batard (oblong) or a boule (round). You'll find instructions for shaping your dough in the notes section.You will need a banneton to put your dough into. If you do not have a banneton, then a bowl or basket lined with a floured tea towel is perfectly fine. Make sure your bowl isn't too big though, you want your dough to retain some shape.Whatever you're using needs to be liberally floured with your rice flour. If you're using a banneton - liberally sprinkle it with rice flour. If you're using a cloth or tea towel, rub the flour into it to ensure it becomes non stick.
- Placing Into A BannetonOnce the dough is shaped, place it into your banneton smooth side down, so your seam is on the top - this way the top of your dough will get the pretty lines from the banneton. If you're using a cloth or tea towel in a bowl it's ok to put your dough with the smooth side up. Just make sure the dough is tight.Lift your dough around the edges to pop a little more rice flour if you feel it needs it. Just try to handle the dough as little as possible and be really gentle as you really want to preserve all the gases and air bubbles that have formed during your bulk ferment.
- Cold FermentNow the dough is in its "shaping container" cover it loosely with a plastic bag or damp tea towel and place into the fridge. I use a large plastic bag to cover it - I just reuse it each time. Try to leave it in the fridge for a minimum 5 hours up to a maximum of around 36 hours. The longer you leave it the better your bread will be! A longer cold ferment creates beautiful blisters on your crust and a deeper sourdough flavour. It will also ensure your dough forms a skin which makes it easier to score.
- Preparing To BakeOnce you're ready to bake your sourdough, you'll need to preheat your oven to 230C/450F. Place your Dutch Oven into the oven when you turn it on so it gets HOT. Try to preheat for around 1 hour to ensure your oven is super hot - but you know your oven so just adjust this time if you need to.Leave your dough in the fridge until the very last minute - placing a cold dough into a hot oven will give you a great "spring".
- Bake Time!Now it's time to bake!When your oven is at temperature, take your sourdough out of the fridge. Gently place it onto a piece of baking paper. Make sure that you make the baking paper big enough to use the edges as a handle to lower to dough into your Dutch Oven.Gently score your bread with a lame, clean razor blade or knife. At minimum a large cross is sufficient, but you can get as artistic as you like. You can find my full guide on how to score sourdough bread here.Carefully take your dutch oven out of the oven. Place the sourdough into the pot using the baking paper as a handle. Put the lid on and place into the hot oven. If you want to you can spritz your dough with extra water before you put the lid on.BAKE TIME:30 Minutes with the lid on at 230C/450F plus10-15 Minutes with the lid off at 210C/410F
- Finishing The BakeWhen you remove your dough from the oven, carefully remove it from the dutch oven as soon as possible and place on a wire rack to cool.
Notes
- Notes on Flour: This recipe is written specifically using All Purpose Flour without any Vital Wheat Gluten added. The flour I developed this recipe with contains 10% protein. You might find that your AP flour contains a higher amount of protein, particularly if you are purchasing it in Canada or using King Arthur flours. You can read more about the differences between All Purpose Flour and Bread Flour here.
- Notes on Sourdough Starter: This recipe is based on you having an active starter that you have fed a few hours before starting your bake. For info on how to make a sourdough starter, go here.
- Notes on Stretch & Folds: If you are going to do the stretch & folds on your bench top, spray your surface with water mist rather than using flour. You can leave the dough in the bowl if you want to. Wet your hands to stop the dough sticking - although it shouldn't be too sticky. It will get less sticky as you do your stretches and folds. For more information on how to do stretch and folds, go here.
- Notes on Bulk Fermentation: If your home is warm then your dough will ferment a lot faster and could be done in as little as a few hours. If it's colder, it will take longer, possibly overnight.
I would recommend that you try to do your first few bulk ferments during daylight hours so that you can watch your dough closely.
Once you're more familiar with the process - and the temperature of your home - you will be able to do overnight ferments. You will know your dough is ready to move to the next stage when it has *just* doubled in size. It will be fairly wobbly and full of bubbles. You should be able to see large air bubbles under the surface of the dough.
You don't want to let it go any further than doubled as it will be over fermented.
If you want to do an overnight ferment, but your home is warm, consider using a little less starter (ie 25g).
Less starter means your dough will take longer to ferment and you will reduce the risk of over fermenting your dough. You'll find more information on these topics here:
When is my bulk ferment finished? What is the difference between cold ferment and bulk ferment? Why does the amount of starter matter?
- Notes on Dutch Oven: You can use either a round or oval Dutch Oven, depending on the shape of the loaf you're making. I recommend a 5Q or 5L Dutch oven for each one, however as long as your banneton fits inside with a little wiggle room, you will be able to fit your loaf inside. You can find more information on the best Dutch Oven to use for sourdough bread here.
- Notes on Baking: If you're worried about the base of your bread burning, place a baking sheet on shelf underneath your Dutch Oven - it works! If you're worried about your bread not being cooked all the way through at the end of cooking time, turn the oven off and place your dough straight onto the oven rack. Leave the door ajar and let your bread rest there for a few hours. Make sure you don't close the door or your sourdough will sweat and you'll get a wrinkly, soggy crust. Remember not to cut into your loaf too soon - you'll need to let it cool for at least a few hours (4-6 is best).
Nutrition


This was the perfect sourdough bread! I’ll be making it from here on out. Thank you!
This recipe was easy to follow and turned out great!! Thank you!
This beginner achieved thanks to your recipe. Thanks